background image

With the 

On Screen Menu

 you can programme

Timer recordings (up to 16 programmes).
Switch on the TV to the video output channel, and insert
a cassette with an intact erasure prevention tab into the VCR.

Recording

VQT9002

6

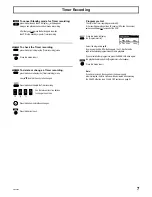
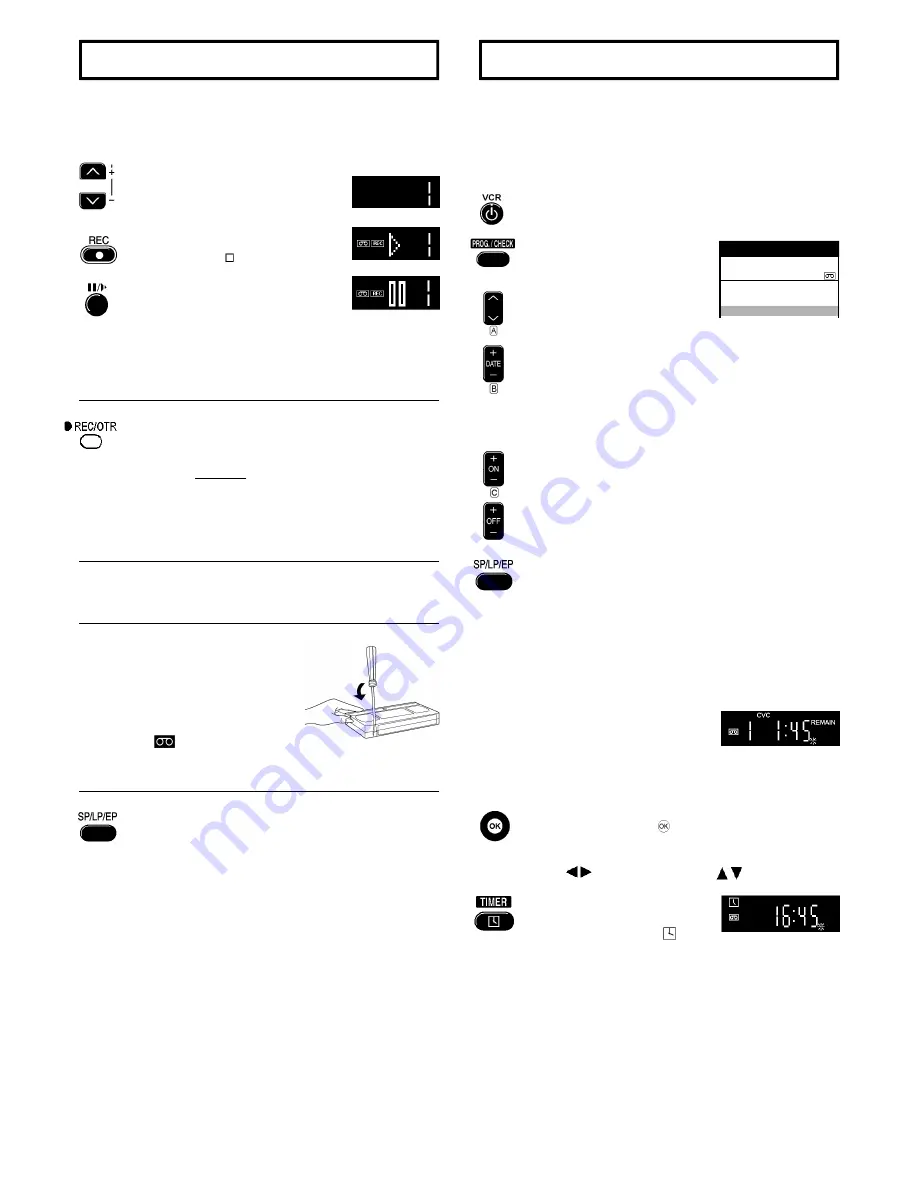
Switch on the VCR

Press this button to display
[Timer recording] menu

Set the channel

Set the recording date, day or week.
For example:  Sa  means that the programme will be recorded every
Saturday, or Mo - Sa  means that the programme will be recorded
every day from Monday to Saturday.
Su=Sunday, Mo=Monday, Tu=Tuesday, We=Wednesday,
Th=Thursday, Fr=Friday, Sa=Saturday

Set the start time.
If you keep this button pressed down,
the time will change in 30 minute jumps.

Set the stop time.

Set the Tape Speed SP/LP/EP or A (automatic).

This function is only activated for :
NV-FJ614 Series (Hi-Fi), NV-FJ613Series (Hi-Fi)

See also the description for  Recording.

In the setting A

 (automatic), the VCR automatically switches

(with a short picture distortion) to the slow tape speed LP,
to record the programme so long as possible .

In order to preset other recordings, repeat this procedure.

To check the 

Remaining tape time,

look at the VCR display  REMAIN.
Make sure that the remaining time
on the cassette is longer than the time set
for recording, otherwise the whole programmes
cannot be recorded.

To store the programme, press   .

You can use the cursors on the remote control to move around
the menu           ,in order to make changes          .

Switch the VCR to Standby mode
for 

Timer recording.

Make sure that the VCR display   appears.

On Screen Display

Pos

Start Stop

Name DATE  ON

OFF

1. ***22 Mo-Sa 13:30 14:00LP

2. ***22 20/9

15:00 16:00SP

3.


-


-


-


- -

 - -/- -    - -:- -     - -:- -  -

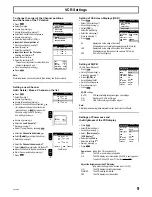
Switch on the TV to the video output channel, and insert
a cassette with an intact erasure prevention tab into the VCR.

Before 

recording

,

select the channel with this button
(select  the AV channel if you want to record
 a programme fed with a 21-pin Scart cable).

Press this  button to start recording.
Press the 

Stop Button

   to stop recording.

Use this button to interrupt recording.
Restart recording by pressing this button again.
To preserve the video heads, the function
will be switched off after 5 minutes.

You can also carry out these functions using the VCR buttons.

VCR display

Erasure prevention of a cassette

To prevent the accidental erasure of a cassette,
remove the erasure prevention tab.

If you want to record again on a cassette
with erasure prevention, and this
symbol 

 is flashing on the VCR display,,

then cover the hole with adhesive tape.

If you want to watch 

another TV programme at the same time

as you are recording, select the channel on the TV.

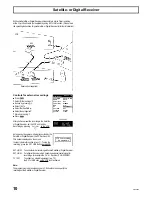
OTR Function

(OTR = One Touch Recording)
To record for a specific length of time,
press this button on the VCR.
You can extend the recording time from 

30, 60, 120, 180 to 240 minutes

by pressing the button repeatedly.
The selected length of recording time will appear on the VCR display.

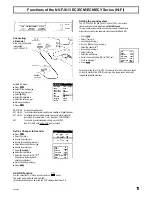
Tape Speed

This function is only activated for :
NV-FJ614 Series (Hi-Fi), NV-FJ613 Series (Hi-Fi)

Press this button before recording, in order to select
the tape speed for the recording.

The following information appears on the VCR display :
SP standard recording time: optimum picture quality.
LP

double recording time: slightly reduced picture quality.

EP (SUPER LP) triple recording time: slightly reduced picture quality.

Note:

Distorted pictures produced when playing back some cassettes
(e.g. type E300) after LP or EP recordings are not functional faults.

Timer Recording

                               Panasonic VCR

Timer recording

                      1/2

Summary of Contents for NV-FJ613 S

Page 1: ...ead 2 batteries type R6 2 3 4 5 6 8 10 14 Recording Timer Recording Connecting and Setting up Video Cassette Recorder Operating Instructions NV FJ614 Series Hi Fi NV FJ613 Series Hi Fi NV SJ216 Series Mono Controls and Components Playback TV Operation VCR Operation Menu Operation 11 OSD On Screen Display VCR Video Cassette Recorder TV Television Troubleshooting 12 Model NV FJ613 NV SJ216 Model NV ...

Page 2: ...pment Batteries packaging and old equipment should not be disposed of as domestic waste but in accordance with the applicable regulations Instructions on inserting Remote Control Batteries The lifetime of the battery is about 1 year depending on the frequency of use Do not use one old and one new battery or different types of batteries together e g one alkali and one zinc carbon battery Only inser...

Page 3: ... be received will be tuned automaticallyinabout5minutes When the menu Clock setting appears use the cursors on theremotecontroltoselect theTimeandDatemanually To end this procedure press Press this button to exit the Settings Notes Moreinformationabouttheremotecontrol seepage4 5 If the selection for the Country menu does not appear after switching on the VCR you can restart the Automatic Setting s...

Page 4: ...H If you keep this button pressed the search functionwillcontinueuntilyoureleasethebutton Stop indicated by To stop winding a tape recording or playback Still Playback Press this button during playback on the remote control or on the VCR Resume normal playback by pressing this button again or the Playback Button Slow Playback Keepthisbuttonpresseddownontheremotecontrol for more than 2 seconds duri...

Page 5: ...change the Sound mode pressthisbuttonrepeatedly This button is only activated for NV FJ614 Series Hi Fi NV FJ613 Series Hi Fi Stereosound Display L R Leftchannel Display L Rightchannel Display R Mono sound No display appears To display the time Tape counter or Remaining tape time pressthisbuttonrepeatedly To reset the Tape counter pressthisbutton Wheninsertingacassette the counter is reset to 0 00...

Page 6: ...he TV to the video output channel and insert a cassette with an intact erasure prevention tab into the VCR Before recording selectthechannelwiththisbutton select the AV channel if you want to record a programme fed with a 21 pin Scart cable Pressthis buttontostartrecording Press theStop Button to stop recording Usethisbuttontointerruptrecording Restartrecordingbypressingthisbuttonagain Topreservet...

Page 7: ...ogramme press the SEARCH Button again the playback will stop and the Programme List will appear Press this button to exit Note If you have removed the cassette or the power supply was interrupted the Intro Jet Scan will be activated when pressing the SEARCH Button see Other VCR Functions on page 8 To check the Timer recording press this button to display the Timer recording menu Press this button ...

Page 8: ...es Once you have found the recording press the Playback Button To cancel the search function press the Stop Button Note For more explanation of the SEARCH Button see Programme List on page 7 VHS Index Search System Toquicklyfindthebeginningofaprogramme press fast forward INDEX Button or press backward INDEX Button This function only works on playback mode or in stop mode Depending on how many time...

Page 9: ...t SQPB Selecttheinputfield Select the settings Store by pressing Press SQPB settings AUTO VCR automatically recognises types of recordings ON Playback of S VHS recordings OFF Only VHS recordings should be played Note Distortedpicturesduringtheseplaybackfunctionarenotfunctionalfaults Panasonic VCR Other settings Tape length AUTO E 240 SQPB AUTO Power save OFF VCR display DIMMED OSD 4 3 AV TV EXT TV...

Page 10: ...al Receiver the VCR will record it This notice is displayed on the screen In order to delete this notice press Tostopthe recording press the EXT LINK Buttonon the VCR VCR display VCR now recording this programme EXT LINK2 TocontrolexternalrecordingwithsomeSatellite orDigitalReceiver EXT LINK1 For a Digital Receiver which transmits a special control signal for recordings for example the F U N Recei...

Page 11: ...llite orDigitalReceiver EXT LINK1 For a Digital Receiver which transmits a special control signal for recordings for example the F U N Receiver TU DSF30 S3 EXT To connect an external equipment e g second VCR the EXT LINK Buttonon the VCR is not activated Set the Channel to Decoder Press Select Tuning Access by pressing Access Manual by pressing Selecttheencodedchannel Access by pressing Select Dec...

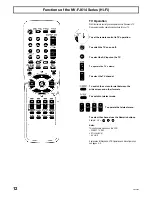
Page 12: ...the TV on and off To select the AV input on the TV To operate the TV volume To select the TV channel To switch the screen format between the wide screen and other formats To switch to teletext mode To operate the teletext menu To select the channel use the Numeric buttons Sample 18 Notes This buttons are not used on this VCR DIRECT TV REC STILL ALBUM AV LINK Explanation for Playback VCR Operation ...

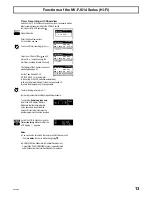
Page 13: ... the programme press Inordertopresetotherrecordingsrepeatthisprocedure To check theRemaining tape time look to the VCR display Remain Makesurethattheremainingtime onthecassetteislongerthanthe timesetforrecording otherwisethe wholeprogrammescannotberecorded Switch the VCR to Standby mode for Timer recording Make sure that the VCR display appears Notes Youcanusethecursorsontheremotecontroltomovearou...

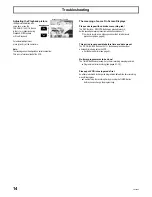
Page 14: ... Button was pressed but no timer recording was programmed Programme a timer recording see pages 6 7 13 Please put VCR into stop mode first An attempt was made to change the programmed data while a timer recording was still in progress You must stop the recording first by pressing the TIMER Button before you can change the programming Adjusting the Playback picture Ifthepictureisdistortedwith noise...

Page 15: ... VCR display is set to OFF Settings can be changed see page 9 Safety devices are operating Disconnect the VCR from AC mains for one minute then check if the VCR can be operated The VCR displayis illuminated but the VCR cannot operate The VCR is in Timer recording Standby mode Cancel Standby mode by pressing the TIMER Button The child lock is activated Settings can be changed see page 8 The picture...

Page 16: ...ies 21 W Consumption in Standby mode Approx 3 W in Power save Video recording system 2 rotary heads helical scanning system Video heads 2 heads NV FJ613 614 Series 4 heads Hi Fi Audio heads on the NV FJ613 614 Series 2 heads Tape speed SP 23 39 mm s Special feature on the NV FJ613 614 Series LP 11 7 mm s Record playback time SP 240 min with E 240 cassette Special feature of the NV FJ613 614 Series...

Reviews: