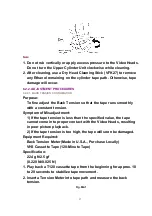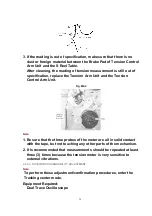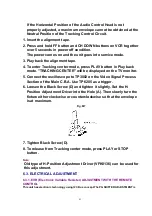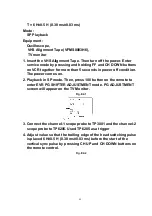
1. Play back a T120 cassette tape and check that the tape travels
smoothly between the upper and lower guides of the P4 post.
2. If necessary, adjust Black Screw (B) clockwise until the tape
begins to curl at the lower edge of the P4 post. Then adjust the
screw counterclockwise until the curling is eliminated.
Fig. M4
6.2.2.2.3. AUDIO CONTROL HEAD HEIGHT ADJUSTMENT
The height of the Audio Control Head replacement part is preset at the factory.
Purpose:
To be sure the tape runs properly along the Control Head.
Symptom of Misadjustment:
If the control signal is not properly picked up, Servo Operation
cannot be achieved. A Blue screen will be seen in Playback.
This confirmation is required when the Audio Control Head is replaced.
1. Play back a T120 cassette tape and check that the lower edge of
the tape runs approximately 0.25 mm above the lower edge of the
Audio Control Head.
2. If necessary, adjust Black Screws (A) and (B) clockwise to lower
the tape or counterclockwise to raise.
Fig. M5
41
Summary of Contents for NV-FJ6130PN
Page 6: ...Fig 1 4 Fig 1 5 6 ...
Page 22: ...5 2 3 EJECT Position Confirmation Fig J1 2 22 ...
Page 48: ...10 2 MECHANISM BOTTOM SECTION 48 ...
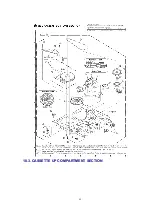
Page 49: ...10 3 CASSETTE UP COMPARTMENT SECTION 49 ...
Page 50: ...10 4 CHASSIS FRAME AND CASING PARTS SECTION 50 ...
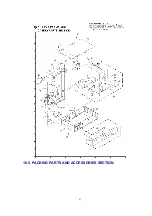
Page 51: ...10 5 PACKING PARTS AND ACCESSORIES SECTION 51 ...
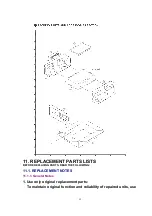
Page 56: ...11 2 MECHANICAL REPLACEMENT PARTS LIST MECHANICAL REPLACEMENT PARTS 56 ...
Page 96: ......
Page 97: ......

