Record mode
22
LSQT1005
≥
Playback of the image on other digital video
equipment recorded in the LP mode.
≥
Slow/frame-by-frame playback.
Recording on a tape
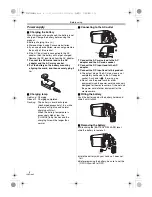
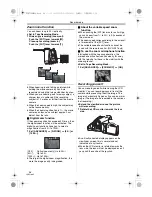
Remove the lens cap. (
-7-
)
(When the camera is turned on with the lens cap
fitted, the automatic white balance adjustment
may not function properly. Please turn the camera
on after removing the lens cap.)
≥
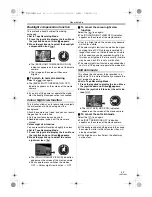
Set to Tape Recording Mode.
1
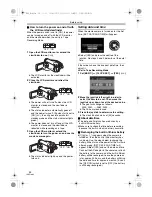
Press the recording start/stop button to
start recording.
2
Press the recording start/stop button again
to pause recording.
≥
For the recording time on a tape, refer to
-9-
.
≥
Carry out a recording check (
-22-
) to verify that
the image is recorded properly.
≥
In order to find the unrecorded section, carry out
the blank search (
-23-
).
≥
If you want to preserve the original sound
recorded when audio dubbing (
-35-
), set
[ADVANCED] >> [AUDIO REC] >> [12bit] to
take pictures.
ª
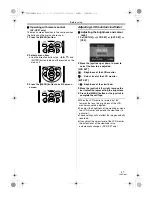
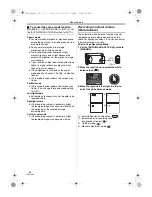
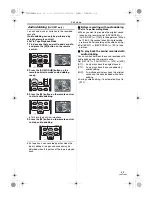
On-screen display in the tape
recording mode
1) Recording time elapse
2) Remaining tape indication
ª
Concerning the remaining tape time
indication on the screen
≥
The remaining tape time is indicated in minutes.
(When it reaches less than 3 minutes, the
indication starts flashing.)
≥
During a 15 seconds or shorter recording, the
remaining tape time indication may not be
displayed or the remaining tape time may not be
displayed correctly.
≥
In some cases, the remaining tape time
indication may display remaining tape time that
is 2 to 3 minutes shorter than the actual
remaining tape time.
Recording check
The last image recorded is played back for 2 to
3 seconds. After checking, the camera will be set
to a recording pause.
≥
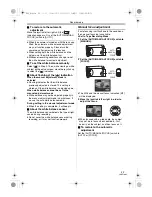
Set to Tape Recording Mode.
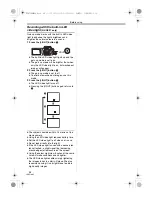
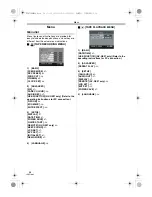
1
Press the joystick to display the icon during
the recording pause. Move the joystick
down until icon
1
appears.
2
Move the joystick left to select the
recording check icon [
].
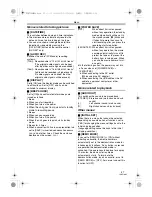
≥
The [RECORDING CHECK STARTED]
indication appears on the screen of the movie
camera.
;
0h00m10s00f
0h00m10s00f
0h00m10s00f
1)
R 0:30
R 0:30
R 0:30
2)
1
LSQT1005ENG.book 22 ページ 2005年12月16日 金曜日 午後3時11分

