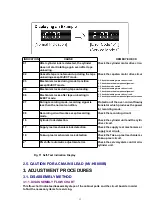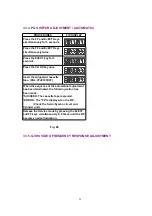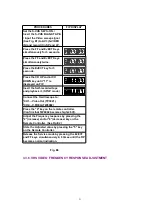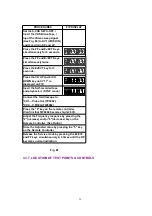
PROCEDURES
FIP DISPLAY
Set the S-VHS SW to OFF. /
Insert the VHS Blank Tape. /
Input the Video sweep signal
(See Fig. E3) to AV1 (VIDEO IN)
and record it in SP and LP.
Press the FF and EJECT Keys
simultaneously for 3 seconds.
Press the FF and EJECT Keys
simultaneously twice.
Press the EJECT key for 3
seconds.
Press the CH UP and/or CH
DOWN key until "11" is
displayed on FIP.
Insert the Self-recorded tape
and playback it. (SP/LP mode)
Connect the Oscilloscope to:
*CH1....Video Out (TP3002).
*CH2....V.FREQ.(TW6002)
Press the "4" key on the remote controller.
(Confirm that TW6002 becomes high(2.5V)).
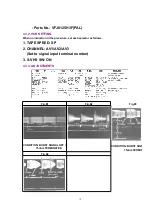
Adjust the Frequency response by pressing the
"2"(increase) and/or "8"(decrease) key on the
Remote Controller. (See Fig.E4)
Store the Adjusted value by pressing the "5" key
on the Remote Controller.
Release the Service mode by pressing the EJECT
and FF keys simultaneously in 6 times until the FIP
becomes normal indication.
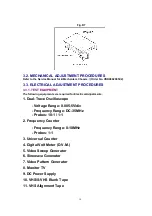
Fig. E7
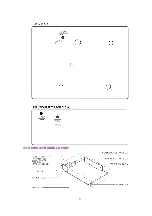
3.3.7. LOCATION OF TEST POINTS & CONTROLS
22
Summary of Contents for NV-HS880EG
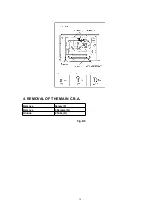
Page 16: ...4 REMOVAL OF THE MAIN C B A Remove Screw F Remove 4 Screws G Unlock 2 Tabs H Fig D5 16 ...
Page 23: ...3 3 8 CIRCUIT BOARD LAYOUT 23 ...
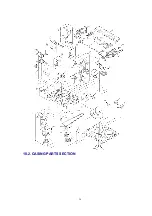
Page 26: ...10 2 CASING PARTS SECTION 26 ...
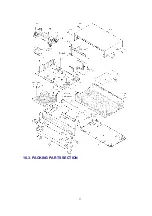
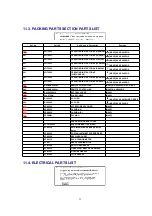
Page 27: ...10 3 PACKING PARTS SECTION 27 ...
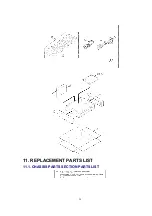
Page 28: ...11 REPLACEMENT PARTS LIST 11 1 CHASSIS PARTS SECTION PARTS LIST 28 ...
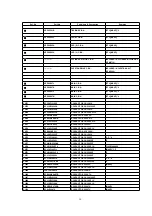
Page 41: ...D7501 MAZ4220NMF DIODE MAVD 41 ...
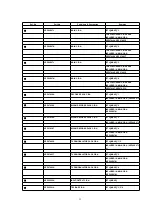
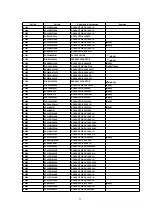
Page 43: ...K7301 ERJ6GEY0R00V M RESISTOR CH 1 10W 0 D0GBR00JA017 43 ...
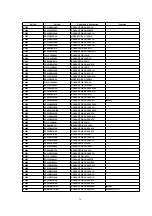
Page 46: ...Q1104 2SD1992A R TRANSISTOR 46 ...
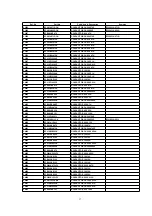
Page 48: ...R0715 ERJ3GEYJ223 M RESISTOR CH 1 16W 22K 48 ...

