SV121
HV61 HV51 MV21 MV16
VCR
1
2
3
4
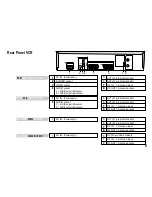
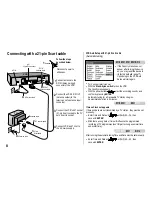
S-VIDEO output
AUDIO output
S-VIDEO cable
AUDIO cable
TV with S-VIDEO
input
S-VIDEO input
Antenna input
AC IN~
RF OUT
Antenna output
RF IN
Antenna input
4
AUDIO input
1
Antenna
2
5
5
5
3
TV
RF coaxial cable
AC mains lead
AC mains lead
9
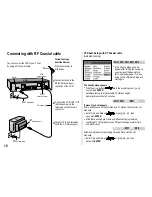
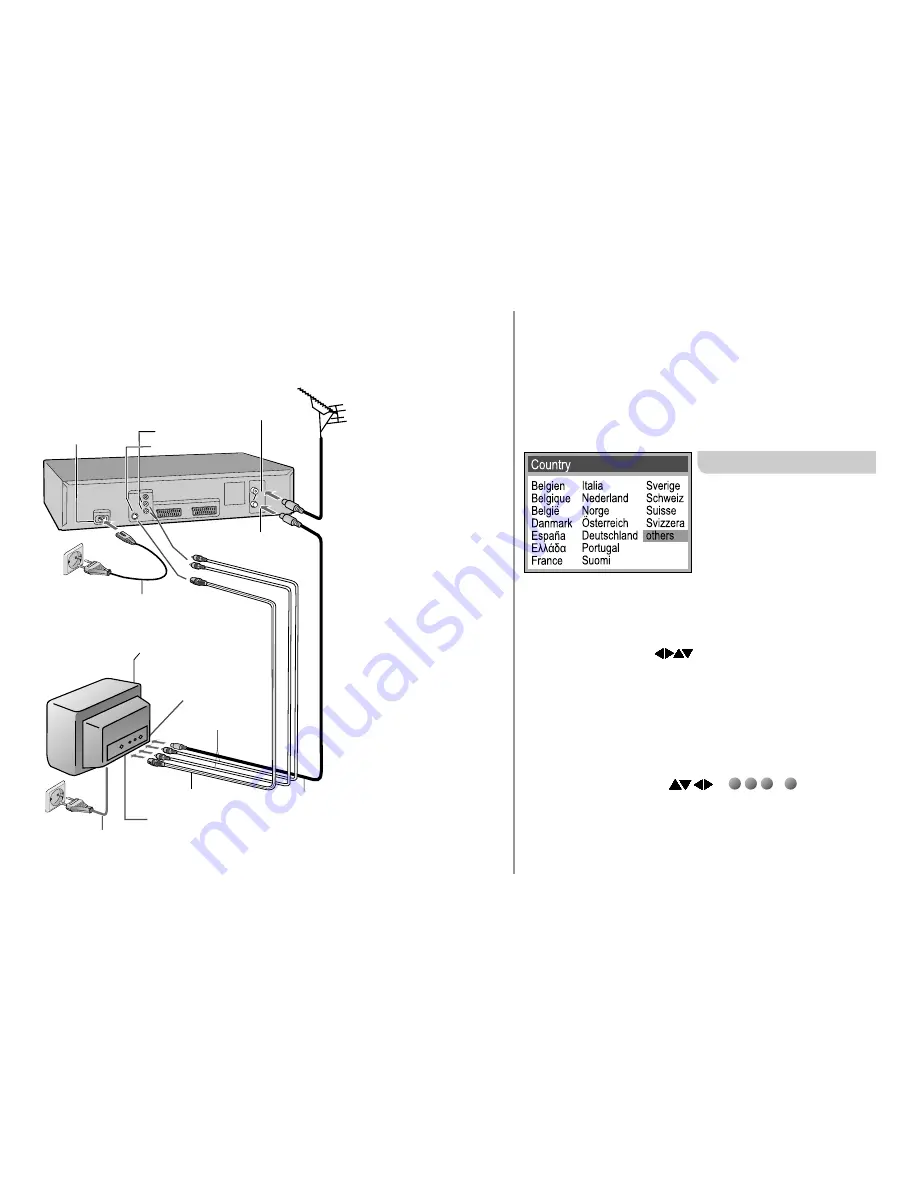
Connecting with S-VIDEO cable.
Follow the steps
described below.
Disconnect power to
all devices.
Connect antenna to the
RF IN (Antenna input)
connector of the VCR.
Connect the VCR’s RF OUT
(Antenna output) to the
TV set’s antenna input
connector.
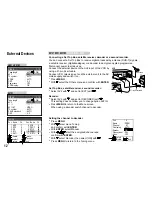
Connect the VCR´s S-VIDEO
output to the S-VIDEO input
of your television set.
Connect VCR and television
set to the AC mains supply.
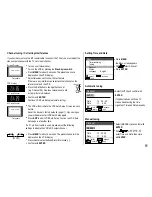
VCR Auto Setup with S-VIDEO cable
!
Turn on your television set.
!
With the
Stand-by/on switch
turn on the VCR.
The Country menu appears.
!
With the arrow buttons
select the according country, and
confirm by pressing
ENTER
.
Automatic tuning for all receivable TV stations begins.
Approximate duration is 5 minutes.
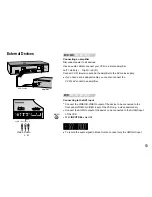
If menu Clock set appears
If time and date are not transmitted by a TV station, they must be set
manually.
!
Enter Time and Date with
or
...
, then
save with
ENTER
.
1
2
3
0
D
Mind that a wrong date or time will influence the programmed
recording of TV programmes (don't forget to change summer
time and winter time).
Connect the VCR’s AUDIO
output (L/R) to the AUDIO input
of your TV set.
This VCR supports the S-VHS format, providing a high picture quality
when playing back a S-VHS formatted cassette. When connecting via
a S-VIDEO cable, it is still possible to play back cassettes recorded
on the conventional VHS system.
D
If the Country menu does not
appear after turning the device
on, you may reset the device to
its factory defaults (page 17).
Upon doing so the VCR Auto
Setup will start again.
(
)
Automatic tuning
SV121 Only


