Advanced Operations
85
84
Title
Procedure
Remarks, etc.
PICTURE
TITLE
FILE LOCK
PRESS MENU TO RETURN
CARD EDITING
PRESS MENU TO EXIT
RECORD TO TAPE ---- YES
PICTURE SEARCH ---- YES
AUTO PRINT ---- YES
RETURN ---- YES
FILE LOCK
---- YES
DPOF SETTING ---- YES
CARD FORMAT ---- YES
CARD FUNCTIONS
PRESS MENU TO EXIT
1.ERASE PICTURE
2.CARD EDITING
3.DISPLAY SETUP
4.OTHER FUNCTIONS
CARD FUNCTIONS
PRESS MENU TO EXIT
1.ERASE PICTURE
2.CARD EDITING
3.DISPLAY SETUP
4.OTHER FUNCTIONS
CARD EDITING
PRESS MENU TO EXIT
RECORD TO TAPE ---- YES
PICTURE SEARCH ---- YES
AUTO PRINT ---- YES
RETURN ---- YES
CARD FORMAT
---- YES
CARD EDITING
FILE LOCK ---- YES
DPOF SETTING ---- YES
SHUTTER/IRIS
MENU
W.B
VOL/JOG
PUSH
AE LOCK
MNL
AUTO
CARD FORMAT
FORMAT WILL ERASE
ALL PICTURES
WITH PRESET TITLES
NO --- RETURN
YES
CARD EDITING
CARD FORMAT
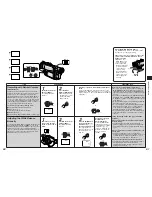
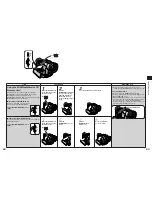
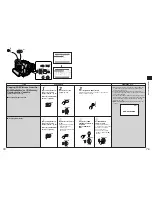
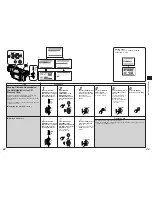
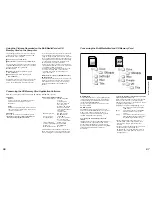
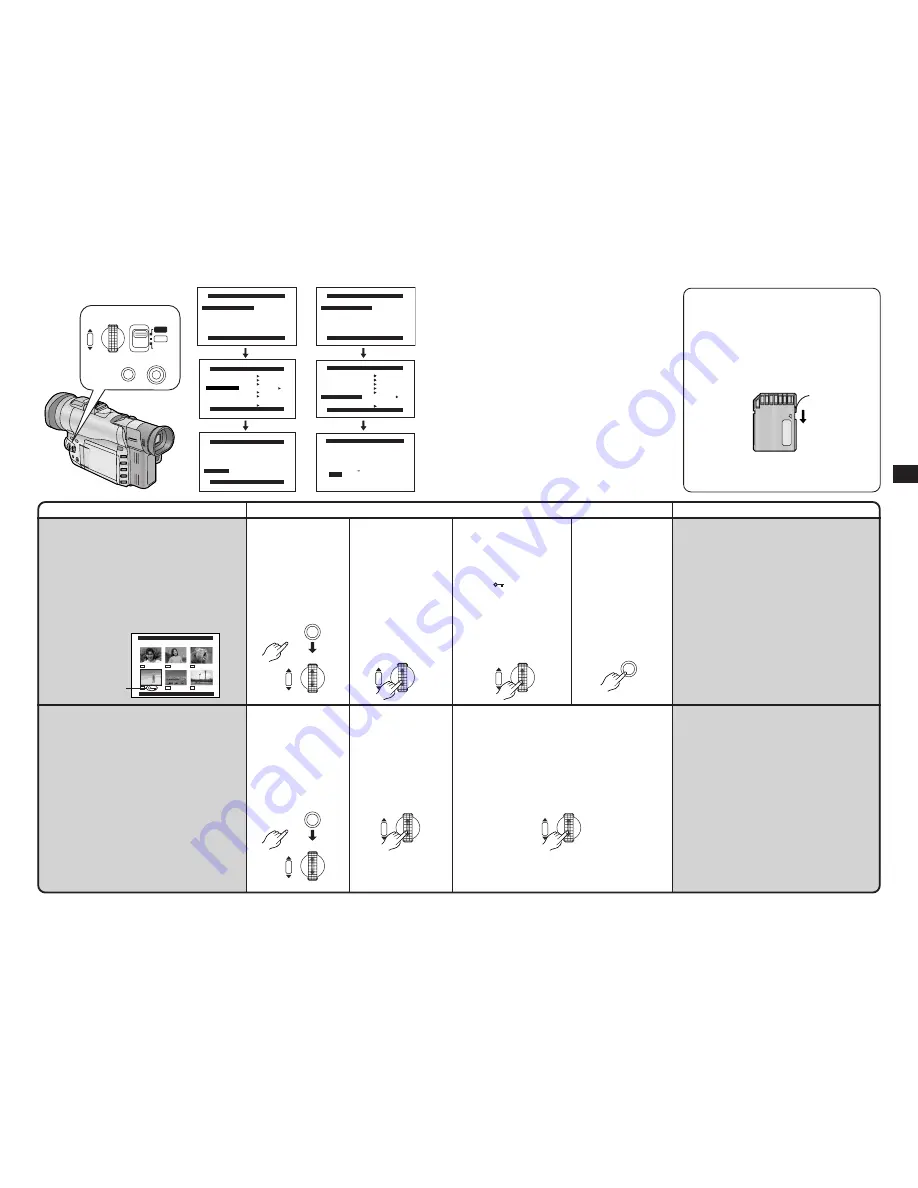
Making the Unusable
MultiMediaCard or SD Memory
Card Usable
(Formatting)
If the MultiMediaCard can no longer be read by the
Movie Camera, it may be possible to make it usable
again by formatting it. MultiMediaCards which can be
recognized do not need to be formatted. Formatting will
erase all the data
(including preset titles)
recorded
on the MultiMediaCard.
≥
An SD Memory Card cannot be formatted when the
card’s write protection switch is set at [LOCK].
1
After putting the Movie
Camera in the Card
Playback Mode... (p. 76)
Display the [CARD
EDITING] Sub-Menu on
the [CARD FUNCTIONS]
Main-Menu. (p. 16)
2
Turn the [PUSH] Dial to
select [CARD FORMAT]
and then press it.
The confirmation
message appears.
3
Turn the [PUSH] Dial to select [YES] and then
press it.
The formatting starts.
When the formatting has finished, the screen
becomes white.
≥
It is recommended that you use the AC Adaptor as
power source when you format the MultiMediaCard to
ensure uninterrupted power supply during formatting.
≥
It may not be possible to use the Card which was
formatted using this Movie Camera on another unit. In
this case, format the Card on the unit which will be
using the Card. Take steps to ensure that valuable
pictures are stored on the personal computer, etc. as
well before proceeding.
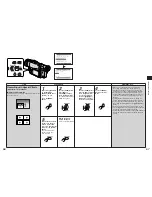
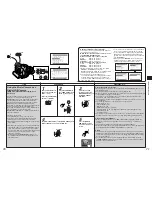
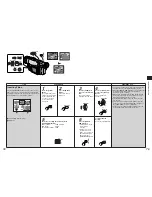
Preventing the Accidental
Erasure of Pictures on the
MultiMediaCard or SD Memory
Card
(Lock Setting)
Valuable pictures recorded on a MultiMediaCard can
be locked (to prevent their accidental erasure). (Even
when pictures are locked, they will be erased if the
Card is formatted.)
≥
The same settings can be performed using the short-
cut menu. (p. 118)
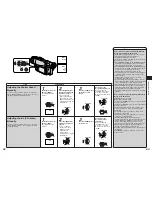
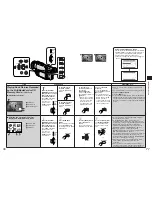
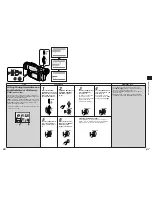
3
Turn the [PUSH] Dial to
select the picture to be
locked, and then press
it.
The [
] Indication
1
is
attached to the selected
picture.
≥
To lock more than one
picture, repeat these
steps.
≥
Press the [PUSH] Dial
again to release.
4
Press the [MENU]
Button.
1
After putting the Movie
Camera in the Card
Playback Mode... (p. 76)
Set [FILE LOCK] on the
[CARD EDITING] Sub-
Menu to [YES]. (p. 16)
The [FILE LOCK] Menu
now appears.
2
Turn the [PUSH] Dial to
select [PICTURE] or
[TITLE], and then press
it.
The pictures or titles are
now displayed in the
Multi-Picture Mode.
≥
Lock settings performed by this Movie Camera are
effective with this Movie Camera only.
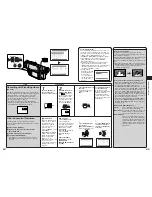
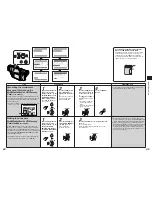
Concerning Preventing the Accidental
Erasure of SD Memory Card Data
An SD Memory Card can also be protected from
accidental erasure using its write protection
switch. When this knob
2
is set to [LOCK],
recording is prohibited; when it is returned to its
original position, recording is enabled.
1
FILE LOCK
PRESS MENU TO EXIT
1568
1568
1568
640
640
640
LOCK
2
MENU
SHUTTER/IRIS
VOL/JOG
PUSH
SHUTTER/IRIS
VOL/JOG
PUSH
SHUTTER/IRIS
VOL/JOG
PUSH
MENU
SHUTTER/IRIS
VOL/JOG
PUSH
SHUTTER/IRIS
VOL/JOG
PUSH
SHUTTER/IRIS
VOL/JOG
PUSH
MENU

