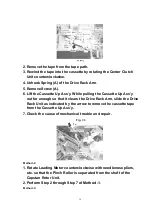
2. Remove the tape from the tape path.
3. Rewind the tape into the cassette by rotating the Center Clutch
Unit counterclockwise.
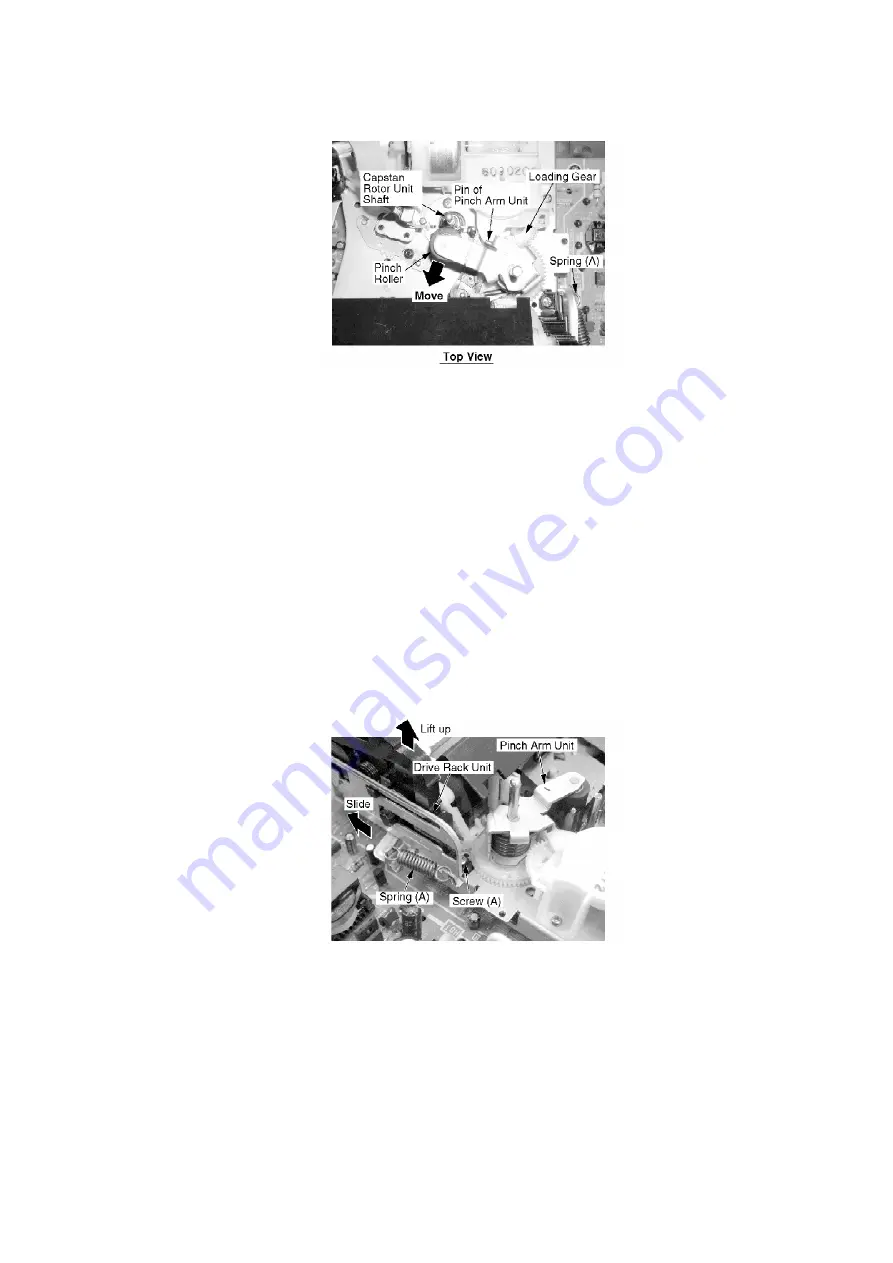
4. Unhook Spring (A) of the Drive Rack Arm.
5. Remove Screw (A).
6. Lift the Cassette Up Ass’y. While pulling the Cassette Up Ass’y
out far enough so that it clears the Drive Rack Arm, slide the Drive
Rack Unit as indicated by the arrow to remove the cassette tape
from the Cassette Up Ass’y.
7. Check the cause of mechanical trouble and repair.
Fig. 7-3
Method -2:
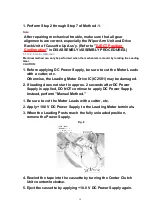
1. Rotate Loading Motor counterclockwise with needlenose pliers,
etc. so that the Pinch Roller is separated from the shaft of the
Capstan Rotor Unit.
2. Perform Step 2 through Step 7 of Method -1.
Method -3:
15
Summary of Contents for NV-SJ4140PN
Page 6: ...Fig 1 4 Fig 1 5 6 ...
Page 19: ...Figure 19 ...
Page 24: ...5 2 3 EJECT Position Confirmation Fig J1 2 24 ...
Page 35: ...5 3 CASSETTE UP ASSEMBLY SECTION 5 3 1 Top Plate Wiper Arm Unit and Holder Unit Fig K1 1 35 ...
Page 50: ...10 2 MECHANISM BOTTOM SECTION 50 ...
Page 51: ...10 3 CASSETTE UP COMPARTMENT SECTION 51 ...
Page 52: ...10 4 CHASSIS FRAME AND CASING PARTS SECTION 52 ...
Page 53: ...10 5 PACKING PARTS AND ACCESSORIES SECTION 53 ...


