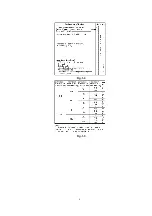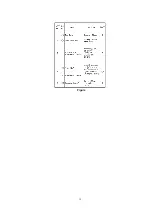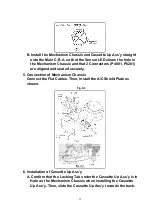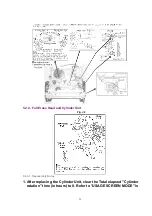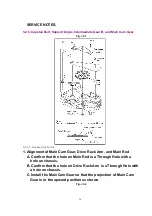
5.1.1.1. Notes in chart
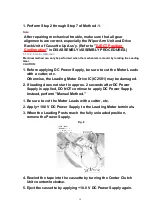
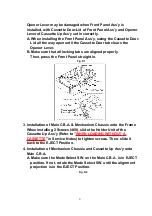
1. Installation of Top Cover
Install the Top Cover front portion at a downward angle so that
the tab on the Front Panel Ass’y fits into the hole in the Top Cover.
Then, lower the rear portion into place and tighten 2 Screws (447).
2. Installation of Front Panel Ass’y
CAUTION:
20
Summary of Contents for NV-SJ4140PN
Page 6: ...Fig 1 4 Fig 1 5 6 ...
Page 19: ...Figure 19 ...
Page 24: ...5 2 3 EJECT Position Confirmation Fig J1 2 24 ...
Page 35: ...5 3 CASSETTE UP ASSEMBLY SECTION 5 3 1 Top Plate Wiper Arm Unit and Holder Unit Fig K1 1 35 ...
Page 50: ...10 2 MECHANISM BOTTOM SECTION 50 ...
Page 51: ...10 3 CASSETTE UP COMPARTMENT SECTION 51 ...
Page 52: ...10 4 CHASSIS FRAME AND CASING PARTS SECTION 52 ...
Page 53: ...10 5 PACKING PARTS AND ACCESSORIES SECTION 53 ...

