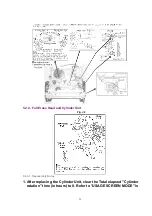
Note:
1. Do not rub vertically or apply excess pressure to the Video Heads.
Do not turn the Upper Cylinder Unit clockwise while cleaning.
2. After cleaning, use a Dry Head Cleaning Stick (VFK27) to remove
any Ethanol remaining on the cylinder tape path. Otherwise, tape
damage will occur.
6.2.2. ADJUSTMENT PROCEDURES
6.2.2.1. BACK TENSION CONFIRMATION
Purpose:
To fine adjust the Back Tension so that the tape runs smoothly
with a constant tension.
Symptom of Misadjustment:
1) If the tape tension is less than the specified value, the tape
cannot come into proper contact with the Video Heads, resulting
in poor picture playback.
2) If the tape tension is too high, the tape will soon be damaged.
Equipment Required:
Back Tension Meter (Made in U.S.A., Purchase Locally)
VHS Cassette Tape (120-Minute Tape)
Specification:
22.4 gf±2.5 gf
(0.220 N±0.025 N)
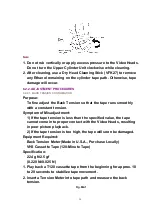
1. Play back a T120 cassette tape from the beginning for approx. 10
to 20 seconds to stabilize tape movement.
2. Insert a Tension Meter into tape path and measure the back
tension.
Fig. M2-1
39
Summary of Contents for NV-SJ4140PN
Page 6: ...Fig 1 4 Fig 1 5 6 ...
Page 19: ...Figure 19 ...
Page 24: ...5 2 3 EJECT Position Confirmation Fig J1 2 24 ...
Page 35: ...5 3 CASSETTE UP ASSEMBLY SECTION 5 3 1 Top Plate Wiper Arm Unit and Holder Unit Fig K1 1 35 ...
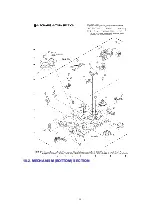
Page 50: ...10 2 MECHANISM BOTTOM SECTION 50 ...
Page 51: ...10 3 CASSETTE UP COMPARTMENT SECTION 51 ...
Page 52: ...10 4 CHASSIS FRAME AND CASING PARTS SECTION 52 ...
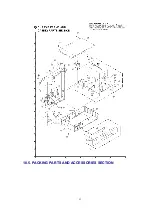
Page 53: ...10 5 PACKING PARTS AND ACCESSORIES SECTION 53 ...

