4. Press and hold STOP, PLAY, and VOL- buttons on the unit
together over 5 seconds again or press the POWER button OFF to
release EVR Adjustment mode.
The Default value will be written to Memory IC (IC6004).
5. Perform all EVR Adjustments. (Refer to "
EVR (Electronic Variable
Register) ADJUSTMENT WITH THE REMOTE CONTROL
" of
ELECTRICAL ADJUSTMENT
in ADJUSTMENT PROCEDURES.)
5.1.9. METHOD FOR LOADING/UNLOADING OF MECHANISM
5.1.9.1. (Manual Method)
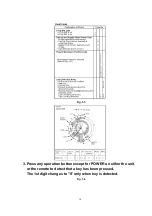
Turn the Loading Gear clockwise (for loading) or counterclockwise (for unloading) using
needlenose pliers etc.
Note:
Do not use this method if Mechanism is jammed or locked.
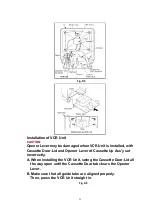
Fig. 6-1
15
Summary of Contents for Omnivision PV-C2542
Page 22: ...6 1 2 Disassembly Method Fig D2 22 ...
Page 23: ...Fig D3 23 ...
Page 24: ...6 1 2 1 Notes in chart 1 Removal of VCR Unit Fig D4 24 ...
Page 28: ...6 2 2 Inner Parts Location Fig J1 1 28 ...
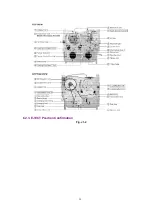
Page 29: ...6 2 3 EJECT Position Confirmation Fig J1 2 29 ...
Page 30: ...6 2 4 Full Erase Head and Cylinder Unit Fig J2 30 ...
Page 70: ...70 ...
Page 73: ...11 2 MECHANISM BOTTOM SECTION 73 ...
Page 74: ...11 3 CASSETTE UP COMPARTMENT SECTION 74 ...
Page 75: ...11 4 CHASSIS FRAME SECTION 1 75 ...
Page 76: ...11 5 CHASSIS FRAME SECTION 2 76 ...
Page 77: ...11 6 PACKING PARTS AND ACCESSORIES SECTION 77 ...
Page 84: ...121 LSPG1279 PACKING CASE PAPER F 6 84 ...
Page 97: ...R5317 ERDS2TJ101 CARBON 1 4W 100 97 ...
Page 99: ...R6045 ERJ6GEYJ102V MGF CHIP 1 10W 1K 99 ...
Page 118: ...R5401 ERJ6GEYJ561V MGF CHIP 1 10W 560 118 ...

