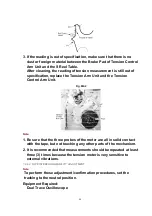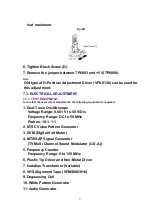
screw counterclockwise until the curling is eliminated.
Fig. M4
7.2.2.2.3. AUDIO CONTROL HEAD HEIGHT ADJUSTMENT
The height of the Audio Control Head replacement part is preset at the factory.
Purpose:
To be sure the tape runs properly along the Control Head.
Symptom of Misadjustment:
If the control signal is not properly picked up, Servo Operation
cannot be achieved. A Blue screen will be seen in Playback.
This confirmation is required when the Audio Control Head is replaced.
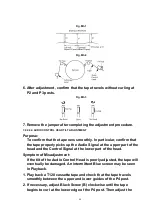
1. Play back a T120 cassette tape and check that the lower edge of
the tape runs approximately 0.25 mm above the lower edge of the
Audio Control Head.
2. If necessary, adjust Black Screws (A) and (B) clockwise to lower
the tape or counterclockwise to raise.
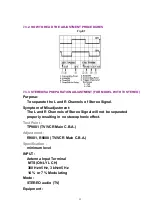
Fig. M5
7.2.2.2.4. AUDIO CONTROL HEAD AZIMUTH ADJUSTMENT
Purpose:
49
Summary of Contents for Omnivision PV-C2542
Page 22: ...6 1 2 Disassembly Method Fig D2 22 ...
Page 23: ...Fig D3 23 ...
Page 24: ...6 1 2 1 Notes in chart 1 Removal of VCR Unit Fig D4 24 ...
Page 28: ...6 2 2 Inner Parts Location Fig J1 1 28 ...
Page 29: ...6 2 3 EJECT Position Confirmation Fig J1 2 29 ...
Page 30: ...6 2 4 Full Erase Head and Cylinder Unit Fig J2 30 ...
Page 70: ...70 ...
Page 73: ...11 2 MECHANISM BOTTOM SECTION 73 ...
Page 74: ...11 3 CASSETTE UP COMPARTMENT SECTION 74 ...
Page 75: ...11 4 CHASSIS FRAME SECTION 1 75 ...
Page 76: ...11 5 CHASSIS FRAME SECTION 2 76 ...
Page 77: ...11 6 PACKING PARTS AND ACCESSORIES SECTION 77 ...
Page 84: ...121 LSPG1279 PACKING CASE PAPER F 6 84 ...
Page 97: ...R5317 ERDS2TJ101 CARBON 1 4W 100 97 ...
Page 99: ...R6045 ERJ6GEYJ102V MGF CHIP 1 10W 1K 99 ...
Page 118: ...R5401 ERJ6GEYJ561V MGF CHIP 1 10W 560 118 ...

