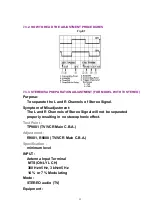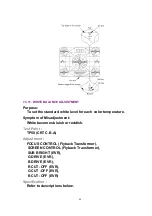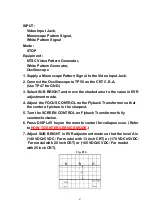
Fig. E4-2
3. Press CH UP/DOWN key on the remote control to adjust the value
of the selected control.
Fig. E4-3
Note:
You can select a desired channel by using the numbered keys on
the remote control in EVR adjustment mode.
4. Press VOL -/+ key on the remote control so that the shaded area
moves to the control function.
Fig. E4-4
5. Press CH UP/DOWN key on the remote control to select a control
function for the next adjustment if necessary.
Fig. E4-5
7.3.5.2.2. How to release from EVR Adjustment Mode:
Press and hold STOP, PLAY, and VOL- buttons on the unit together over 5 seconds again or
press the POWER button OFF to release EVR adjustment mode. The adjusted value will be
written to Memory IC (IC6004).
7.3.5.3. HOW TO ENTER EVR PG SHIFTER ADJUSTMENT MODE
1. Enter EVR adjustment mode.
2. Insert the VHS Alignment Tape and playback in SP mode.
The adjustment overlay will appear.
Fig. E4-6
56
Summary of Contents for Omnivision PV-C2542
Page 22: ...6 1 2 Disassembly Method Fig D2 22 ...
Page 23: ...Fig D3 23 ...
Page 24: ...6 1 2 1 Notes in chart 1 Removal of VCR Unit Fig D4 24 ...
Page 28: ...6 2 2 Inner Parts Location Fig J1 1 28 ...
Page 29: ...6 2 3 EJECT Position Confirmation Fig J1 2 29 ...
Page 30: ...6 2 4 Full Erase Head and Cylinder Unit Fig J2 30 ...
Page 70: ...70 ...
Page 73: ...11 2 MECHANISM BOTTOM SECTION 73 ...
Page 74: ...11 3 CASSETTE UP COMPARTMENT SECTION 74 ...
Page 75: ...11 4 CHASSIS FRAME SECTION 1 75 ...
Page 76: ...11 5 CHASSIS FRAME SECTION 2 76 ...
Page 77: ...11 6 PACKING PARTS AND ACCESSORIES SECTION 77 ...
Page 84: ...121 LSPG1279 PACKING CASE PAPER F 6 84 ...
Page 97: ...R5317 ERDS2TJ101 CARBON 1 4W 100 97 ...
Page 99: ...R6045 ERJ6GEYJ102V MGF CHIP 1 10W 1K 99 ...
Page 118: ...R5401 ERJ6GEYJ561V MGF CHIP 1 10W 560 118 ...

