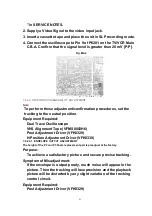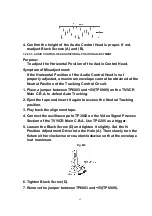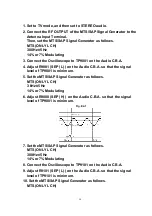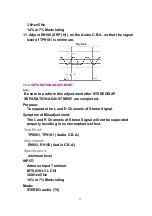
P2 and P3 posts.
Fig. M4-3
7. Remove the jumper after completing the adjustment procedure.
7.2.2.3.2. AUDIO CONTROL HEAD TILT ADJUSTMENT
Purpose:
To confirm that the tape runs smoothly. In particular, confirm that
the tape properly picks up the Audio Signal at the upper part of
the head and the Control Signal at the lower part of the head.
Symptom of Misadjustment:
If the tilt of the Audio Control Head is poorly adjusted, the tape
will eventually be damaged. An intermittent Blue screen may be
seen in Playback.
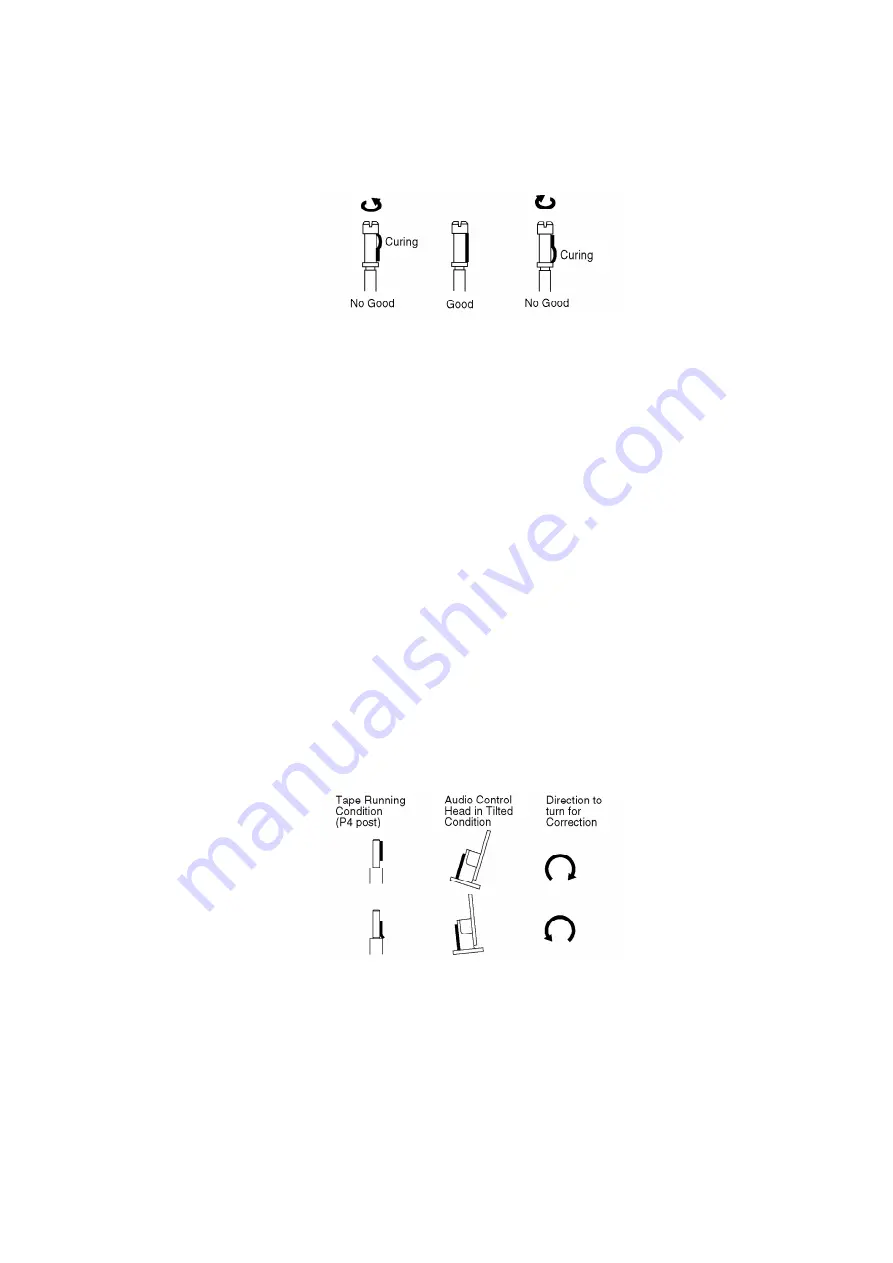
1. Play back a T120 cassette tape and check that the tape travels
smoothly between the upper and lower guides of the P4 post.
2. If necessary, adjust Black Screw (B) clockwise until the tape
begins to curl at the lower edge of the P4 post. Then adjust the
screw counterclockwise until the curling is eliminated.
Fig. M5
7.2.2.3.3. AUDIO CONTROL HEAD HEIGHT ADJUSTMENT
The height of the Audio Control Head replacement part is preset at the factory.
Purpose:
To be sure the tape runs properly along the Control Head.
Symptom of Misadjustment:
If the control signal is not properly picked up, Servo Operation
53
Summary of Contents for OmniVision PV-C2780-K
Page 8: ...Fig 1 3 Fig 1 4 8 ...
Page 26: ...Fig D5 6 1 2 1 Notes in chart 26 ...
Page 29: ...6 2 2 Inner Parts Location Fig J1 1 29 ...
Page 30: ...6 2 3 EJECT Position Confirmation Fig J1 2 30 ...
Page 31: ...6 2 4 Grounding Plate Unit Full Erase Head and Cylinder Unit Fig J2 1 31 ...
Page 44: ...6 3 CASSETTE UP ASS Y SECTION 6 3 1 Top Plate Wiper Arm Unit and Holder Unit Fig K1 1 44 ...
Page 81: ...81 ...
Page 85: ...11 2 MECHANISM BOTTOM SECTION 85 ...
Page 86: ...11 3 CASSETTE UP COMPARTMENT SECTION 86 ...
Page 87: ...11 4 CHASSIS FRAME SECTION 1 87 ...
Page 88: ...11 5 CHASSIS FRAME SECTION 2 88 ...
Page 89: ...11 6 PACKING PARTS AND ACCESSORIES SECTION 89 ...


