Projector Mode
49
• Selecting the On-Screen Keyboard layout
(1) On the [Keyboard] menu, select one of the following.
101 keyboard: The U.S. standard keyboard appears.
102 keyboard: The general-purpose keyboard appears.
• If the data which has actually been input does not match the characters displayed on the On-Screen
Keyboard, ensure that the input locale settings match. The input locale can be set using [Input locale] in
"Keyboard" of the Windows "Control Panel".
Remark:
• Continuously displaying the On-Screen Keyboard at the top of the screen
(1) Click [Always On Top] on the [Settings] menu, and place a check mark in the box.
• If the On-Screen Keyboard is not to be displayed continuously kept at the top of the screen, click [Always
On Top] on the [Settings] menu to remove the check mark from the box.
Remark:
• Changing the size of the On-Screen Keyboard
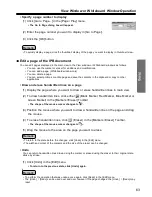
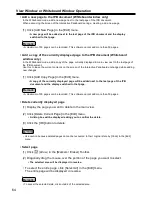
(1) Using [Resize] on the [Settings] menu, click the desired On-Screen Keyboard size.
• Alternatively, the size of the On-Screen Keyboard can be changed by dragging one of the edges of the
On-Screen Keyboard window.
• The aspect ratio of the On-Screen Keyboard is fixed.
• The width of the window size ranges from one-half to double the [Middle] size.
• The keyboard size in [Standard Keyboard] mode or [Enhanced Keyboard] mode cannot be changed by
dragging the upper or lower borders.
• The tablet size in [Handwriting Tablet] mode cannot be changed by dragging the upper border.
Remark:
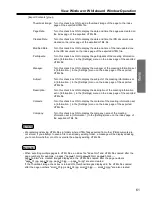
• Modifying the Handwriting Tablet Settings
(1) Click [Handwriting Tablet...]in the [Settings] menu.
•
The Handwriting Tablet Settings dialog box will appear.
(2) The following items can be set.
Waiting Time to Recognition:
Sets the standby time after handwritten input until
recognition is started.
Add Space:
Specifies whether or not to add a space after the
recognized text.
Send Recognition Directly:
Specifies whether or not to send recognized text
directly to the target application immediately after
recognition.
(3) Click the [OK] button.


