Assembling the Print Board
Assembly
• Markers (Black, Red, Blue-Big) ······· Each 1
• Eraser ························································ 1
• A4 (Letter) papers
*
····················· 20 sheets
• Pen holder ················································· 2
• Markers for interactive
(Black, Red, Blue, Green-Small) ···· Each 1
• Electronic eraser ········································ 1
• Eraser cloth (for Electronic eraser) ··········· 2
• Batteries (LR03) ········································ 6
• Power cord ················································ 1
• Interactive cable (5m) ································ 1
• Software CD-ROM ····································· 1
• Operating Instructions ································1
• Software License Agreement ·····················1
• Wall-mounting template ····························· 1
• Film cassette ··············································1
• Blue gear ····················································1
• Green gears ··············································· 3
• Thermal transfer film (20m) ······················· 1
1
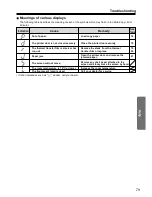
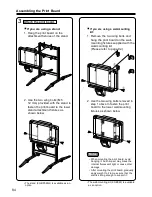
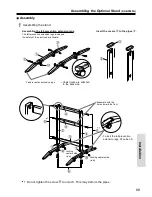
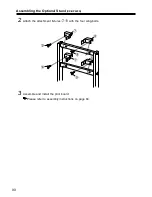
Assemble the optional stand or wall-mounting kit.
If you are using a stand, refer to page 88.
If you are using a wall-mounting kit, refer to page 91.
2
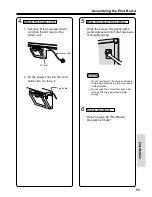
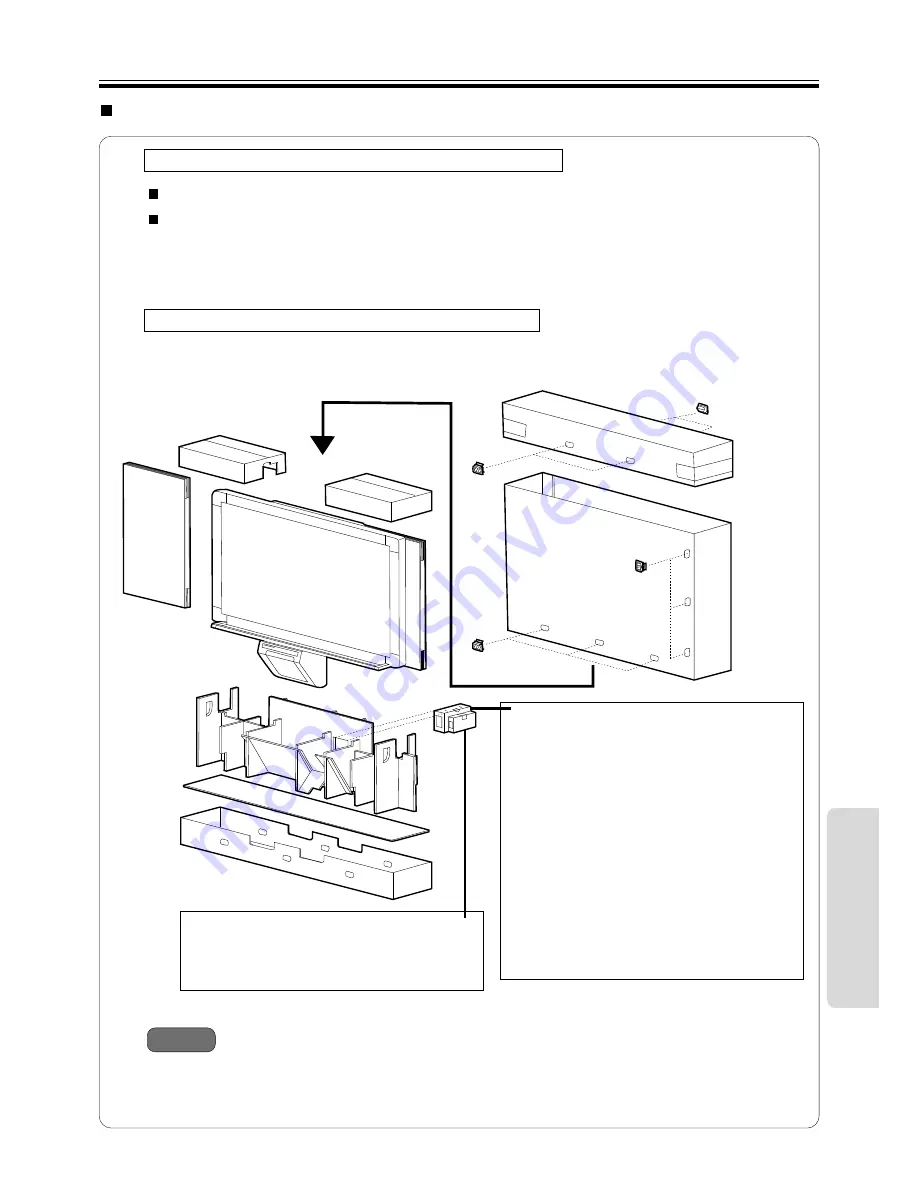
Remove the print board from the shipping box.
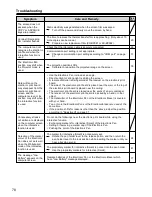
Remove the joints, then remove the print board from the shipping box.
• Do not touch the screen film surface as doing so may damage it.
• The shipping box, cushioning material, and other packaging materials will be necessary if you
ever need to repackage the print board, so do not throw them away.
Notes
In
s
ta
lla
tio
n
* KX-BP800U / G / A / T : A4
KX-BP800C
: Letter
83


