Using the View Window or Whiteboard Window
66
■
Print the IPB document
[A] Confirming print image of the IPB
document before printing
1
Click
Print Preview
in the
File
menu.
•
The window is switched to the Print Preview
screen.
2
Click
[Close]
to exit the Print Preview and
return the display mode to the original state.
Note
•
The screen image printed is called the Print
Preview. In the Print Preview you can display
print images of multiple page at a time. You
can also expand or reduce the size of the
page displayed in the screen.
[B] Printing currently displayed IPB
document
1
Click
Print...
in the
File
menu.
•
The Print window appears.
2
Set the
Printer
,
Print range
and
Number of
copies
.
3
Click
[OK]
.
•
The Printing window appears.
•
To stop the printing, click
[Cancel]
in the
Printing window.
■
Settings
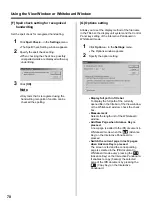
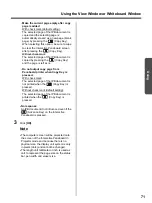
[A] Setting the meeting information
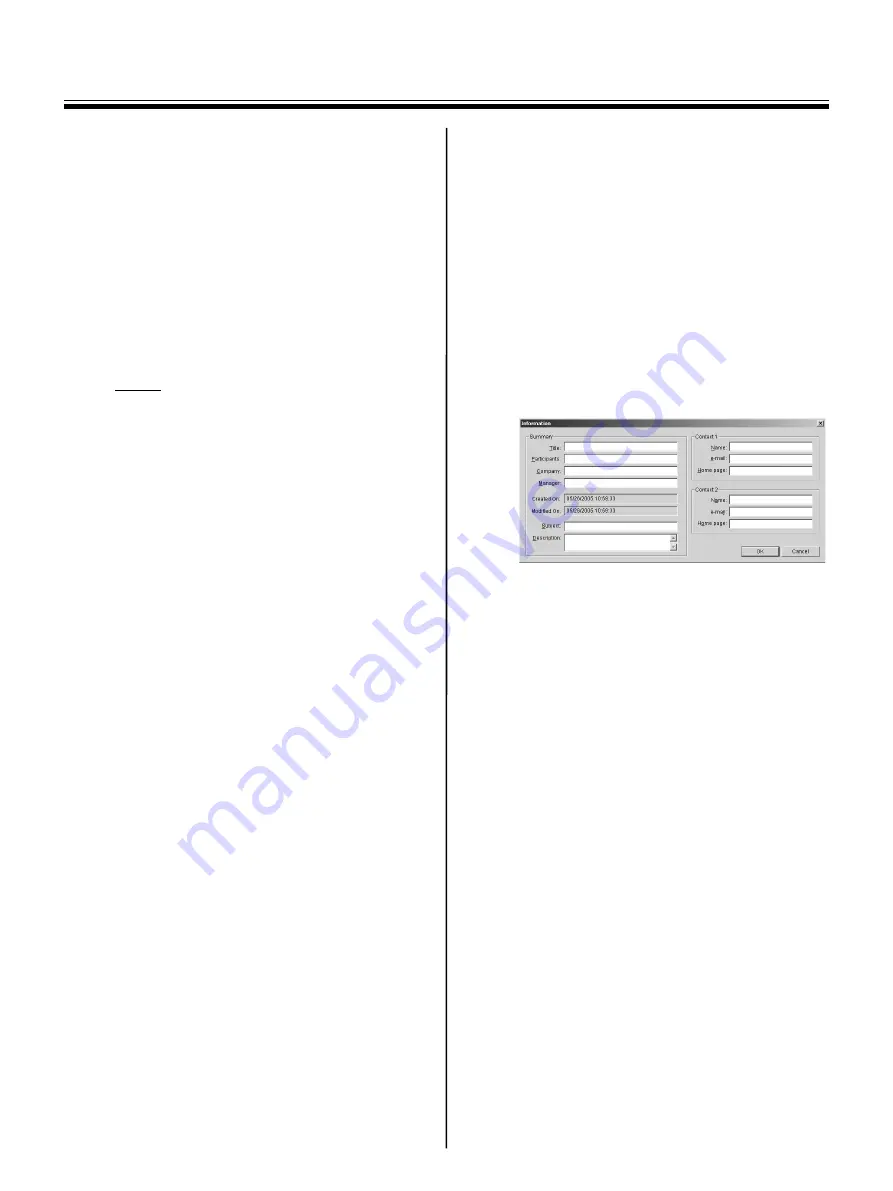
Allows you to record the meeting information of the
IPB document; titles, subjects and descriptions, etc.
The information can be output with page images when
exporting the IPB documents to HTML files.
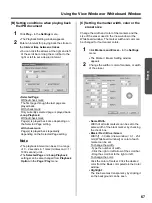
1
Click
Information...
in the
Settings
menu.
•
The Information window appears.
2
Enter necessary information as follows, and
then click
[OK]
.
•
Summary
Enter a summary of the recorded meeting
here.
-
Title / Participants / Company / Manager /
Subject / Description:
Enter each item of the meeting.
-
Created On:
Automatically displays the date and time
the IPB document was created.
-
Modified On:
Automatically displays the date and time
the IPB document was updated finally.
•
Contact
Enter information to contact individuals for
questions concerning the meeting here.
-
Name:
Enter the names of the person in charge of
the meeting.
-
e-mail:
Enter the e-mail address of the person in
charge of the meeting.
-
Home page:
Enter the home page of the person in
charge of the meeting.

