Using the Panaboard in Projector Mode
37
Using
•
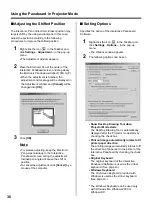
JPEG
:
Sets the quality level when exporting a page
as a JPEG format image file. The larger
number will get higher quality for the image
file than small number when exporting.
However, the file size will be large.
•
TIFF
:
When exporting a page as a TIFF format, an
image file is compressed by checking the
Compression (PACKBITS)
check box.
•
Save file automatically, named with the
date
:
The image file will be saved automatically as
a file named with the date of capture by
checking the check box.
•
Save Folder
:
Sets the default folder when saving image
files.
•
File Format
:
Sets the default format when saving image
files.
•
Display save verification dialog box
:
Displays a dialog box to verify the image file
name by checking the check box.
•
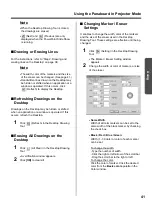
(Method 1) Draw strokes and record after
verifying the background image
:
After the background image is decided,
drawing with the marker and eraser are
recorded as an IPB document.
•
(Method 2) Record strokes and
background image together
:
Records the background image as an IPB
document at the same time as drawing with
the marker and eraser.
•
Desktop Drawing Tool: Drawing Data File
:
Specifies the folder to save the drawing data
if drawing data files for PowerPoint®*
1
Slide
Show is saved other than the folder of the
PowerPoint file.
*
1
Microsoft® PowerPoint® presentation
graphics program (hereafter PowerPoint)
3
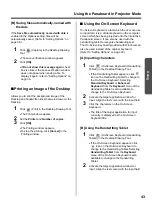
Click
[OK]
.
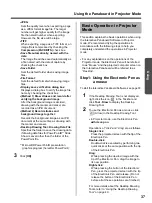
This section explains the basic operations when using
the Interactive Panaboard Software in Projector
mode. We recommend trying the operations in
accordance with the following steps to help you
completely understand the operations in Projector
mode.
•
For any explanations on the operations of the
Projector mode, the Electronic Pen will be referred
to as “Mouse” and the projected computer screen on
the Interactive Panaboard will be referred to as
“Desktop”.
Step1: Using the Electronic Pen as
a mouse
To start the Interactive Panaboard Software, see page 33.
1
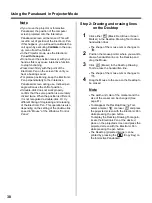
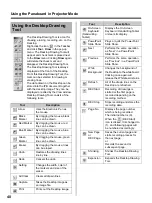
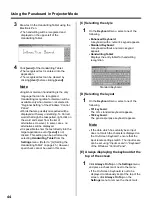
If the Desktop Drawing Tool is not displayed,
right-click the icon
in the Taskbar and
click
Tool
-
Draw
to display the Desktop
Drawing Tool.
2
To use the Electronic Pen as a mouse, click
(Arrow) in the Desktop Drawing Tool.
•
In Projector mode, use the Electronic Pen
with its cap on
.
Operations of “click” and “drag” are as follows.
Single click
:
Press the projected screen with the tip of the
Electronic Pen.
Double-click
:
Double-click is executed by performing two
quick clicks at the same position with the tip
of the Electronic Pen.
Drag
:
While pressing the desired image with the
tip of the Electronic Pen, drag the image to
its new position.
Right-click
:
While pressing the button of the Electronic
Pen, press the projected screen with the tip
of the Electronic Pen and release. (Do not
release the button of the Electronic Pen
before all of these operations are finished.)
For more details about the Desktop Drawing
Tools, refer to “Using the Desktop Drawing
Tool” on page 40.
Basic Operation in Projector
Mode

