Using the Panasonic-DMS
72
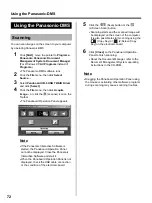
You can scan images on the screen to your computer
by operating Panasonic-DMS.
1
Click
[Start]
, move the pointer to
Programs
–
Panasonic
–
Panasonic Document
Management System
–
Document Manager
.
(For Windows XP,
All Programs
instead of
Programs
.)
•
The Panasonic-DMS software runs.
2
Click the
File
menu, then click
Select
Source...
.
3
Select
Panaboard UB-8 USB TWAIN Driver
and click
[Select]
.
4
Click the
File
menu, then click
Acquire
Image...
, or click the
(scanner) icon on the
Toolbar.
•
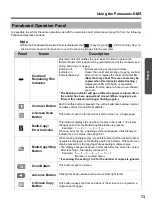
The Panaboard Operation Panel appears.
Note
•
If the Panasonic Interactive Software is
started, the Panaboard Operation Panel
cannot be displayed. Close the Panasonic
Interactive Software and start it.
•
When the Panaboard Operation Panel is not
displayed, check the USB cable connection
or the condition of the electronic board.
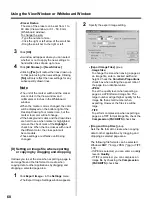
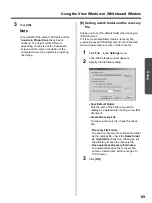
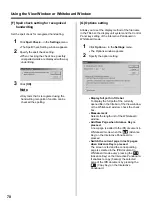
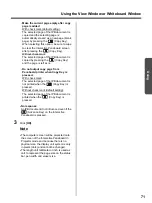
5
Click the
(Scan) button or the
(2-Screen Scan) button.
•
Scanning starts and the scanned image will
be displayed on the screen of the computer.
It is also possible to start scanning using the
(Copy Key) or
(2-Screen Copy
Key) on the electronic board.
6
Click
[Close]
on the Panaboard Operation
Panel to finish scanning.
•
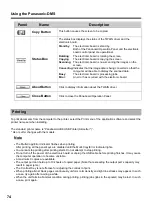
About the Document Manager, refer to the
Document Management System operating
instructions in the CD-ROM.
Note
•
Dragging the Panaboard Operation Panel using
the mouse or activating other software programs
during scanning may cause scanning troubles.
Using the Panasonic-DMS
Scanning

