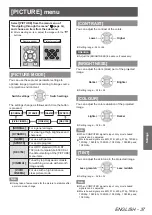
[PICTURE] menu
38 - ENGLISH
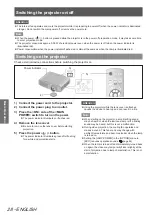
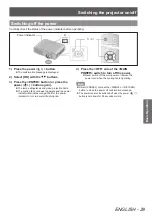
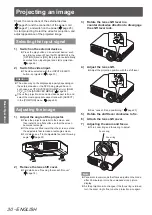
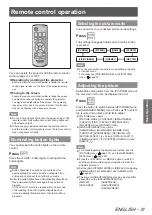
Settings
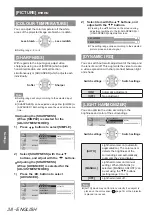
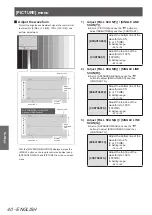
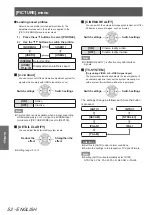
[COLOUR TEMPERATURE]
You can adjust the color temperature if the white
areas of the projected image are bluish or reddish.
Less bluish
Less reddish
Setting range: -6 to +6
z
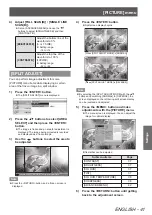
[SHARPNESS]
With regards to the input signal, adjust video
sharpness using one of [SIMPLE] which adjusts
horizontal direction and vertical direction
simultaneously or [ADVANCED] which adjusts each
individually.
Softer
Sharper
Note
Setting range will vary according to the selected input
z
signal.
[SHARPNESS] can be adjusted using either [SIMPLE] or
z
[ADVANCED]. Both settings cannot be used at the same
time.
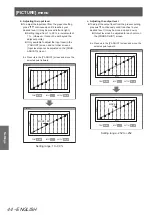
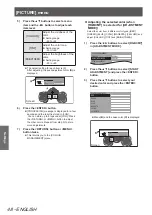
Adjusting the [SHARPNESS].
z
(When [SIMPLE] is selected for the
[ADJUSTMENT MODE].)
Press
1)
▲ ▼
buttons to select [SIMPLE].
SHARPNESS
ADJUSTMENT MODE
SHARPNESS
H-SHARPNESS
V-SHARPNESS
SIMPLE
0
PICTURE
POSITION
LANGUAGE
OPTION
Select [SHARPNESS] with the ▲▼
2)
buttons, and adjust with the ▲ ▼
buttons.
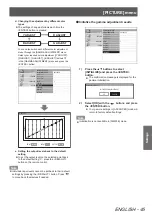
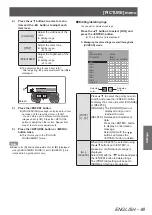
Adjusting the [SHARPNESS].
z
(When [ADVANCED] is selected for the
[ADJUSTMENT MODE].)
Press the ◄► buttons to select
1)
[ADVANCED].
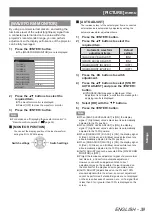
SHARPNESS
ADJUSTMENT MODE
SHARPNESS
H-SHARPNESS
V-SHARPNESS
ADVANCED
0
0
PICTURE
POSITION
LANGUAGE
OPTION
Select item with the ▲▼ buttons, and
2)
adjust with the
▲ ▼
buttons.
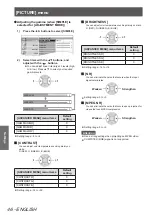
Pressing the ▲▼ buttons on the screen during
z
adjustment switches to the [H-SHARPNESS] or
[V-SHARPNESS] adjustment screen.
H-SHARPNESS
V-SHARPNESS
0
0
The setting range varies according to the selected
z
picture mode and input signal.
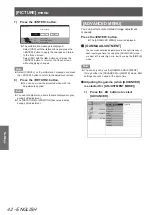
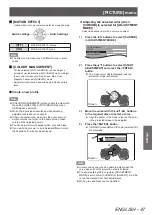
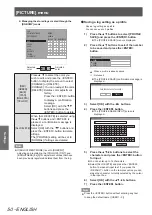
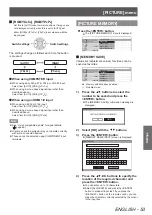
[DYNAMIC IRIS]
You can switch automatic adjustment of the lamp and
the lens iris on/off. This augments the video to create
a video expression with sharp contrast between light
and shade.
Switch settings
Switch settings
[ON]
Automatic adjustment
[OFF]
No adjustment
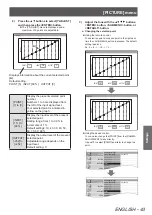
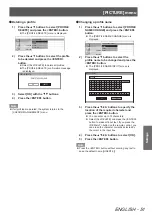
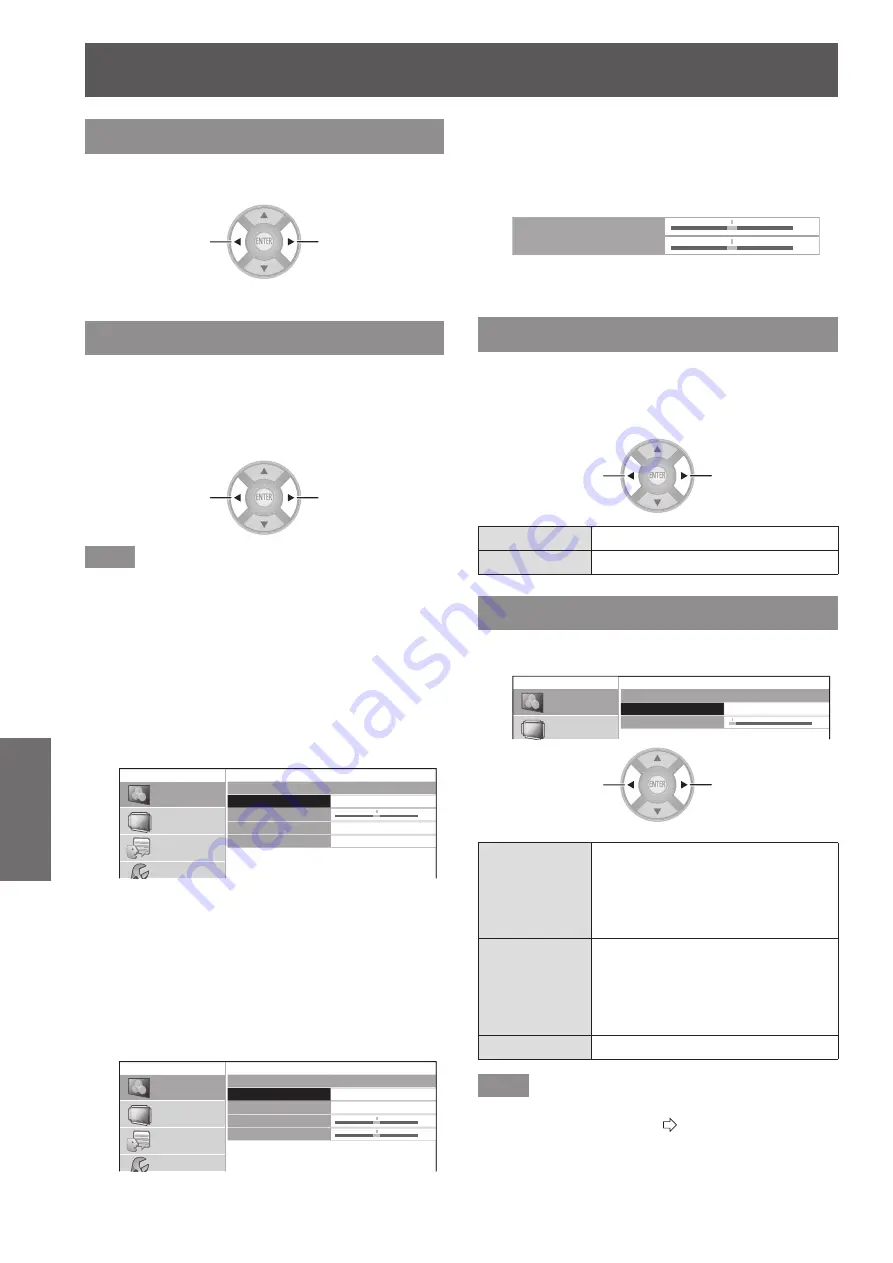
[LIGHT HARMONIZER]
You can optimize the video according to the
brightness and color of the surroundings.
LIGHT HARMONIZER
MODE
MANUAL ADJUST
MANUAL
PICTURE
POSITION
LANGUAGE
OPTION
0
Switch settings
Switch settings
[AUTO]
Light harmonizer on (automatic
augmentation). The color sensor
detects the brightness of the
surroundings and automatically
augments the video display.
[MANUAL]
Light harmonizer on (manual
setting). When [MANUAL] is
selected, [MANUAL ADJUST] can
be set using the
▲ ▼
buttons
(setting range: 0 to +3).
[OFF]
Light harmonizer off.
Note
[AUTO] mode may not function correctly if an object is
z
placed on the color sensor (
page 18) or the projector
is placed in a recess.

