31
Using Web Browser (continued)
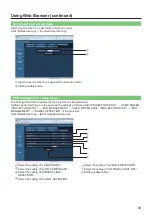
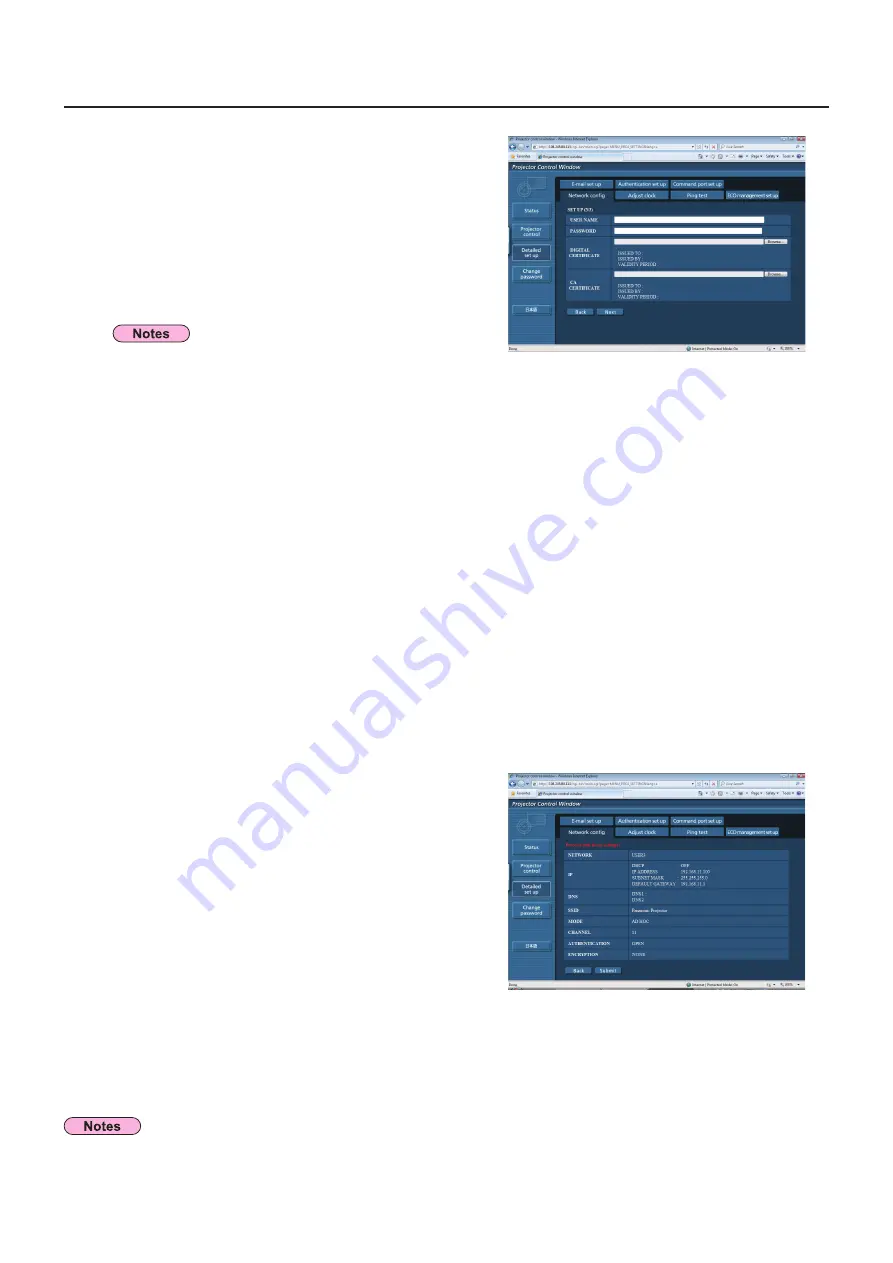
Complete the detailed settings and click
3
[Next].
When [Next] is clicked, the next page appears, enabling
you to complete the detailed settings as desired.
Settings performed here are the same as the settings
performed with the [NETWORK] menu of the projector,
except when “EAP-TLS” is selected as the EAP.
WIRED LAN (See page 10)
•
WIRELESS LAN (See page 11)
•
Register user name, password, digital certificate, and
•
CA certificate when the authentication method is
“EAP-TLS
_
”.
USER NAME
: Input a user name used for
authentication (excluding spaces)
(maximum 64 characters).
PASSWORD
: Input a password used for
authentication (maximum 64
characters).
DIGITAL
CERTIFICATE
:
Register a digital certificate
(extension: PFX) to be used for
authentication.
CA CERTIFICATE :
Register a CA certificate
(extension: CER) to be used for
authentication.
“Glossary” (
_
See page
44 – 45)
Authentication error occurs if the time of the projector
•
is not set correctly.
Check “PROJECTOR SETUP” → “DATE AND TIME”
of the projector.
After all required items have been entered, a confirmation
window appears.
Click [Submit].
4
The settings will be registered.
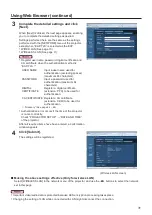
(Wireless LAN screen)
Making the above settings effective (Only for wireless LAN)
w
w
Select [WIRELESS LAN] in the network menu of the projector, and use the
◄►
buttons to select the network
set in this page.
Important video/audio data is protected because AES encryption processing takes place.
•
Changing the setting of LAN while connected with LAN might disconnect the connection.
•


