Chapter 2
Getting Started — Before the installation
ENGLISH - 29
Before the installation
This section describes the display method using the projector.
Installation method
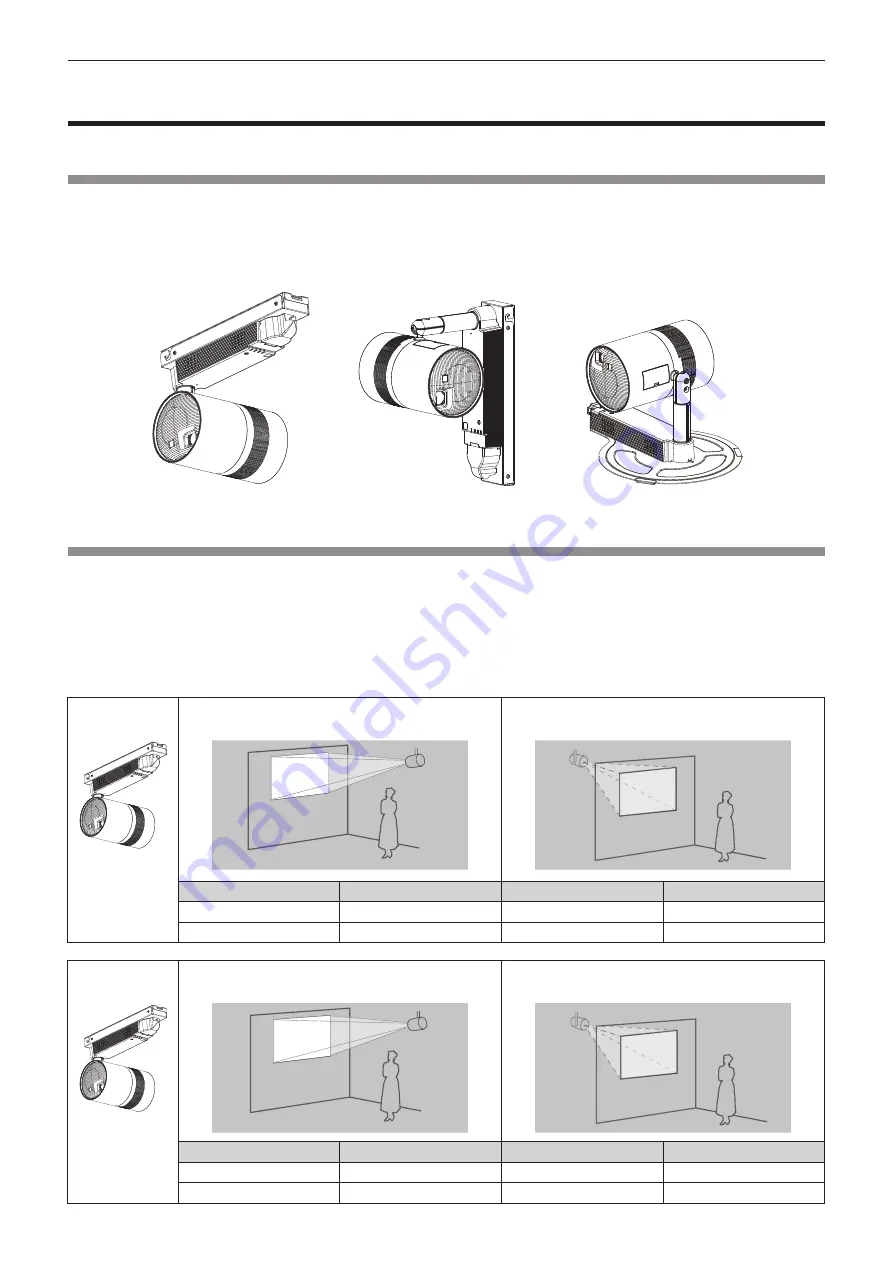
The projector can be installed in three methods of wall or ceiling mount and floor standing depending on the
combination of the optional accessories. Purchase the optional accessories depending on the installation
method. The Mount Bracket (Model No.: ET-JPC200BE, ET-JPC200WE) is required for wall or ceiling mounting
installation, and the Floor Stand Kit (Model No.: ET-JPF200BE, ET-JPF200WE) is required for floor standing
installation.
Installation example when
installing on the wall
Installation example when
installing on the floor
Installation example when
installing on the ceiling
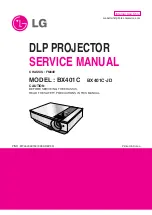
Installation form
There are a total of four installation forms: two for the projection method and two for the display direction, for
each of the three installation methods. Set the [SETUP] menu
→
[PROJECTION METHOD] (
x
page 63) and
[VERTICAL FLIP] (
x
page 63) depending on the installation form in combination with the optional accessories.
The following illustration is an example when the orientation of the main unit is adjusted to the position as
indicated on the left of the table.
r
Installation form when installing on the ceiling
Orientation of
main unit
To project forward
To project from rear
(Using the translucent screen)
ABC
ABC
ABC
ABC
ABC
ABC
ABC
ABC
Menu item
Method
Menu item
Method
[PROJECTION METHOD]
[FRONT]
[PROJECTION METHOD]
[REAR]
[VERTICAL FLIP]
[OFF]
[VERTICAL FLIP]
[OFF]
Orientation of
main unit
To project forward
To project from rear
(Using the translucent screen)
ABC
ABC
ABC
ABC
ABC
ABC
ABC
ABC
Menu item
Method
Menu item
Method
[PROJECTION METHOD]
[FRONT]
[PROJECTION METHOD]
[REAR]
[VERTICAL FLIP]
[ON]
[VERTICAL FLIP]
[ON]


