Chapter 2
Getting Started — Installing the Function Board
ENGLISH - 55
Installing the Function Board
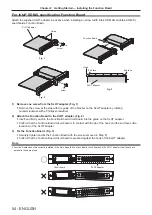
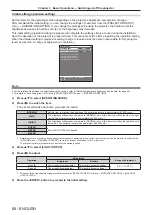
1) Remove the slot cover. (Fig. 1)
f
Remove the two screws fixing the slot cover by rotating counterclockwise with a Phillips screwdriver. The
removed screws are used to fix the Function Board.
f
When removing the second screw, hold the slot cover with your hand so it will not fall.
f
To replace from another Function Board, remove the Function Board following the procedure in “Removing
the Function Board” (
x
page 55).
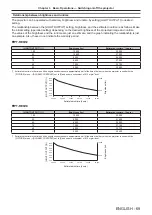
2) Install the Function Board in the projector. (Fig. 2)
f
Insert the Function Board along the groove of the guide rail at both sides inside the slot. Insert the bracket
firmly all the way in.
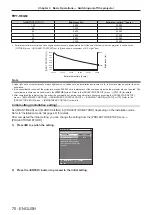
3) Fix the Function Board. (Fig. 3)
f
Tighten and fix the Function Board with the two screws removed in Step
1)
.
Attention
f
The removed slot cover is required when the projector is used with the Function Board removed. Store it so that it can be attached in the
future.
Removing the Function Board
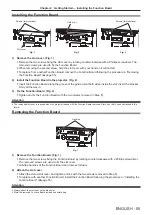
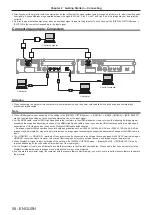
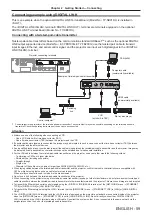
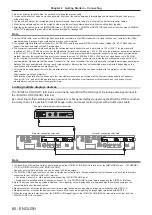
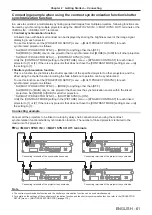
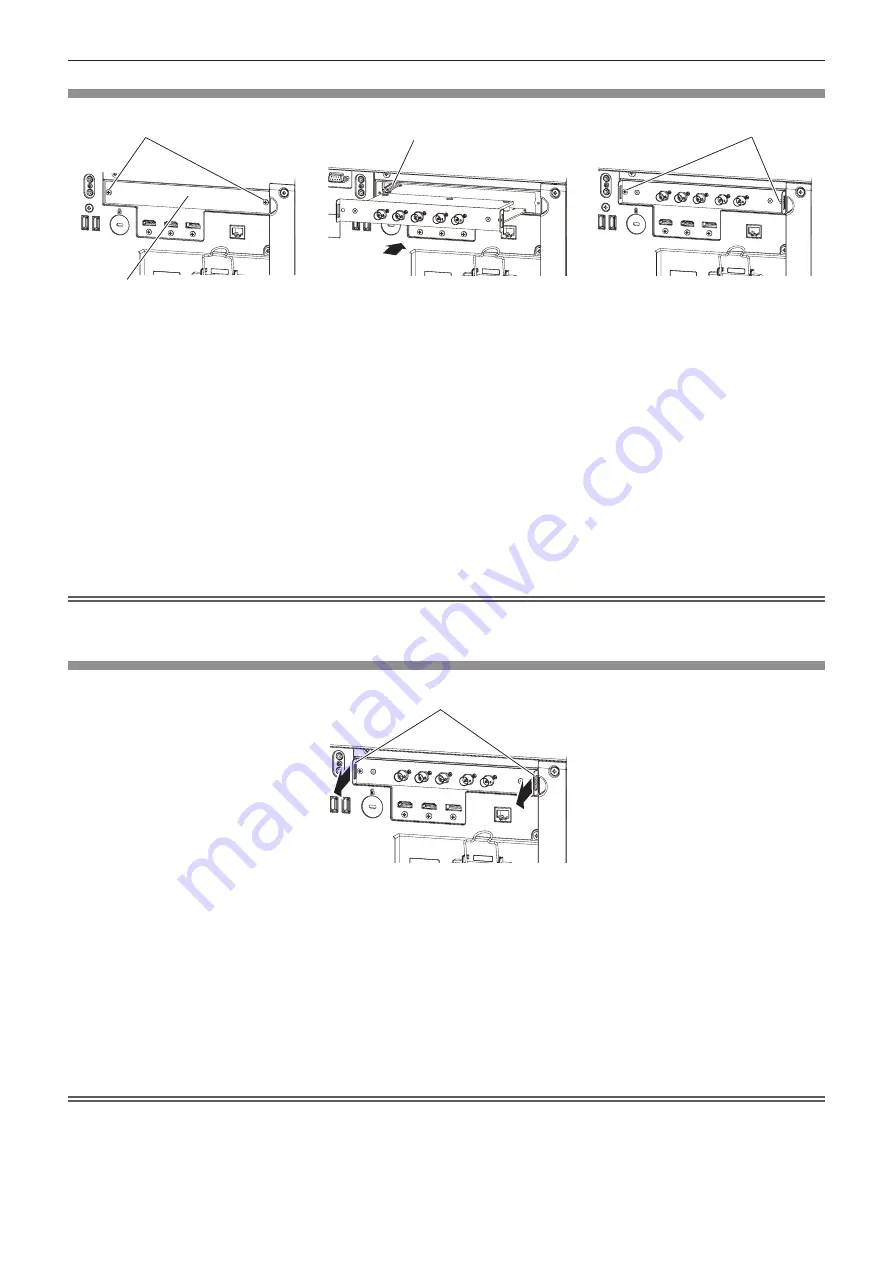
1) Remove the Function Board. (Fig. 1)
f
Remove the two screws fixing the Function Board by rotating counterclockwise with a Phillips screwdriver.
The removed screws are used to fix the slot cover.
f
Hold the handles of the Function Board and remove it slowly.
2) Attach the slot cover.
f
Attach the stored slot cover, and tighten and fix with the two screws removed in Step
1)
.
f
To replace with another Function Board, install the Function Board following the procedure in “Installing the
Function Board” (
x
page 55).
Attention
f
Always attach the slot cover on the blank slot.
f
Store the removed Function Board inside an antistatic bag.
Fig. 1
Fig. 2
Fig. 3
Screws (two locations)
Slot cover
Guide rail
Screws (two locations)
Handles
Fig. 1

