f
The image quality will deteriorate as the correction amount of [SCREEN ADJUSTMENT] increases. Install the projector so that the
correction amount is as small as possible.
f
When adjustments are performed with [SCREEN ADJUSTMENT], the image size also changes.
Setting [DIGITAL ZOOM EXTENDER]
Sets [DIGITAL ZOOM EXTENDER] to extend the projection distance when the projection distance exceeds the
optical zoom range.
1) Press
as
to select [SCREEN ADJUSTMENT].
2) Press the <ENTER> button.
f
The
[SCREEN ADJUSTMENT]
screen is displayed.
3) Press
as
to select [DIGITAL ZOOM EXTENDER].
4) Press
qw
to switch the item.
f
The items will switch each time you press the button.
[OFF]
Disables the [DIGITAL ZOOM EXTENDER] function.
[100%]
Displays the projected image which is not adjusted by the [DIGITAL ZOOM EXTENDER] function.
[95%]
Sets according to the projection distance that exceeds the optical zoom range of the projector.
For details, refer to “Projected image and throw distance” (
x
page 36)
.
[90%]
[85%]
[80%]
Note
f
The [DIGITAL ZOOM EXTENDER] function is realized via corner correction and the resolution may decrease when using this function. It is
not recommended to use this function when the projection distance is within the optical zoom range.
Setting
[KEYSTONE]
1) Press
as
to select [SCREEN ADJUSTMENT].
2) Press the <ENTER> button.
f
The
[SCREEN ADJUSTMENT]
screen is displayed.
3) Press
as
to select [KEYSTONE].
4) Press the <ENTER> button.
f
The
[KEYSTONE]
individual adjustment screen is displayed.
5) Press
asqw
to adjust the item.
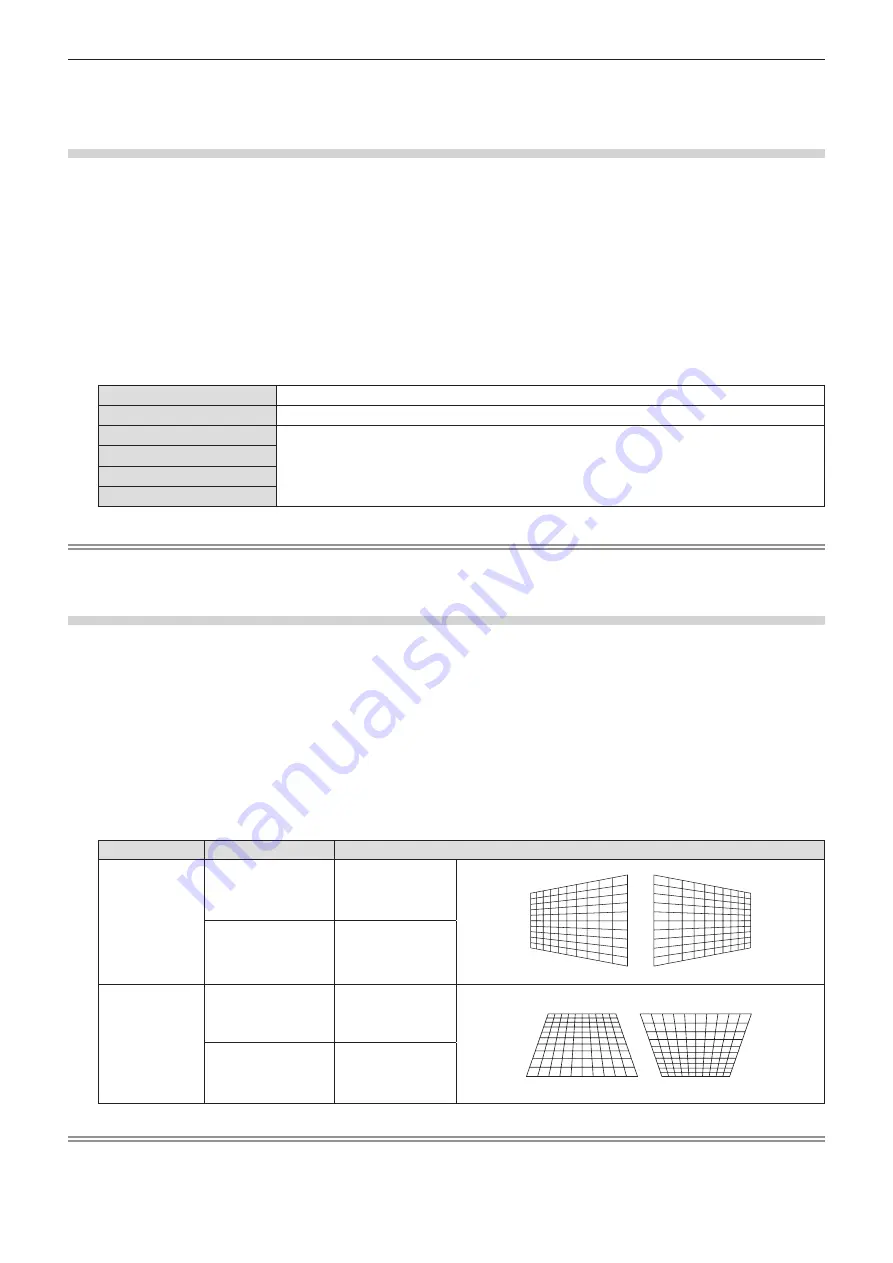
Items
Operation
Adjustment
[H]
Press the
q
button.
Left side will be
smaller.
Press the
w
button.
Right side will be
smaller.
[V]
Press the
a
button.
Upper will be
smaller.
Press the
s
button.
Lower will be
smaller.
Note
f
The image quality may degrade and it becomes difficult to focus as the amount of correction increases. When installing the projector, try to
ensure that the amount of correction required is minimal.
ENGLISH
-
75
Chapter 4 Settings - [POSITION] menu


