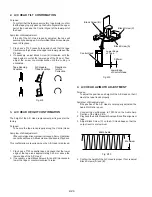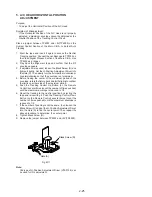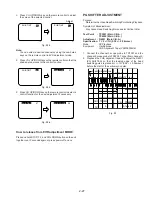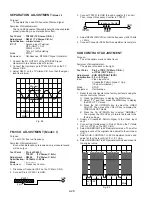
2-26
SUB COLOR
SUB TINT
SUB BRIGHT
SUB SHARPNESS
R CUT -OFF
G CUT -OFF
B CUT -OFF
G DRIVE
B DRIVE
SUB CONTRAST
H CENTER
V SIZE
C0 – FF, 00 – 3F
E0 – FF, 00 – 1F
C0 – FF, 00 – 3F
E0 – FF, 00 – 1F
00 – 7F
00 – FF
00 – FF
00 – 7F
00 – 7F
00 – 0F
00 – 0F
00 – 7F
Control functions
Range
Default
00
00
F0
00
1E
3C
3C
40
40
06
08
40
SUB TINT
00
SUB TINT
00
SUB COLOR
00
Control Function
Value to be
adjustment
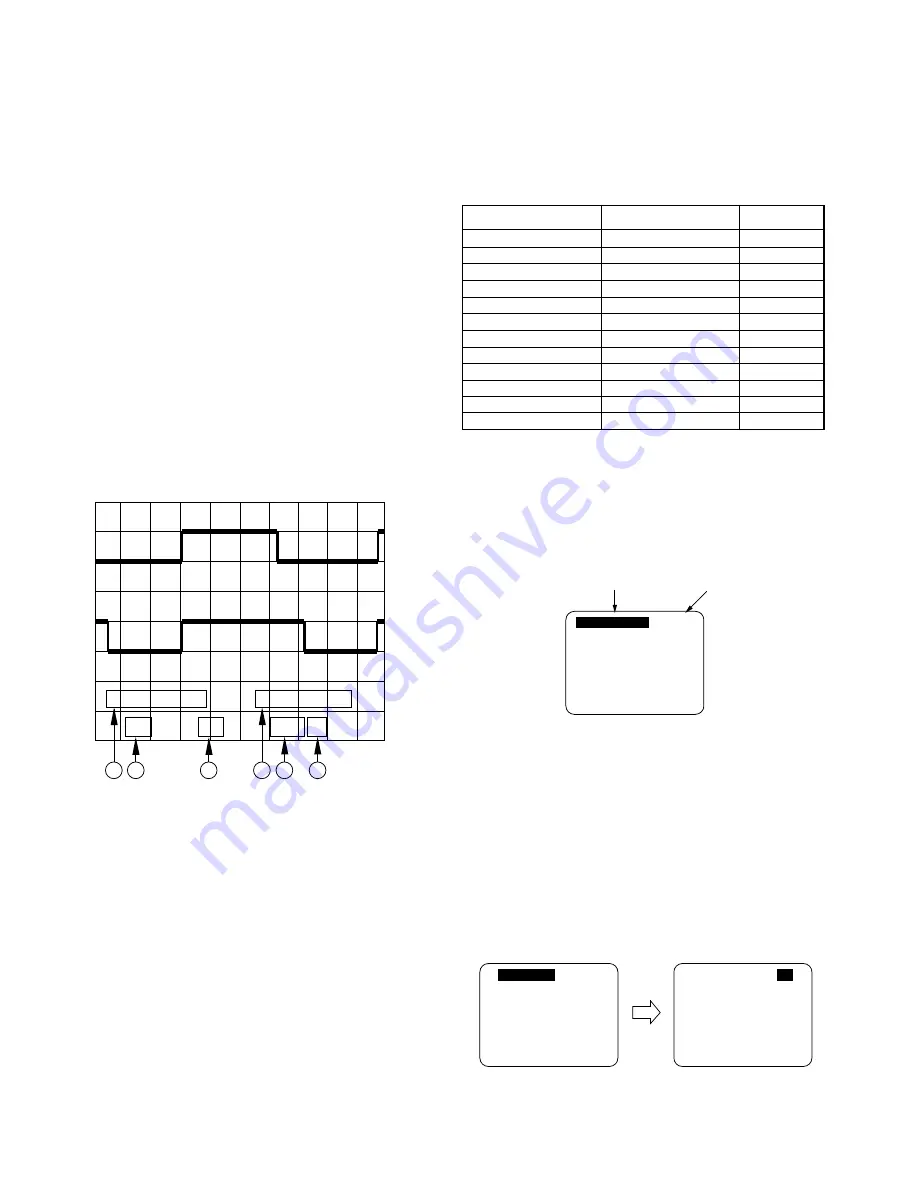
CH1: TP2005
CH2: TP2006
5V
5ms 1
5V
1
2
3
4
5
6
1. Connecting Point
3. Volts/DIV
5. Time/DIV
2. Volts/DIV
4. Connecting Point
6. Trigger Channel of
the Scope
1 : CH1
2 : CH2
CH1
CH2
ELECTRICAL ADJUSTMENT
PROCEDURES
TEST EQUIPMENT
To do all of these electrical adjustments, the following equipment
is required.
1. Dual-Trace Oscilloscope
Voltage Range
: 0.001 to 50V/Div.
Frequency Range
: DC to 50MHz
Probes
: 10:1, 1:1
2. NTSC Video Pattern Generator
3. DVM(Digital Volt Meter)
Voltage Range
: 0.01 to 50V
4. Plastic Tip Driver and Non-Metal Driver
5. Isolation Transformer (Variable)
6. VHS Alignment Tape (VFMS0003H6)
7. Degaussing Coil
8. White Pattern Generator
9. White Balance Meter
HOW TO READ THE ADJUSTMENT
PROCEDURES
Fig. E1
EVR (Electronic Variable Register)
Adjustment with the remote control
This unit has electronic technology using I
2
C Bus concept.
The following control functions are adjusted by using "On
Screen Displays" and the remote control instead of adjusting
mechanical controls (VR).
Fig. E2-1 Control Functions
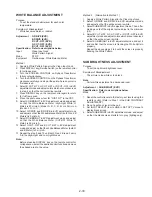
HOW TO ENTER EVR ADJUSTMENT MODE
Press and hold STOP, FF, and VOL DOWN button together
on the unit over 5 seconds with no cassette inserted.
The adjustment overlay will appear.
Fig. E2-2
HOW TO ADJUST
1. Press CH UP/DOWN key on the remote control to select
control function to be adjusted.
Important Note:
Make a note of the original value of the controls before
modifying in case the wrong control is adjusted.
2. Press VOL UP/DOWN key on the remote control so that the
shaded area moves to the value.
Fig. E2-3
Summary of Contents for PV-M1327
Page 5: ...1 3 ...
Page 6: ...1 4 ...
Page 7: ...1 5 ...
Page 8: ...1 6 ...
Page 54: ......
Page 55: ......
Page 56: ......
Page 57: ......
Page 58: ......
Page 59: ......
Page 60: ......
Page 61: ......
Page 62: ......
Page 63: ......
Page 64: ......
Page 65: ......
Page 66: ......
Page 67: ......
Page 68: ......
Page 69: ......
Page 70: ......
Page 71: ......
Page 72: ......
Page 73: ......
Page 74: ......
Page 75: ......
Page 76: ......
Page 77: ......
Page 78: ......
Page 79: ......
Page 80: ......
Page 81: ......
Page 82: ......
Page 83: ......
Page 84: ......
Page 85: ......
Page 86: ......
Page 87: ......
Page 88: ......
Page 89: ......
Page 90: ......
Page 91: ......
Page 92: ......
Page 93: ......
Page 94: ......
Page 95: ......
Page 96: ......
Page 97: ......
Page 98: ......
Page 99: ......
Page 100: ......
Page 101: ......
Page 102: ......
Page 103: ......
Page 104: ......
Page 105: ......
Page 106: ......
Page 107: ......
Page 108: ......
Page 109: ......
Page 110: ......
Page 111: ......
Page 112: ......
Page 113: ......
Page 114: ......
Page 143: ...Printed in Japan R ...


