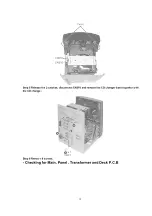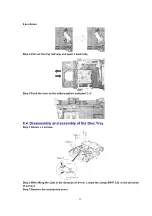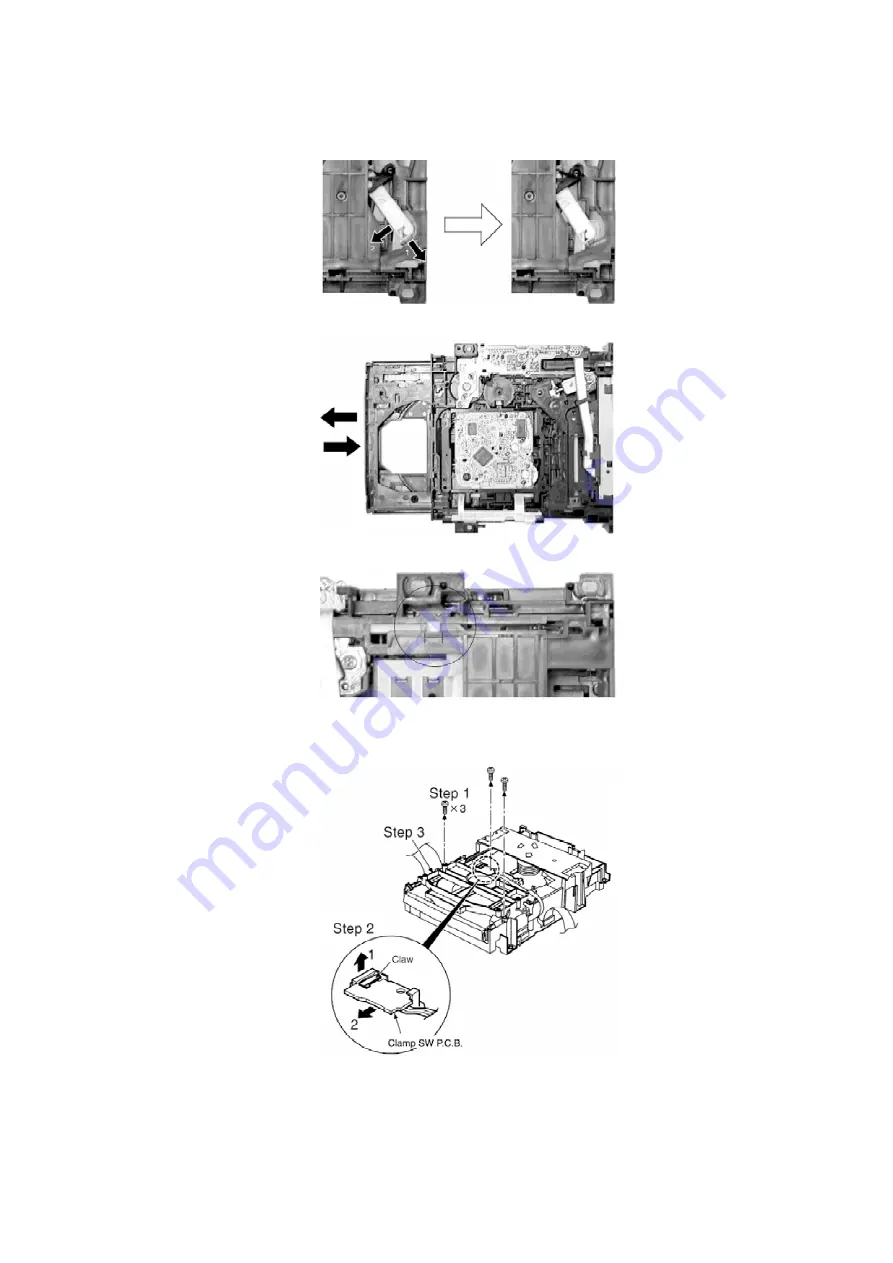
2 as shown.
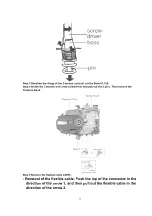
Step 4 Pull out the tray half way and push it back fully.
Step 5 Push the lever to the initial position indicated ‘|---|’.
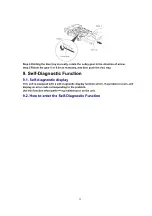
8.4. Disassembly and assembly of the Disc Tray
Step 1 Remove 3 screws.
Step 2 With lifting the claw in the direction of arrow 1, draw the clamp SW P.C.B. in the direction
of arrow 2.
Step 3 Remove the mechanism cover.
22
Summary of Contents for SA-AK100P
Page 12: ...Step 2 Remove the Top Cabinet Step 3 Push the lever in the direction of the arrow 12...
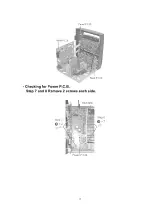
Page 15: ...Checking for Power P C B Step 7 and 8 Remove 2 screws each side 15...
Page 49: ...20 Parts Location and Replacement Parts List Notes 49...
Page 51: ...20 1 Deck Mechanism RAA4501 1S 20 1 1 Deck Mechanism Parts Location 51...
Page 52: ...20 1 2 Deck Mechanism Parts List 52...
Page 54: ...54...
Page 55: ...20 2 2 CD Loading Mechanism Parts List 55...
Page 58: ...58...
Page 59: ...20 3 2 Cabinet Parts List 59...
Page 67: ...H601 RMR0317 8P CABLE HOLDER M 67...
Page 69: ...R116 ERJ3GEYJ102V 1K 1 16W M 69...
Page 84: ...C1041 ECEA1CKA100B 10 16V M 84...
Page 87: ...Printed in Singapore P020100001 D K J N L PRT 87...

