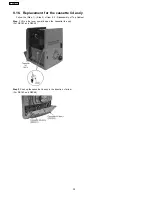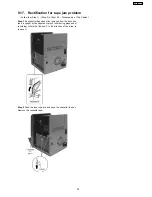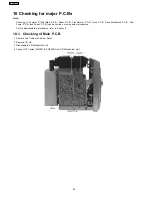
10.4. Checking of Power P.C.B.
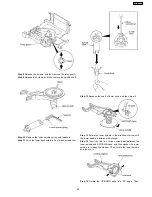
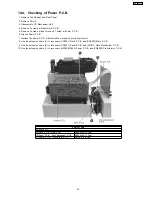
1. Remove Top Cabinet and Rear Panel.
2. Remove CD Lid.
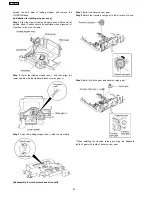
3. Disassemble CD Mechanism Unit.
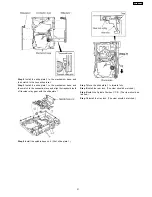
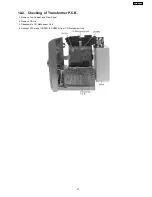
4. Remove 3 screws at Transformer P.C.B..
5. Remove 2 screws at heat sink and 1 screw at Power P.C.B.
6. Flip the Power P.C.B.
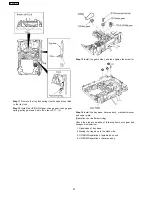
7. Insulate the Power P.C.B. with insulation material to avoid short circuit.
8. Use the extension cable (A) to reconnect (CN1001) Deck P.C.B. and (CN2803) Main P.C.B.
9. Use the extension cable (B) to reconnect (CP6401) Panel P.C.B. and (CN971) Deck Mechanism P.C.B.
10. Use the extension cable (C) to reconnect (H5950/W5950) Power P.C.B. and (CN5950) Transformer P.C.B.
Service Tools
Extension FFC
(A) Deck P.C.B. - Main P.C.B.
REEX0485 (14 Pins)
(B) Panel P.C.B. - Deck Mechanism P.C.B.
REEX0484 (10 Pins)
(C) Power P.C.B. - Transformer P.C.B.
RFKAK330 (9 Pins)
43
SA-AK631PL
Summary of Contents for SA-AK631PL
Page 8: ...7 Accessories Remote Control FM Antenna AC Cord AM Loop Antenna 8 SA AK631PL ...
Page 9: ...8 Operation Procedures 9 SA AK631PL ...
Page 10: ...10 SA AK631PL ...
Page 59: ...15 Voltage Measurement 59 SA AK631PL ...
Page 60: ...60 SA AK631PL ...
Page 92: ...21 Troubleshooting Guide 92 SA AK631PL ...
Page 94: ...22 1 Deck Mechanism RAA3412 S 22 1 1 Deck Mechanism Parts Location 94 SA AK631PL ...
Page 95: ...95 SA AK631PL ...
Page 98: ...98 SA AK631PL ...
Page 100: ...22 3 Cabinet 22 3 1 Cabinet Parts Location 100 SA AK631PL ...
Page 101: ...101 SA AK631PL ...
Page 112: ...22 6 Packaging 112 SA AK631PL PRT0412 D S J N A E ...

