44
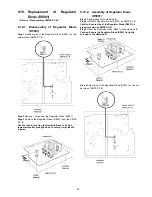
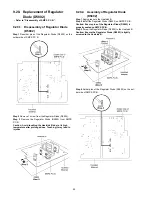
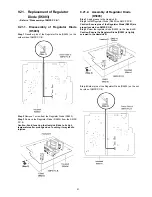
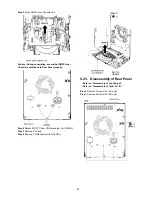
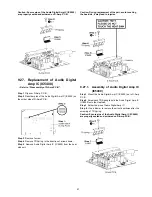
Step 4 Slightly lift up & remove D-Amp Unit as arrow shown.
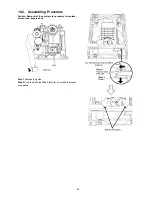
Caution: During assembling, ensure that D-Amp Bracket is
seated on the locator of Inner Chassis properly.
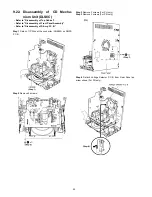
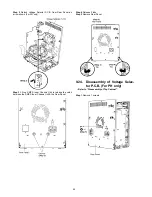
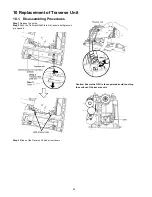
Step 5 Detach 17P FFC at the connector (CN5050) on D-Amp
P.C.B..
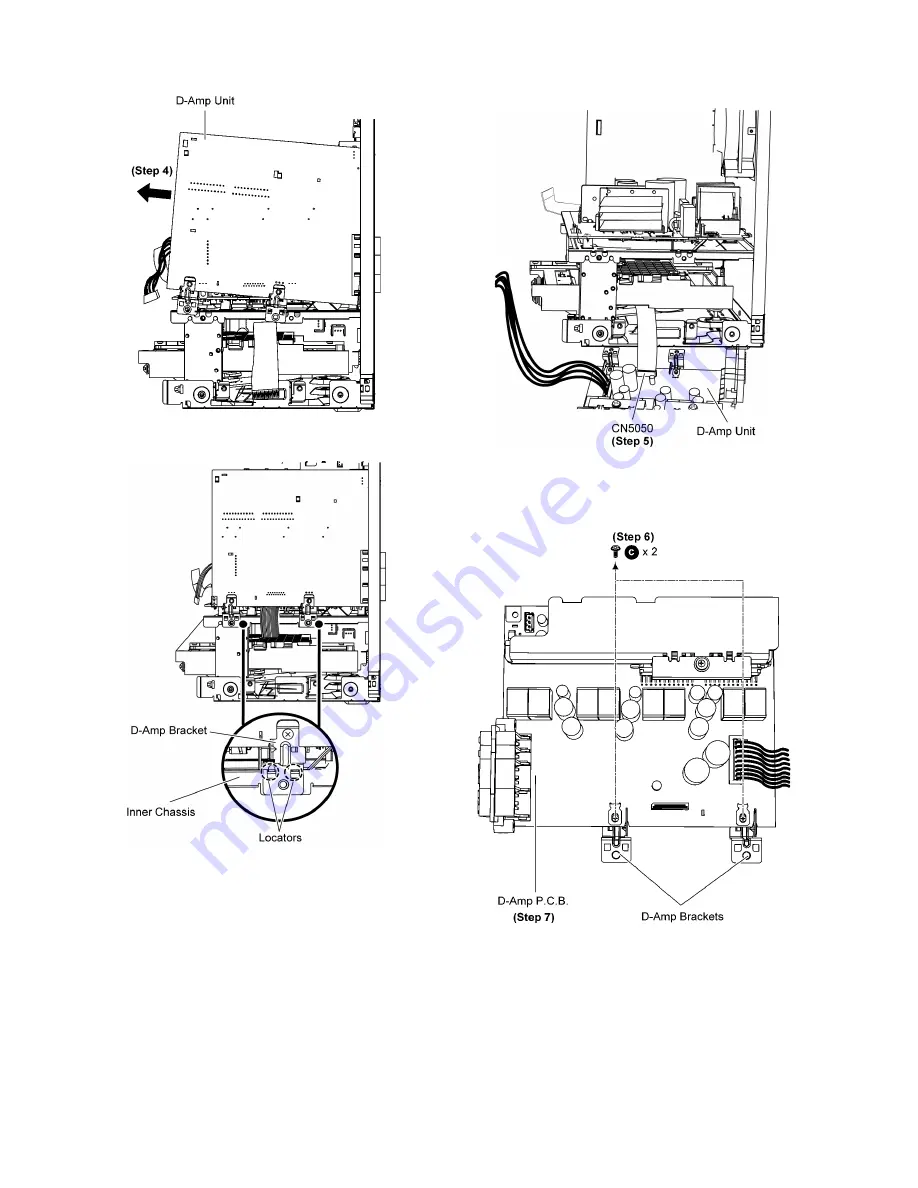
Step 6 Remove 2 screws.
Step 7 Remove D-Amp P.C.B..
Caution: Keep the D-Amp Brackets in safe place, place it
back during assembling.
Summary of Contents for SA-AKX50PH
Page 13: ...13 5 Location of Controls and Components 5 1 Main Unit Key Button Operation ...
Page 14: ...14 5 2 Remote Control Key Button Operation ...
Page 15: ...15 5 3 Media Information ...
Page 20: ...20 6 4 Self Diagnostic Mode ...
Page 31: ...31 9 2 Main Components and P C B Locations ...
Page 74: ...74 ...
Page 84: ...84 ...
Page 112: ...112 ...
Page 118: ...118 ...
Page 132: ...132 MMH1003 ...


