71
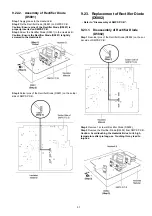
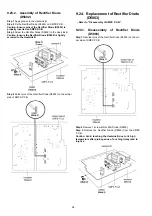
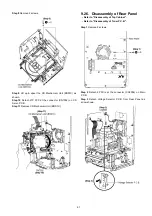
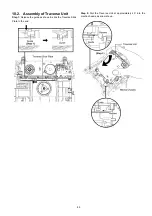
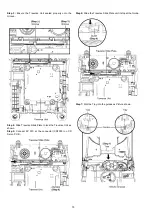
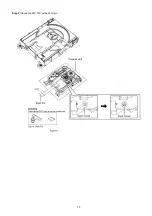
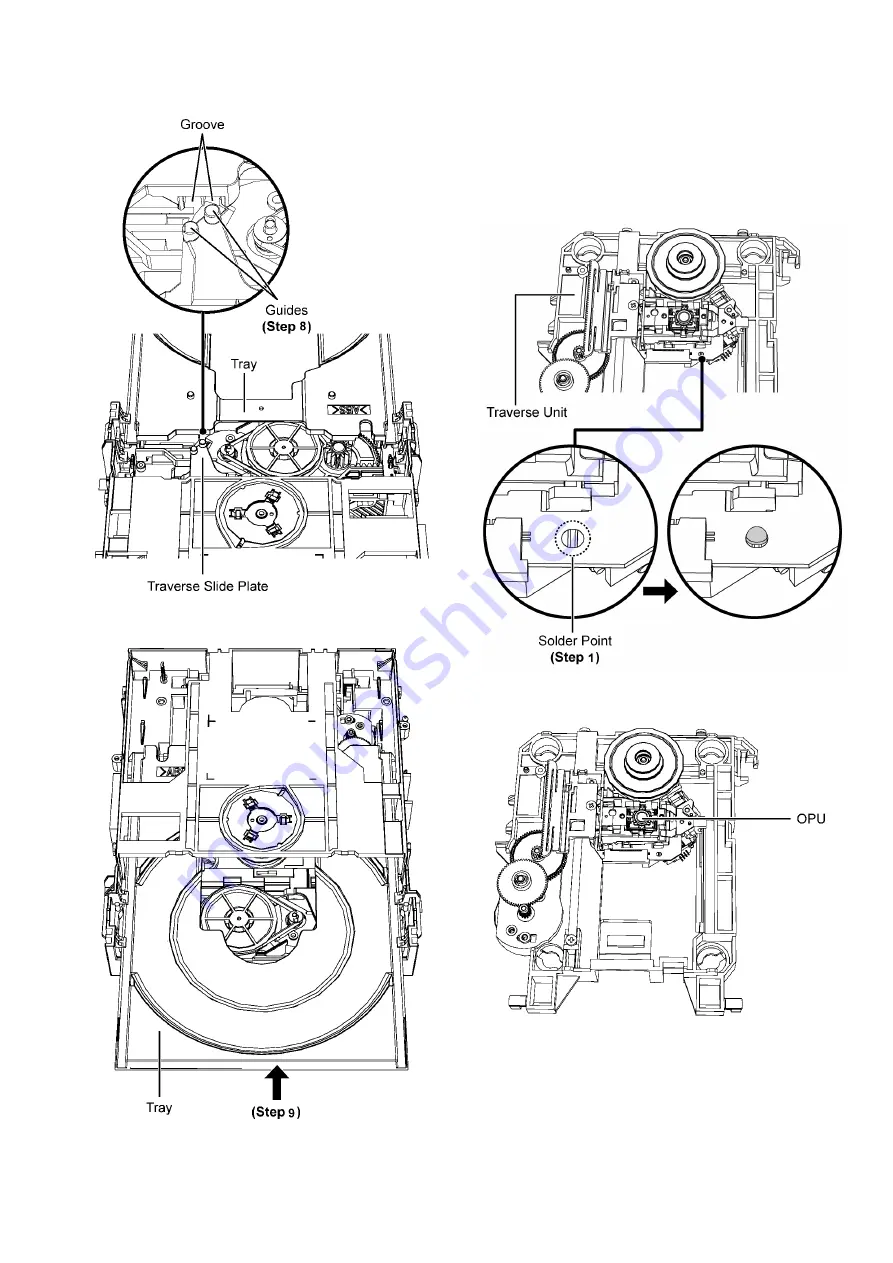
Step 8: Ensure the guides is align with the groove when sliding
the tray in.
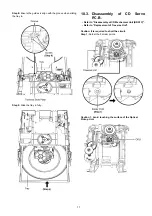
Step 9: Slide the tray in fully..
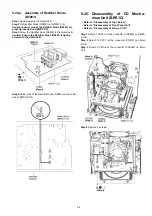
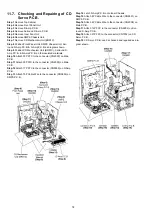
10.3. Disassembly of CD Servo
P.C.B.
• Refer to “Disassembly of CD Mechanism Unit (BRS1C)”.
• Refer to “Replacement of Traverse Unit”.
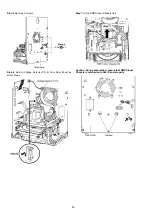
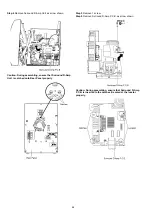
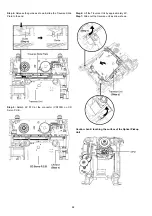
Caution: It is required to short the circuit.
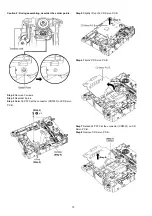
Step 1: Solder the 3 solder points.
Caution 1: Avoid touching the surface of the Optical
Pickup Unit.
Summary of Contents for SA-AKX92PH
Page 13: ...13 5 Location of Controls and Components 5 1 Main Unit Key Button Operation ...
Page 14: ...14 5 2 Remote Control Key Button Operation ...
Page 15: ...15 5 3 Media Information ...
Page 27: ...27 7 2 4 Surround D Amp P C B Fig 4 Surround D Amp P C B Audio Digital Amp IC IC5900 ...
Page 33: ...33 9 2 Main Components and P C B Locations ...
Page 73: ...73 Step 9 Ground the 24P FFC with a short pin ...
Page 92: ...92 ...
Page 93: ...93 14 Simplified Block Diagram 14 1 Overall Simplified Block Diagram ...
Page 104: ...104 ...
Page 140: ...140 ...
Page 157: ...157 MMH1103 ...

