68
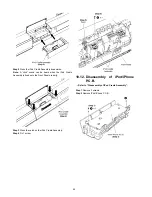
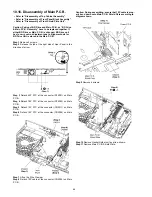
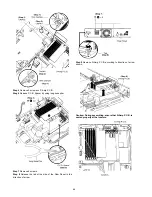
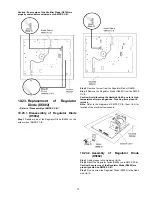
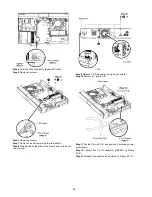
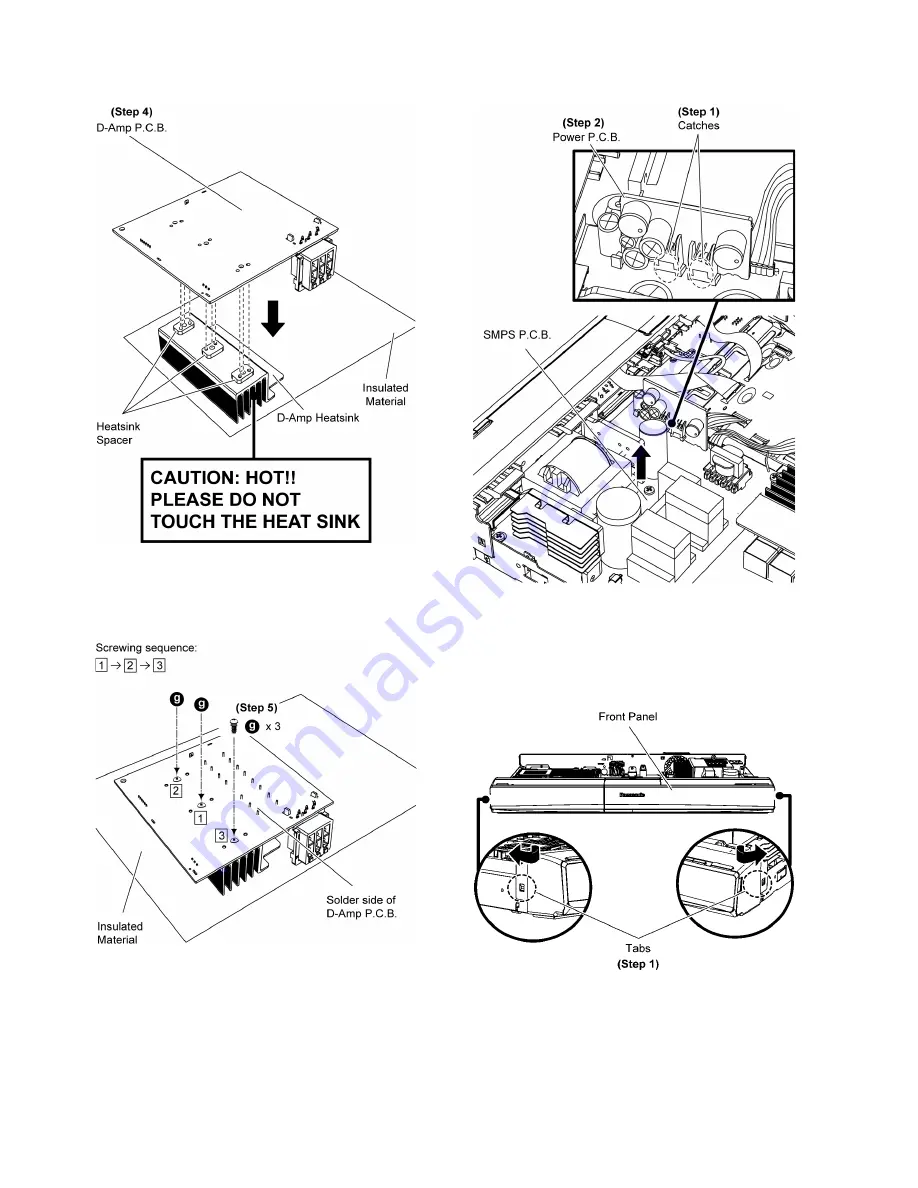
Caution: During assembling, ensure that heatsink spacer
is seated properly onto Amp Heatsink.
Caution: Ensure that D-Amp P.C.B. is properly located and
fixed on to Amp Heatsink before screwing.
Step 5 Fix 3 screws.
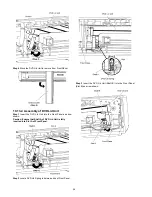
Caution: During assembling, ensure that screwing
sequence is strictly follow to the illustration shown.
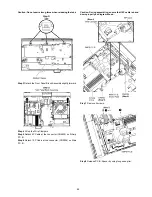
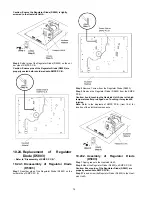
10.19. Disassembly of Power P.C.B.
• Refer to “Disassembly of Top Cabinet”.
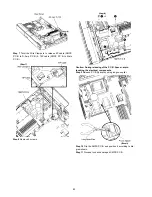
Step 1 Release 2 catches.
Step 2 Remove Power P.C.B. in the direction of arrow.
Caution: During assembling, ensure that Power P.C.B. is
properly inserted & fully connected to SMPS P.C.B..
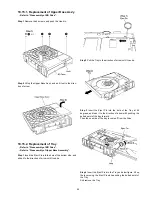
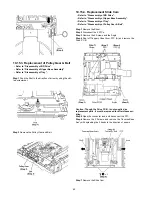
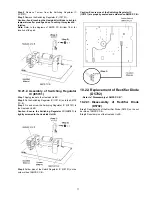
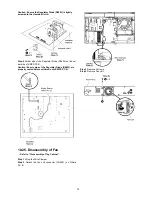
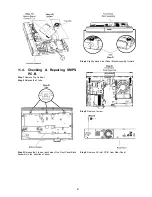
10.20. Disassembly of SMPS P.C.B.
• Refer to “Disassembly of Power P.C.B.”.
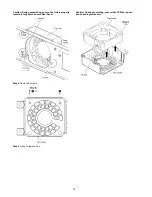
Step 1 Release the 2 tabs at each side of the Front Panel in the
direction of arrow.
Step 2 Release the 3 tabs at the Bottom Chassis.
Summary of Contents for SA-BT222EB
Page 6: ...6 1 5 Caution for AC Cord For EB only ...
Page 14: ...14 ...
Page 15: ...15 5 Location of Controls and Components 5 1 Remote Control Key Button Operations ...
Page 16: ...16 5 2 Main Unit Key Button Operations ...
Page 17: ...17 5 3 Using BD LIVE BONUSVIEW in BD Video ...
Page 18: ...18 5 4 Using the iPod iPhone ...
Page 19: ...19 5 4 1 iPod iPhone Playback ...
Page 20: ...20 5 5 Speaker Connections ...
Page 21: ...21 5 6 Disc Playability ...
Page 22: ...22 ...
Page 23: ...23 5 7 SD USB Information ...
Page 24: ...24 5 8 File Extension Type Support MP3 JPEG DivX AVCHD MPEG2 files ...
Page 25: ...25 5 8 1 File Folders Structures ...
Page 39: ...39 8 1 3 Main P C B Fig 3 Main P C B IC2302 LB2301 CN2004 ...
Page 43: ...43 10 2 Main Components and P C B Locations ...
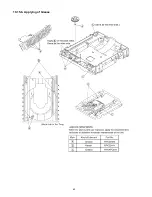
Page 62: ...62 10 15 6 Applying of Grease ...
Page 84: ...84 ...
Page 100: ...100 ...
Page 102: ...102 ...
Page 124: ...124 ...
Page 126: ...126 ...
Page 128: ...128 20 1 2 Mechanism BD Drive ...
Page 130: ...130 ...

