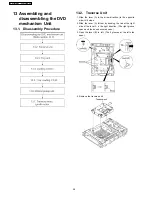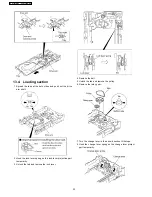
1. Slide the guide tray unit while pressing the stopper in the
arrow direction, and remove the guide tray unit.
2. Raise the loading unit.
3. Slide the lever in the arrow direction till it stops and pull the
tray out.
4. Spread the tabs at the both sides and pull the tray out. (The
tray slides a little forward and stops.)
5. Remove the drive arm concave phase from the tray slider
and tray.
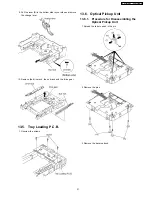
(Assembling the tray unit)
1. Insert a part of the tray into the unit sliding over the
groove on the mechanical chassis unit.
2. Insert the tray to the point before the tab of the
mechanical chassis unit.
3. Hook the drive arm concave phase over the tray and the
tray slider.
4. Press in the tray.
5. Make sure that the tray and the drive arm move
smoothly.
13.3. Tray Unit
29
SA-HT885WGC / SA-HT885WGS
Summary of Contents for SA-HT885WGC
Page 11: ...11 SA HT885WGC SA HT885WGS ...
Page 19: ...10 Caution for AC Cord 19 SA HT885WGC SA HT885WGS ...
Page 23: ...12 2 Main Components and P C B Locations 23 SA HT885WGC SA HT885WGS ...
Page 39: ...39 SA HT885WGC SA HT885WGS ...
Page 52: ...SA HT885WGC SA HT885WGS 52 ...
Page 58: ...SA HT885WGC SA HT885WGS 58 ...
Page 68: ...SA HT885WGC SA HT885WGS 68 ...
Page 72: ...SA HT885WGC SA HT885WGS 72 ...
Page 74: ...SA HT885WGC SA HT885WGS 74 ...
Page 79: ...79 SA HT885WGC SA HT885WGS ...


