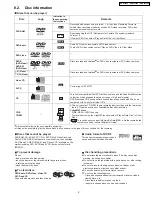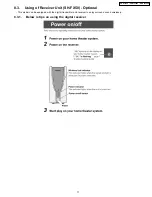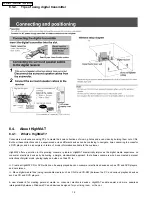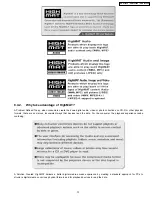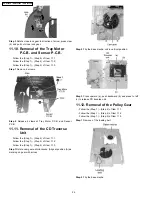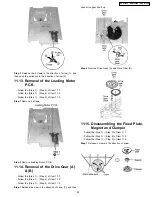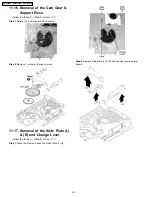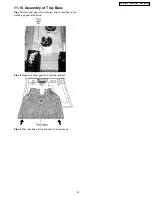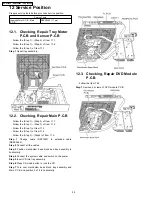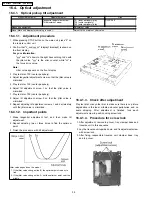
11.6. Removal of the Tray Base
Guide (L) and Tray Base Guide
(R)
·
Follow the (Step 1) - (Step 2) of Item 11.1.
·
Follow the (Step 1) - (Step 4) of Item 11.2.
·
Follow the (Step 1) - (Step 5) of Item 11.3.
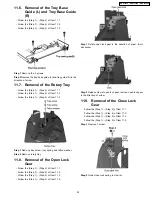
Step 1
Remove the 2 screws.
Step 2
Remove the tray base guide (L) and tray guide (R) in the
direction of arrow.
11.7. Removal of the Rotary Tray
·
Follow the (Step 1) - (Step 2) of Item 11.1.
·
Follow the (Step 1) - (Step 4) of Item 11.2.
·
Follow the (Step 1) - (Step 5) of Item 11.3.
Step 1
Remove tray screw, tray spring and teflon washer.
Step 2
Remove rotary tray.
11.8. Removal of the Open Lock
Gear
·
Follow the (Step 1) - (Step 2) of Item 11.1.
·
Follow the (Step 1) - (Step 4) of Item 11.2.
·
Follow the (Step 1) - (Step 5) of Item 11.3.
·
Follow the (Step 1) - (Step 2) of Item 11.5.
Step 1
Rotate open lock gear in the direction of arrow. (Anti-
clockwise)
Step 2
Release claw of open lock gear, remove open lock gear
in the direction of arrow.
11.9. Removal of the Close Lock
Gear
·
Follow the (Step 1) - (Step 2) of Item 11.1.
·
Follow the (Step 1) - (Step 4) of Item 11.2.
·
Follow the (Step 1) - (Step 5) of Item 11.3.
·
Follow the (Step 1) - (Step 2) of Item 11.5.
Step 1
Remove 1 screw.
Step 2
Hook close lock spring to claw (a).
23
SA-HT930P / SA-HT930PC / SA-HT930PX
Summary of Contents for SA-HT930P
Page 10: ...10 SA HT930P SA HT930PC SA HT930PX ...
Page 19: ...19 SA HT930P SA HT930PC SA HT930PX ...
Page 33: ...33 SA HT930P SA HT930PC SA HT930PX ...
Page 46: ...46 SA HT930P SA HT930PC SA HT930PX ...
Page 52: ...SA HT930P SA HT930PC SA HT930PX 52 ...
Page 62: ...SA HT930P SA HT930PC SA HT930PX 62 ...
Page 68: ...SA HT930P SA HT930PC SA HT930PX 68 ...
Page 73: ...73 SA HT930P SA HT930PC SA HT930PX ...

