RQTV0097
13
ENGLISH
English
English
External unit
The buttons described for “External unit” are mainly for
the main unit unless indicated otherwise.
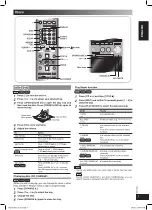
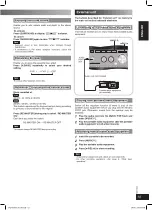
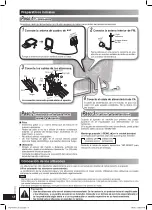
Connecting to a portable audio
Connecting to a portable audio equipment
equipment
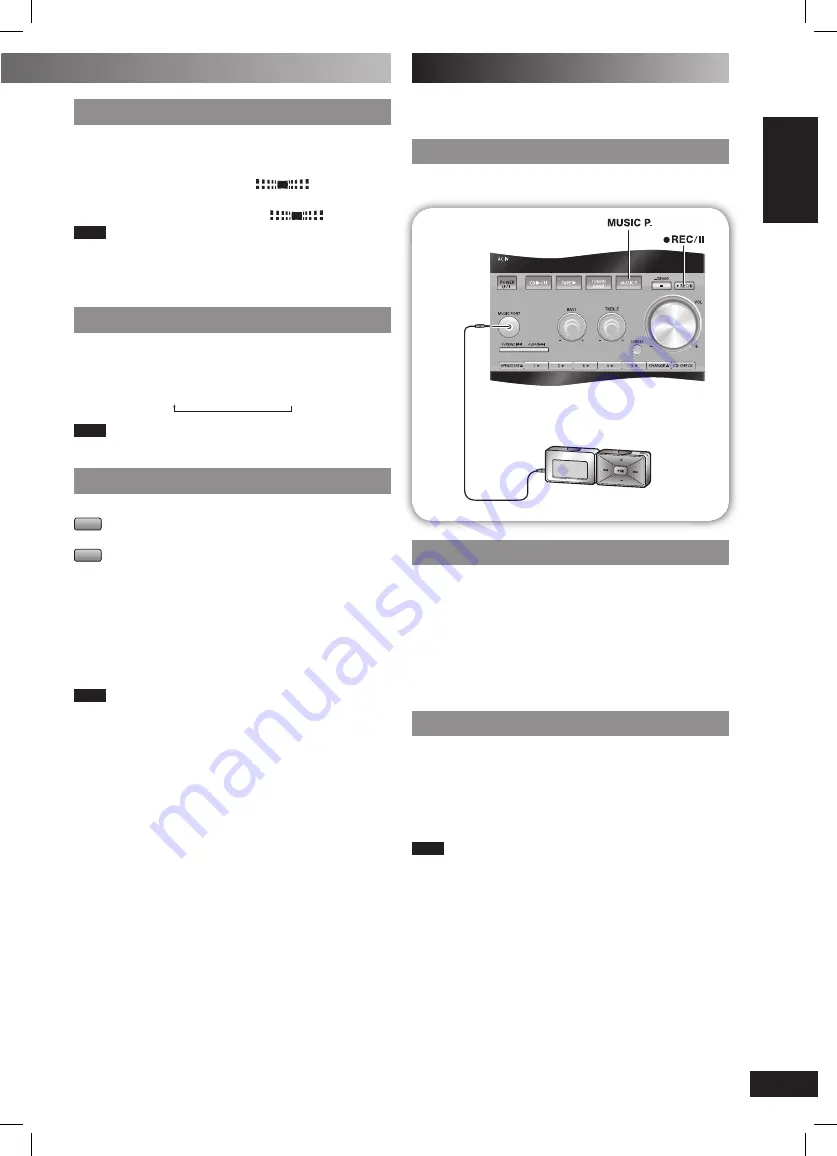
This feature enables you to enjoy music from portable audio
equipment.
Portable audio equipment
(not included)
Audio cord (not included)
MUSIC
PORT
jack
Playing from portable audio equipment
Playing from portable audio equipment
Switch off the equalizer function (if there is any) of the
portable audio equipment before you plug into the MUSIC
PORT jack. Otherwise, sound from the speaker may be
distorted.
1
Plug the audio cord into the MUSIC PORT jack and
press [MUSIC P.].
2
Play the portable audio equipment. (See the portable
audio equipment’s instruction manual.)
Recording from portable audio
Recording from portable audio equipment
equipment
1
Insert the cassette to be recorded.
2
Press [MUSIC P.].
3
Play the portable audio equipment.
4
Press [
REC
¥8
] to start recording.
Note
• All peripheral components and cables are sold separately.
• For other recording operations, refer page 9, “Other basic
operations”.
Enjoying surround sound
Enjoying surround sound
Enable you to add natural width and depth to the stereo
sound.
To activate
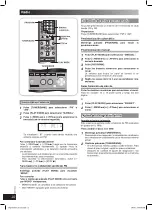
Press [SURROUND] to display “
” indicator.
To cancel
Press [SURROUND] again to clear “
” indicator.
Note
• Surround sound is less discernible when listening through
headphones.
• If interference in FM stereo reception increases, cancel the
surround sound effect.
Enhancing the bass
Enhancing the bass
Enable you to enjoy the powerful bass effect.
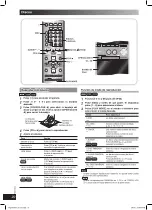
Press [H.BASS] repeatedly to select your desired
setting.
LEVEL 1
→
LEVEL 2
→
OFF
Note
The actual effect depends on the disc.
Re-master – Enjoying more natural sound
Re-master – Enjoying more natural sound
Discs recorded at:
MP3
32 kHz, 44.1 kHz or 48 kHz
WMA
22 kHz, 32 kHz, 44 kHz or 48 kHz
This feature reproduces the frequencies lost during recording
to give you a sound closer to the original.
Press [RE-MASTER] during play to select “RE-MASTER
ON”.
Each time you press the button:
RE-MASTER ON
↔
RE-MASTER OFF
Note
You cannot change RE-MASTER during recording.
RQTV0097_2P_EN.indd 13
RQTV0097_2P_EN.indd 13
2/6/06 3:35:09 PM
2/6/06 3:35:09 PM

