7 Self diagnosis and special mode setting
This unit is equipped with features of self-diagnostic & special mode setting for checking the functions & reliability.
Special Note : Checking of the reliability (ageing) & changer operation must be carry out to ensure good working condition
in unit.
7.1. Service Mode Summary Table
The service modes can be activated by pressing various button combination on the main unit and remote control unit.Below is the
summary for the various modes for checking:
Player buttons
Remote control unit buttons
Application
Note
[STOP]
[4], [7]
Entering into doctor mode
(Refer to section .7.2.1. service mode
Table 1 for more information.)
[STOP]
[
]
Entering into service mode
(Refer to section .7.2.1. service mode
Table 1 for more information.)
Mode
Remote control unit buttons
Application
Note
In Doctor Mode
[1]
FL all segment & LED inspection
(Refer to section .7.2.2. service mode
Table 2 for more information.)
[MUSIC.P]
Tuner Check
(Refer to section .7.2.2. service mode
Table 2 for more information.)
[7]
Volume 50 setting check
(Refer to section .7.2.2. service mode
Table 2 for more information.)
[8]
Volume 29 setting check
(Refer to section .7.2.2. service mode
Table 2 for more information.)
[9]
Volume 0 setting check
(Refer to section .7.2.2. service mode
Table 2 for more information.)
[2]
Micro-P Version Display
(Refer to section .7.2.2. service mode
Table 2 for more information.)
[4]
CD
→
USB Recording & Playing inspection
(Refer to section .7.2.2. service mode
Table 2 for more information.)
[5]
CD-MP3 Reading & Playing inspection
(Refer to section .7.2.2. service mode
Table 2 for more information.)
[
], [1], [1]
CD Loading Test Mode
(Refer to section .7.2.2. service mode
Table 2 for more information.)
[
], [1], [2]
CD Traverse Unit Test Mode
(Refer to section .7.2.2. service mode
Table 2 for more information.)
[
], [1], [3]
CD Combination Test Mode
(Refer to section .7.2.2. service mode
Table 2 for more information.)
Mode
Remote control unit buttons
Application
Note
In Service Mode
[1]
self diagnostic history
(Refer to section .7.2.3. service mode
Table 3 for more information.)
[2]
Micro-P FW
(Refer to section .7.2.3. service mode
Table 3 for more information.)
[3]
Cold Start (Reset)
(Refer to section .7.2.3. service mode
Table 3 for more information.)
7.2. Service Mode Table
Below is the various special modes for checking:-
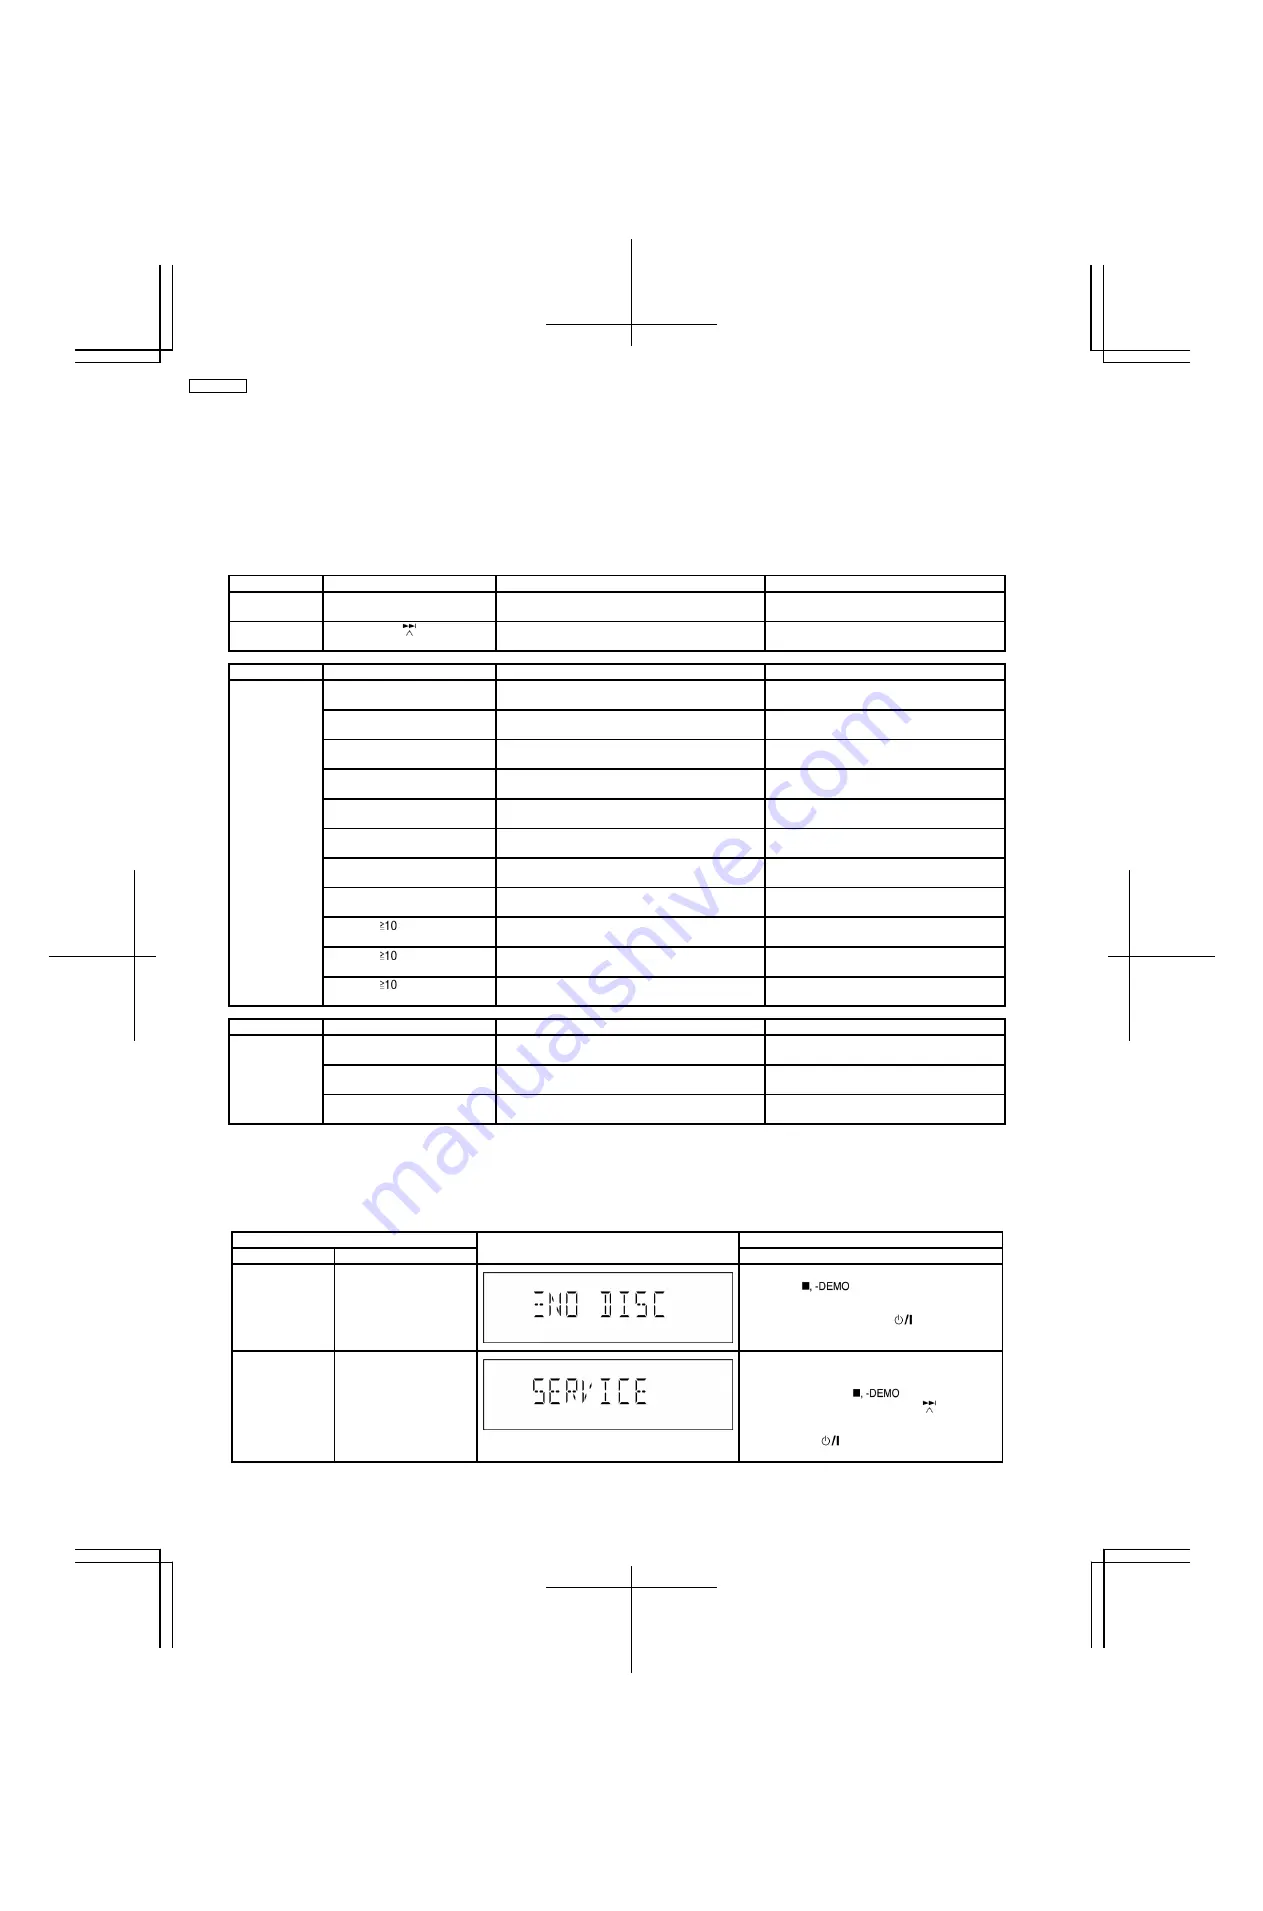
7.2.1. Service Mode Table 1
Item
FL Display
Key Operation
Mode Name
Description
Front Key
Doctor Mode
To enter into Doctor
Mode.
In any mode:
1.
Press [
] button on main unit follow
by [4] and [7] on remote control.
To exit Doctor Mode, press [
] button on
main unit or remote control.
Service Mode
To enter into Service
Mode.
1.
Select [CD] for DISC mode (Ensure no disc
is inserted).
2.
Press and hold [
]button on main
unit for 2 seconds follow by [
] on
remote control.
To exit, press [
] button on main unit or
remote control.
12
SA-PMX3GN
Summary of Contents for SA-PMX3GN
Page 10: ...6 Operation Procedures 6 1 Main Unit Key Buttons Operation 10 SA PMX3GN ...
Page 11: ...6 2 Remote Control Key Buttons Operation 6 3 Disc Information 11 SA PMX3GN ...
Page 18: ...18 SA PMX3GN ...
Page 20: ...8 2 Main Parts Location Diagram 20 SA PMX3GN ...
Page 56: ...56 SA PMX3GN ...
Page 58: ...SA PMX3GN 58 ...
Page 64: ...SA PMX3GN 64 ...
Page 66: ...66 SA PMX3GN ...
Page 86: ...SA PMX3GN 86 ...
Page 91: ...20 Exploded Views 20 1 Cabinet Parts Location SA PMX3GN 91 ...
Page 92: ...20 2 Packaging SA PMX3GN 92 ...