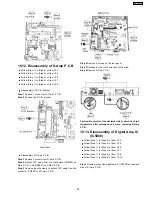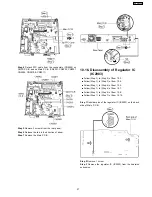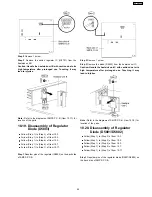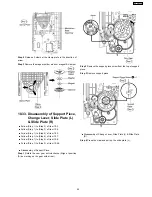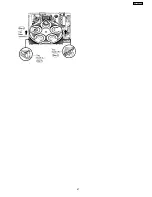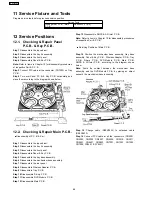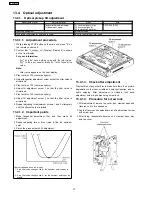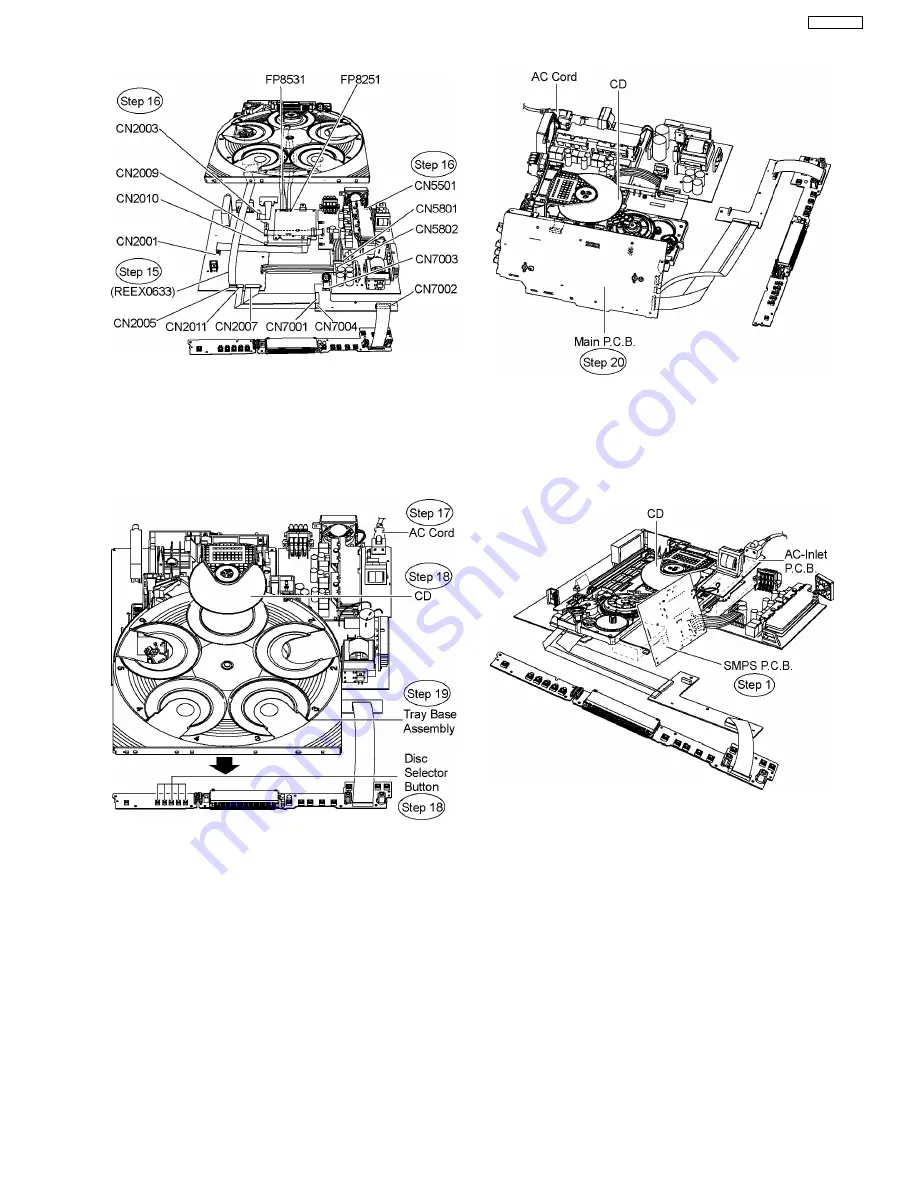
Step 17 Connect the AC cord and switch on the power.
Step 18 Place a CD/DVD onto the tray base assembly and play
it by selecting one of the DISC SELECTOR button on Power
Button P.C.B.
Step 19 While the CD/DVD is being played, remove the tray
base assembly in the direction of arrow by repeating the
(Step1) to (Step 4) of Item 10.7.
Step 20 Turn over Main P.C.B. vertically and place it according
to the diagram shown below.
12.3. Checking & Repair SMPS
P.C.B.
•
•
•
•
Follow (Step 1) to (Step 19) of Item 12.2.
Step 1 Turn over SMPS P.C.B. vertically and place it according
to the diagram shown below.
Note: AC-Inlet P.C.B can be placed on an object (eg. box) to
avoid its contact with mechanism base assembly.
Caution: Be careful of power heatsinks located on SMPS
P.C.B., which has high temperature after prolonged use,
when servcing the P.C.B.
12.4. Checking & Repair D-Amp
P.C.B.
•
•
•
•
Follow (Step 1) to (Step 19) of Item 12.2.
Step 1 Turn over D-Amp P.C.B. vertically and place it
according to the diagram shown below.
69
SA-PT750PL
Summary of Contents for SA-PT750PL
Page 11: ...11 SA PT750PL ...
Page 17: ...7 5 Using the Music Port 28 17 SA PT750PL ...
Page 21: ...8 1 3 Advanced Digital Sound 8 1 4 Easy to Use 8 1 5 HDMI Compatible Products 21 SA PT750PL ...
Page 50: ...10 2 Main Components and P C B Locations 50 SA PT750PL ...
Page 67: ...67 SA PT750PL ...
Page 84: ...SA PT750PL 84 ...
Page 86: ...SA PT750PL 84 ...
Page 94: ...SA PT750PL 92 ...
Page 96: ...94 SA PT750PL ...
Page 114: ...SA PT750PL 112 ...
Page 127: ...25 Exploded Views 125 SA PT750PL ...
Page 128: ...126 SA PT750PL ...
Page 129: ...25 1 Cabinet Parts Location SA PT750PL 127 ...
Page 130: ...SA PT750PL 128 ...
Page 131: ...25 2 Packaging SA PT750PL 129 ...

