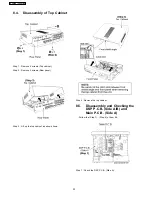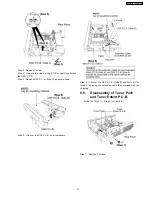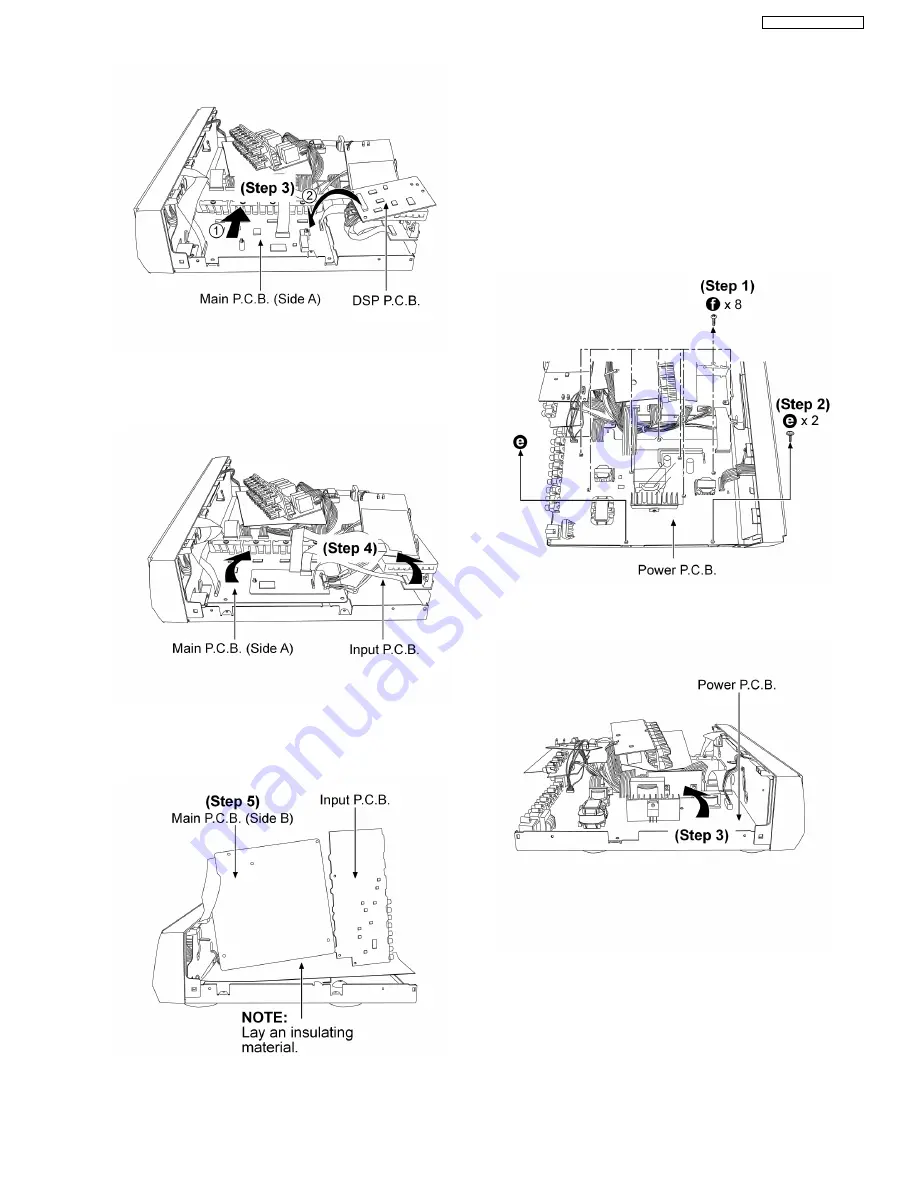
Step 3 : Slide out the Main P.C.B. as arrow shown and connect
back DSP P.C.B. as arrow shown.
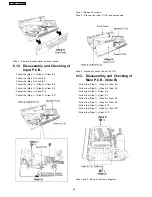
Step 4 : Flip the Main P.C.B. and Input P.C.B. altogether as
arrow shown.
Step 5 : Proceed to check the Main P.C.B. (Side B).
8.14. Disassembly and Checking of
Power P.C.B.
·
Follow the (Step 1) - (Step 4) of item 8.4.
·
Follow the (Step 1) of item 8.6.
·
Follow the (Step 1) of item 8.7.
·
Follow the (Step 1) - (Step 2) of item 8.8.
·
Follow the (Step 1) - (Step 4) of item 8.9.
·
Follow the (Step 1) of item 8.10.
·
Follow the (Step 1) - (Step 3) of item 8.11.
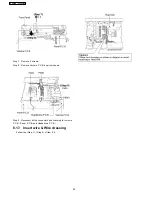
Step 1 and 2 : Remove 10 screws altogether & Heatsink cover.
Step 3 : Flip over Power P.C.B. as arrow shown.
37
SA-XR58E / SA-XR58EG
Summary of Contents for SA-XR58E
Page 9: ...5 Operating Instructions Procedures 5 1 Remote Control Operation 9 SA XR58E SA XR58EG ...
Page 10: ...5 2 Main Unit Operation 10 SA XR58E SA XR58EG ...
Page 11: ...5 3 Main Unit connections SA XR58 5 3 1 HDMI connection 11 SA XR58E SA XR58EG ...
Page 12: ...5 3 2 Video connection 12 SA XR58E SA XR58EG ...
Page 13: ...13 SA XR58E SA XR58EG ...
Page 14: ...5 3 3 Audio connection 14 SA XR58E SA XR58EG ...
Page 15: ...15 SA XR58E SA XR58EG ...
Page 16: ...5 3 4 Connection with other equipments 16 SA XR58E SA XR58EG ...
Page 17: ...5 3 5 Tuner Antenna Connection Power 17 SA XR58E SA XR58EG ...
Page 18: ...5 3 6 Headphone connection 18 SA XR58E SA XR58EG ...
Page 29: ...8 3 Main Parts Location Diagram 29 SA XR58E SA XR58EG ...
Page 58: ...SA XR58E SA XR58EG 58 ...
Page 68: ...68 SA XR58E SA XR58EG ...
Page 96: ...SA XR58E SA XR58EG 96 ...
Page 106: ...SA XR58E SA XR58EG 106 ...
Page 110: ...110 SA XR58E SA XR58EG ...
Page 111: ...17 Exploded Views 17 1 Cabinet Parts Location SA XR58E SA XR58EG 111 ...
Page 112: ...SA XR58E SA XR58EG 112 ...
Page 113: ...17 2 Packaging SA XR58E SA XR58EG 113 ...
Page 114: ...SA XR58E SA XR58EG 114 ...


