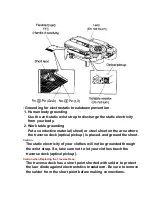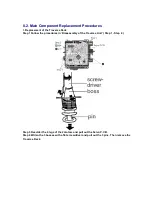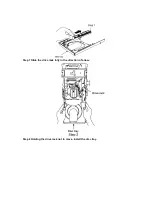
Before installing the CD servo P.C.B., move the optical pickup towards the outer edge from the
marking (black triangle). [Otherwise, the reset detect switch (S701) mounted on the CD servo
P.C.B. may be damaged.]
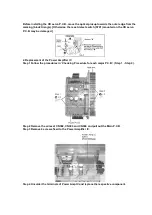
2. Replacement of the Power Amplifier IC
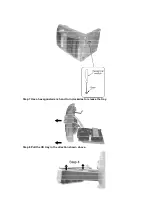
Step 1 Follow the procedures in ‘Checking Procedure for each major P.C.B.’ ( Step 1 - Step 4 ).
Step 2 Remove the wires at CN302, CN303 and CN304 and pull out the Main P.C.B.
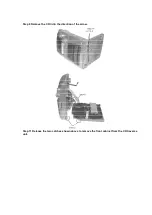
Step 3 Remove 4 screws fixed to the Power Amplifier IC.
Step 4 Unsolder the terminals of Power Amp IC and replace the respective component.
Summary of Contents for SAAK44 - MINI HES W/CD PLAYER
Page 9: ...6 Caution for AC Mains Lead 7 Operation Procedures ...
Page 10: ......
Page 13: ...Step 2 Remove the top cabinet Step 3 Remove the T bracket ...
Page 51: ...19 Troubleshooting Guide ...
Page 52: ...20 Parts Location and Replacement Parts List Notes ...
Page 55: ...20 1 2 Deck Mechanism Parts List ...
Page 57: ......
Page 58: ...20 2 2 CD Loading Mechanism Parts List ...
Page 61: ......
Page 62: ......
Page 63: ...20 3 2 Cabinet Parts List ...
Page 73: ...R111 ERJ3GEYJ391V 390 1 16W M ...
Page 91: ...Printed in Singapore P010400001 D H K J N L PRT ...

