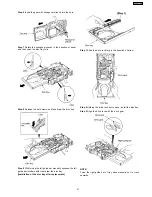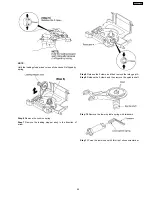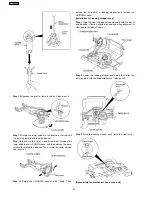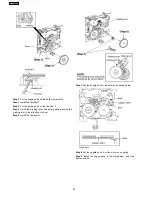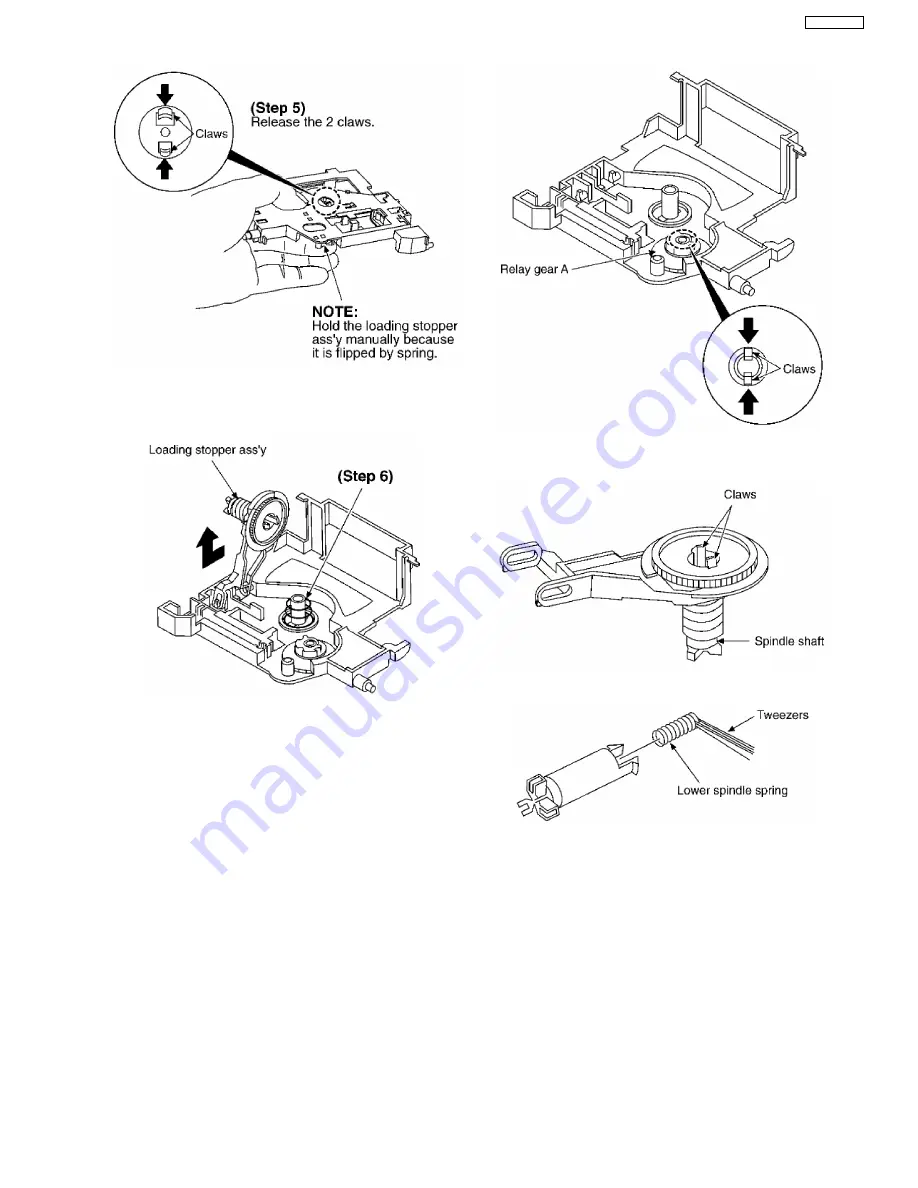
NOTE:
Hold the loading stopper ass’y manually bacause it is flipped by
spring.
Step 6
Remove the cushion spring.
Step 7
Remove the loading stopper ass’y in the direction of
arrow.
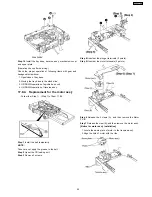
Step 8
Release the 2 claws, and then remove the relay gear A.
Step 9
Release the 2 claws, and then remove the spindle shaft.
Step 10
Remove the lower spindle spring with tweezers.
Step 11
Force the lower hook with thin tip of minus screwdriver.
45
SA-VK61DGS
Summary of Contents for SB-VK61
Page 10: ...10 Operation Procedures 10 SA VK61DGS ...
Page 11: ...11 SA VK61DGS ...
Page 12: ...11 Disc information 12 SA VK61DGS ...
Page 13: ...13 SA VK61DGS ...
Page 17: ...13 Procedure for repairing the set 17 SA VK61DGS ...
Page 57: ...18 3 1 Cassette Deck Section 18 3 2 Adjustment Point 18 3 Alignment Points 57 SA VK61DGS ...
Page 131: ...25 1 Deck Mechanism RAA3412 S 25 1 1 Deck Mechanism Parts Location 131 SA VK61DGS ...
Page 132: ...132 SA VK61DGS ...
Page 135: ...135 SA VK61DGS ...
Page 136: ...136 SA VK61DGS ...
Page 138: ...25 3 Cabinet 25 3 1 Cabinet Parts Location 138 SA VK61DGS ...
Page 139: ...139 SA VK61DGS ...
Page 140: ...140 SA VK61DGS ...
Page 155: ...25 6 Packaging 155 SA VK61DGS PRT0406 D K J N L ...
Page 156: ......

