

6
RQT9882
Connections
≥
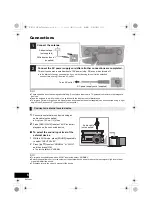
These speakers do not have magnetic shielding. Do not place them near a TV, personal computer or other magnetic
devices.
≥
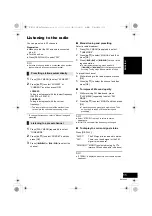
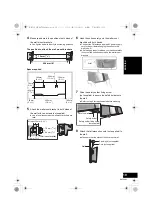
Tape the antenna to a wall or column in a position with the least amount of interference.
≥
To improve FM radio reception in low signal areas, an external antenna (not supplied) can be connected using a “right
angle Quick Disconnect “F” type connector” (not supplied).
1
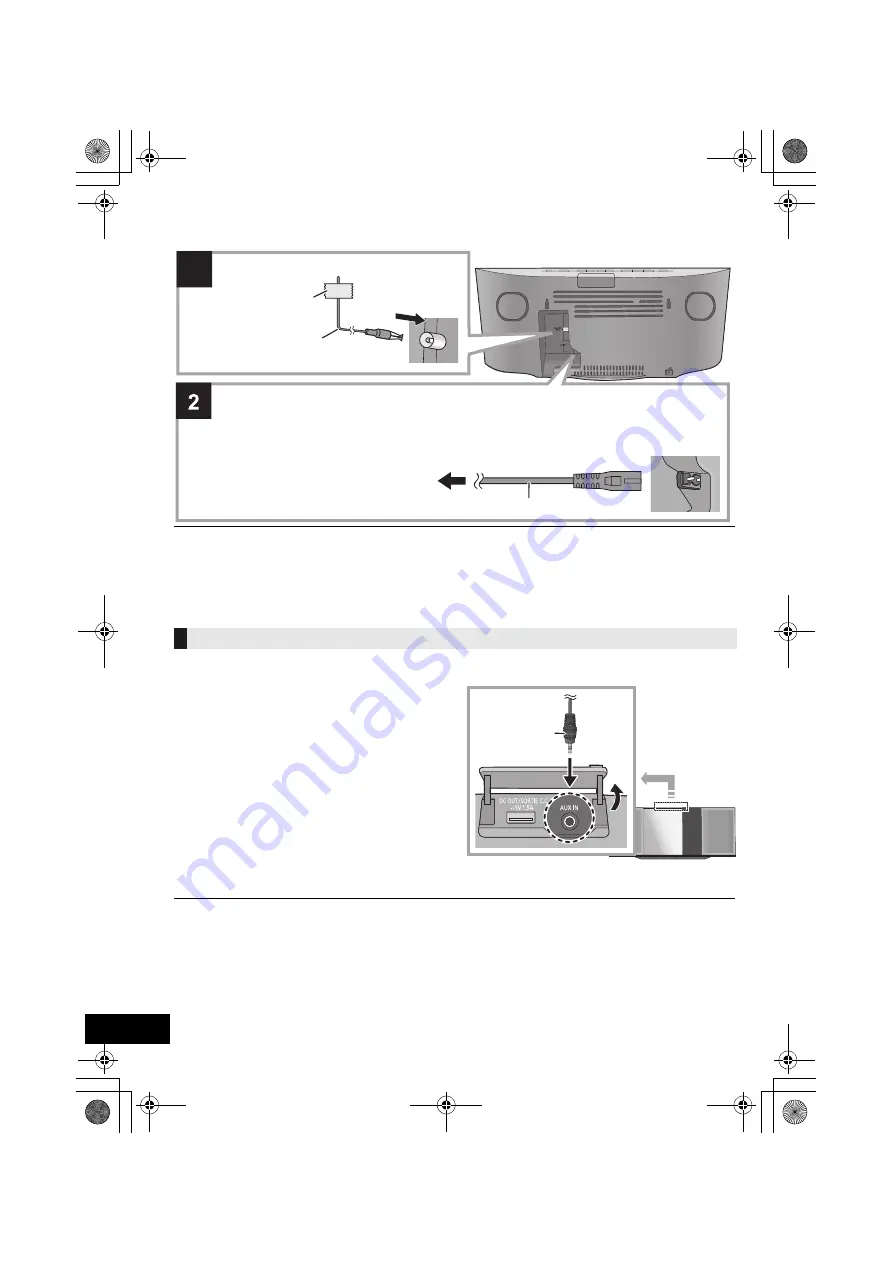
Connect an external music device using an
audio cable (not supplied).
≥
Plug type:
‰
3.5 mm (
1
/
8
q
) stereo
2
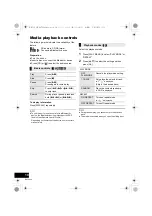
Press [RADIO/AUX] to select “AUX” and start
playback on the connected device.
∫
To select the sound input level of the
external device
1
While in AUX mode, press [SOUND] repeatedly
to select “INPUT LEVEL”.
2
Press [
3
,
4
] to select “NORMAL” or “HIGH”
and then press [OK].
≥
The factory default is “NORMAL”.
≥
To improve sound distortion when “HIGH” is selected, select “NORMAL”.
≥
Switch the equalizer off or turn the volume of the external device down to reduce the input signal. High level of input
signal will distort the sound.
≥
For details, refer to the owner’s manual of the device.
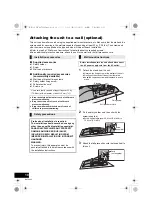
Connect an external music device
1
Adhesive tape
(not supplied)
FM indoor antenna
(supplied)
Connect the AC power supply cord after all other connections are completed.
To an AC outlet
This unit consumes a small amount of AC power (
l
p. 20) even when turned off.
≥
In the interest of energy conservation, if you will not be using this unit for an extended
period of time, unplug it from the AC outlet.
AC power supply cord (supplied)
Connect the antenna.
Audio cable
(not supplied)
SC-HC39_PPC~RQT9882_mst.book 6 ページ 2014年3月26日 水曜日 午後2時12分


