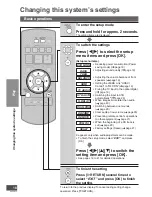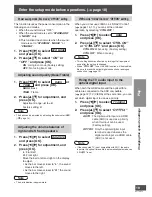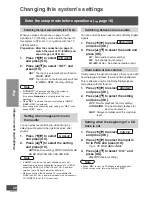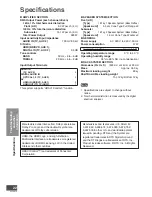
VQT2R75
13
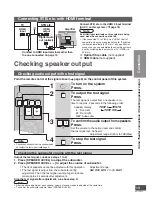
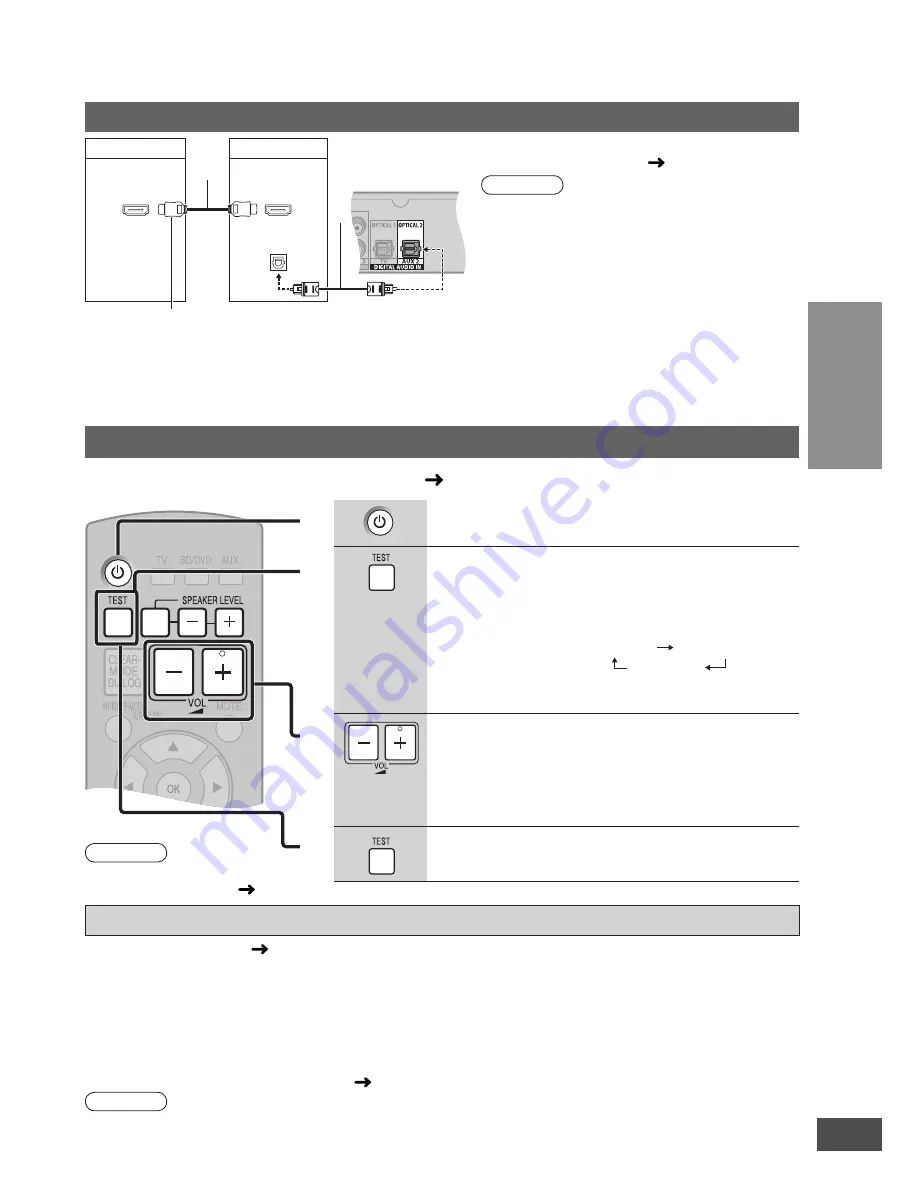
Checking speaker output
Checking the subwoofer volume with the test signal
Output the test signal. (
above steps 1 to 3)
1. Press [SPEAKER LEVEL] to adjust the subwoofer.
2. Press [SPEAKER LEVEL +, –] to adjust the volume of subwoofer.
• The front speakers cannot be adjusted with this operation.
• The test signal is output from the subwoofer during
adjustment. Then, the test signal is output again in above
order approx. 2 seconds after adjustment.
Adjustment range:
SW: OFF
,
MIN
,
1
to
15
,
MAX
Stop the test signal after adjustment. (
above step 4)
Note
• After the above adjustment, each speaker volume of sound modes is adjusted at the same time.
• To confirm the subwoofer volume, press [SPEAKER LEVEL].
Checking audio output with a test signal
Note
• Check connections when the speaker does
not output the test signal. (
page 5)
Point the remote control at the signal sensor (
page 6) on the control panel of this system.
To turn on the system
Press.
1
2
3
4
To stop the test signal
Press.
To output the test signal
Press.
The test signal is output from one speaker at a
time for approx. 2 seconds in the following order.
Speaker display
L
: Front left,
R
: Front right,
SW
: Subwoofer
TEST
L TEST R
TEST SW
To confirm the audio output from speakers
Press.
Set the volume to the normal level and confirm
the test signal can be heard.
Adjustment range:
0
(Min) to
100
(Max)
Connection
Home Theater connections / Checking speaker output
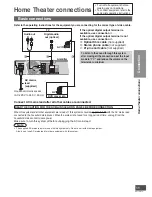
Connecting STB, etc. with HDMI terminal
TV
STB etc.
Digital audio
out (optical)
HDMI
output
HDMI
input
A
B
Connect STB, etc. to the HDMI 2 input terminal
(AUX 1) on this system. (
page 12)
Note
If all HDMI input terminals on this system are being
used, make the connection on the left.
• If the connected TV is VIERA Link “HDAVI Control”
compatible, when you make the setting for “Switching
the input automatically to STB, etc.” on page 20 after
connection, you can automatically switch this system’s
input by switching the input source of TV (VIERA) to
STB, etc.
A
Optical fibre cable
(not supplied)
B
HDMI cable
(not supplied)
Amplifier
Connect to HDMI input terminals other than
the one connected on page 12.


