32
RQTV0239
LANG - 5
LANG - 4
FRANÇAIS
DANSK
ENGLISH
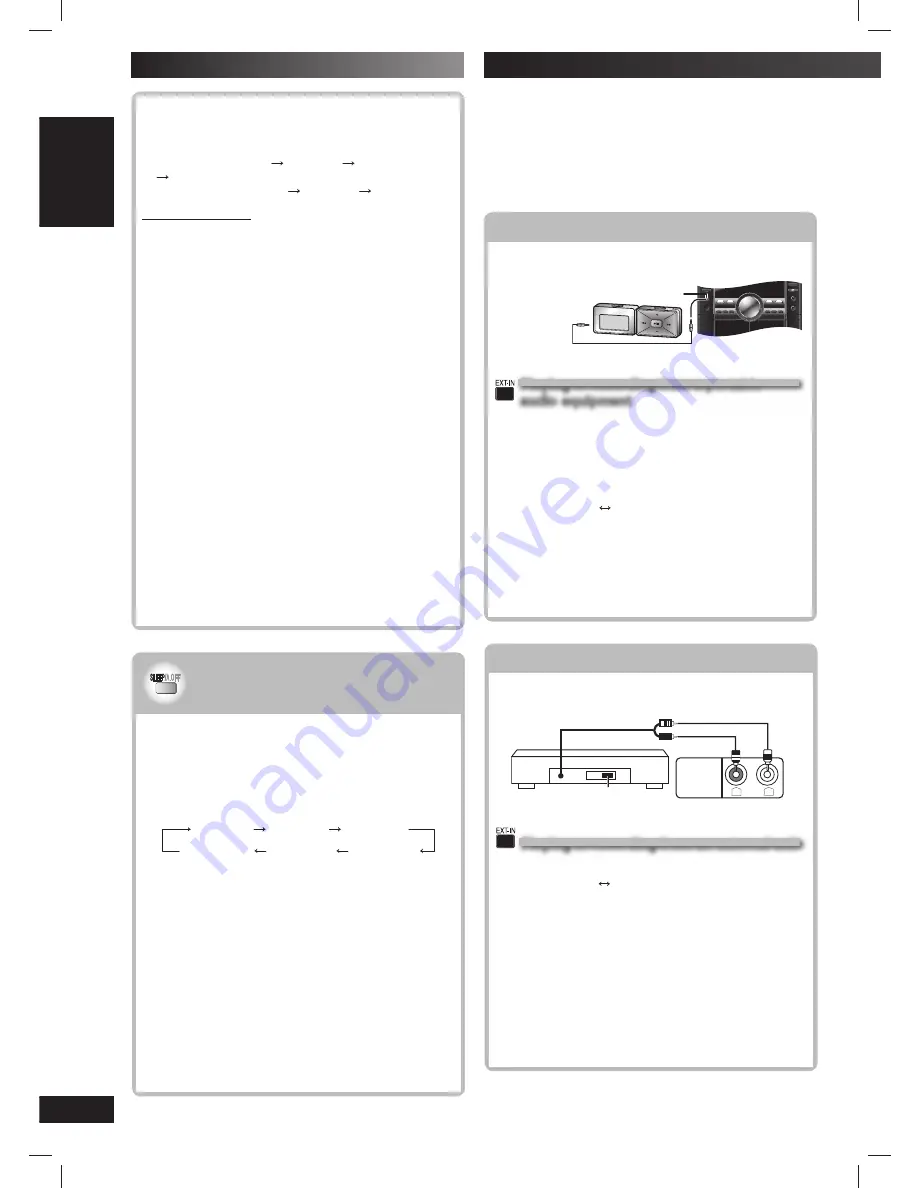
Connecting to a portable audio equipment
Connecting to a portable audio equipment
This feature enables you to enjoy music from a portable
audio equipment.
Portable audio equipment
(not included)
Audio cord
(not included)
MUSIC PORT jack
Playing or recording from a portable
Playing or recording from a portable
audio equipment
audio equipment
Switch off the equalizer function (if there is any) of
the portable audio equipment before you plug into the
MUSIC PORT jack. Otherwise, sound from the speaker
may be distorted.
1
Plug the audio cord into the MUSIC PORT jack and
press [EXT-IN] to select “MUSIC PORT”.
MUSIC PORT
AUX
2
For listening :
Proceed to step 3.
For recording :
Press [
, RECORD] on the main
unit to start recording.
3
Start playback from the portable audio
equipment. (See the portable audio equipment’s
instruction manual.)
Connecting to other external unit
Connecting to other external unit
You can connect to an analog player with a built-in
phone equalizer.
(R)
(L)
“LINE OUT”
position
L
R
AUX IN
Analog player
(not included)
Rear panel of this unit
Playing or recording from an external unit
Playing or recording from an external unit
1
Press [EXT-IN] repeatedly until “AUX” is displayed.
MUSIC PORT
AUX
2
For listening :
Proceed to step 3.
For recording :
Press [
, RECORD] on the main
unit to start recording.
3
Start playback from the external source.
Note:
• For details, refer to the instruction manual of the unit which
is to be connected.
• When units other than those described above are to be
connected, please consult your audio dealer.
• Sound distortion may occur when you use an adaptor other
than the one supplied.
Before connection
• Disconnect the AC power supply cord.
• Turn off all equipment and read the appropriate operating
instructions.
• The equipment connections described are examples
only.
• Peripheral equipment and optional cables are sold
separately unless otherwise indicated.
Using other equipment
Using the sleep timer
Using the sleep timer
This function enables you to turn off the unit
automatically after the set time.
While enjoying the desired source
Press [SLEEP/A.OFF] successively to select the time
(minutes).
Every time you press the button:
SLEEP 30
SLEEP 60
SLEEP 90
SLEEP OFF
AUTO OFF
SLEEP 120
To change the settings
Press [SLEEP/A.OFF] successively to select a new
setting.
To confi rm the remaining time
Press [SLEEP/A.OFF] to show the remaining time.
To cancel the sleep timer
Press [SLEEP/A.OFF] successively to select
“SLEEPOFF”.
Note:
• The play and sleep timer or the record and sleep timer can
be used together.
• The sleep timer always has priority. Be sure not to overlap
timer settings.
• The sleep timer turns off when you perform the record
function.
To check the settings
Press [CLOCK / TIMER] while the unit is on to select
˚
PLAY or
˚
REC.
The setting are shown in the following order.
– Play timer: start time
fi nish time
source
volume
– Record timer: start time
fi nish time
source
When the unit is off
1
Press [CLOCK / TIMER].
2
During the clock display, press [CLOCK / TIMER]
again.
To cancel the timer
Press [
˚
PLAY/REC] to clear the timer indicator from
the display.
(The timer comes on at the set time everyday if the timer
is on)
If you use the unit after the timers are set
After using, check that the correct tape or disc are
loaded before turning the unit off.
Note:
• The play timer will start at the preset time with volume
increasing gradually to preset level.
• The record timer will start 30 seconds before the set time
with the volume muted.
• The timer comes on at the set time every day if the timer is
on.
• The unit must be in the standby mode for the timer to
function.
• If you turn the unit off and on again while a timer is
functioning, the fi nish time setting will not be activated.
• If MUSIC PORT is selected as the source when the timer
comes on, the system turns on and engages MUSIC PORT
as the source. If you wish to playback or record from the
portable audio equipment, just activate the equipment’s play
mode and increase the volume. (See the portable audio
equipment’s instruction manual.)
Using the timers (continued)
RQTV0239_1L.indd 32
RQTV0239_1L.indd 32
6/12/07 12:36:46 PM
6/12/07 12:36:46 PM


