128
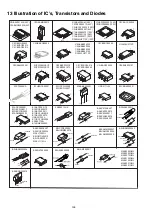
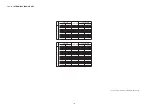
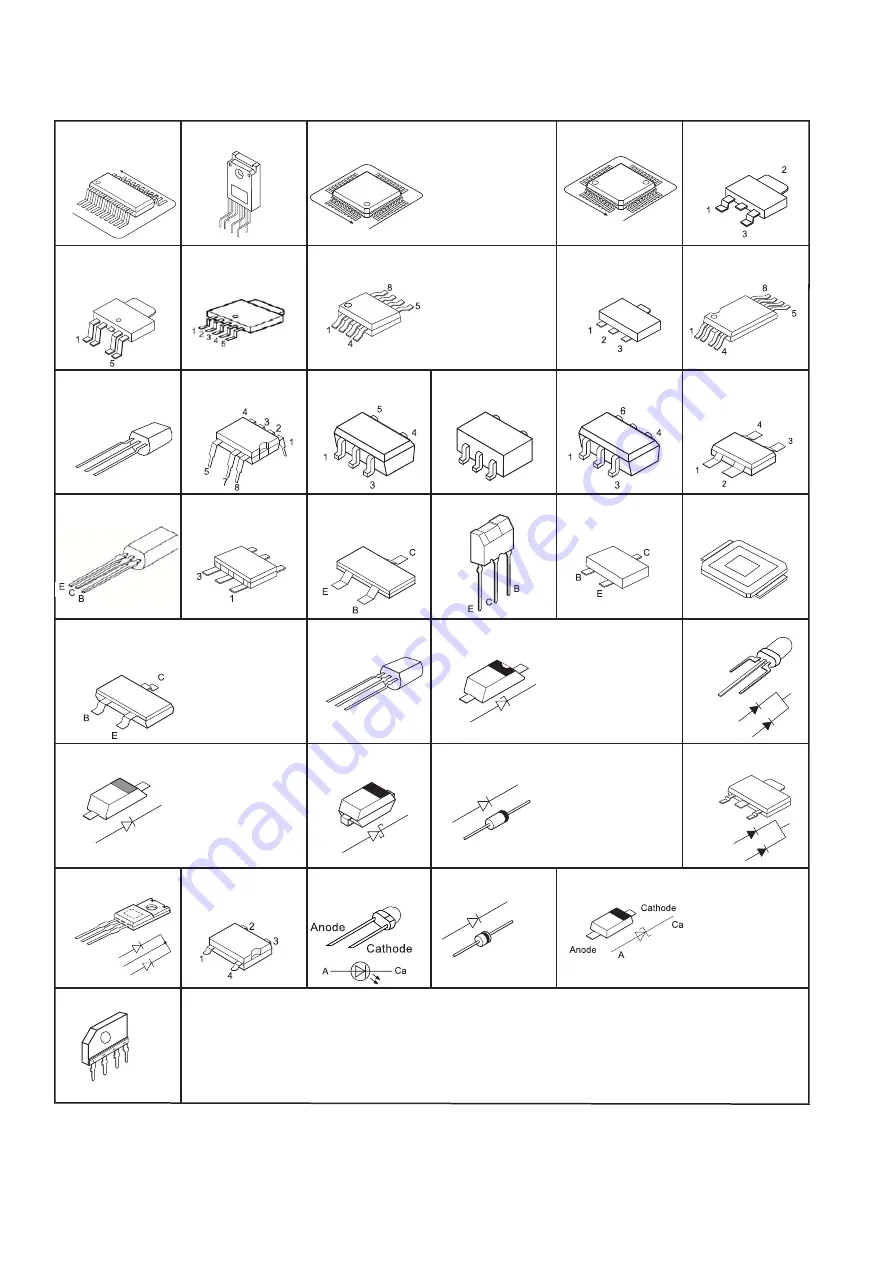
13 Illustration of IC’s, Transistors and Diodes
No.1
No.1
MIP2F20MSSCF
MIP2F50MSSCF
1
4
5
2
3
C0JBAZ001466 (20P)
C3ABMG000238 (50P)
RFKB4528A-M (48P)
C0FBZK000013 (64P)
C2HBCY000030 (128P)
C0HBB0000057 (44P)
C1AB00002975 (100P)
C1BB00001134 (56P)
C1AB00002977 (80P)
RFKWMUZT1PP (100P)
C0ABBB000230
C0ABBB000038
C0AABB000085
C0ABBB000125
RFKWFUZT1PP
C0DBEKG00004
C1AB00002989 (144P)
C2CBYY000684 (100P)
C0DBAYH00005
C0CBCBG00013
C0CBCAG00015
C0CBACC00046
C0CBADC00042
C0DAEMZ00001
1
3
2
E
B
C
B1BABK000001
B1ABCF000176
B1ADCE000012
B1ABCF000011
B1GBCFGN0018
B1ABCF000079
UNR221300L
B1GDCFGG0005
2SA207700L
B1ADNB000003
B1ADCF000001
B1GBCFJA0017
B1GBCFGG0030
B1ADMB000003
B1HBDCA00001
B0BC026A0007
B0ACCK000005
MA2J7280GL
B0JCMD000010
B0JCAE000001
MA2J1110GL
Cathode
Anode
A
Ca
A
Ca
Cathode
Cathode
Anode
Anode
Anode
Cathode
Anode
Anode
B0EAMM000057
B0HAMP000094
B0JAME000029
B0JAMF000011
B0HBSM000054
B0EDKT000009
Ca
A
A
Ca
A
A
MAZ8200GML
MAZ8300GML
MAZ8075GML
MAZ8120GML
MAZ8150GML
MAZ8051GML
MAZ8091GML
C0EBE0000338
C0ZBZ0001675
C0JBAR000396
C0CBCDC00014
C0CBCBC00049
C0EBG0000107
B0JCPG000005
B0HCMM000019
Cathode
Anode
A
Ca
2SC3940ARA
B1GDCFJJ0008
B1GBCFJJ0007
2SB0621AHA
No.1
C0DAAMH00015
1
7
RFKWEUZT1PP
B0BC019A0007
B0BC6R100010
B0BC02400011
B0BC4R600016
B0BC035A0007
Cathode
Anode
A
Ca
B0EBNR000015
B3AJA0000011
Anode
Anode
Anode
Cathode
B3AEA0000058
A
Ca
Cathode
Anode
B1CBRK000001
UNR5111J0L
B0HDRM000002
Ca
A
A
Ca
A
A
Summary of Contents for SC-ZT1GN
Page 4: ...4 1 2 Caution for AC Mains Lead ...
Page 11: ...11 5 Location of Controls and Components 5 1 Main Unit SU ZT1 ...
Page 12: ...12 5 2 Speaker Unit SB ZT1 5 3 Remote Control ...
Page 13: ...13 6 Installation ...
Page 14: ...14 6 1 Basic Connections 6 1 1 Connecting equipment with HDMI terminal TV DVD recorder etc ...
Page 15: ...15 6 1 2 Connecting equipment without HDMI termial DVD player VCR etc ...
Page 16: ...16 6 1 3 Other connections ...
Page 17: ...17 6 2 AC mains lead connection ...
Page 18: ...18 7 Speaker setting SB ZT1 7 1 Setting the speakers ...
Page 19: ...19 ...
Page 27: ...27 9 2 2 Speaker Unit SB ZT1 ...
Page 28: ...28 9 2 3 Speaker Unit SB ZT1 Wireless Link ...
Page 29: ...29 ...
Page 31: ...31 ...
Page 32: ...32 10 2 Main Parts Location Diagram 10 2 1 Main Unit SU ZT1 ...
Page 33: ...33 10 2 2 Speaker Unit SB ZT1 ...
Page 35: ...35 10 3 2 Speaker Unit SB ZT1 ...
Page 48: ...48 Step 4 Remove the Weight ...
Page 49: ...49 Step 5 Remove 10 screws ...
Page 53: ...53 Step 11 Remove 2 screws Step 12 Lift up to remove Arm Cover A ...
Page 55: ...55 Step 14 Tilt the Woofer Block in order as arrows shown to detach it from the Tweeter Block ...
Page 66: ...66 Step 3 Remove the heatsink with the IC5701 ...
Page 67: ...67 Step 4 Remove 1 screw Step 5 Remove IC5701 from the heatsink ...
Page 69: ...69 Step 4 Place the heatsink with the IC5701 onto the SMPS P C B ...
Page 81: ...81 Step 4 Remove 3 screws Step 5 Remove the Power Button ...
Page 86: ...86 Step 3 Remove 4 screws Step 4 Lift up to remove Woofer Speaker SP1 ...
Page 110: ...110 Step 11 Remove 3 screws ...
Page 111: ...111 Step 12 Remove the Light Panel Step 13 Remove the Power Button ...
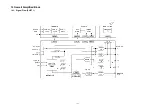
Page 129: ...129 14 Overall Simplified Block 14 1 Signal Flow SU ZT1 ...


