VQT2R71
24
Functions and settings
To return to the previous
display/To cancel during setting
operation: Press [ RETURN].
Play
Functions and settings
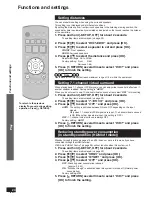
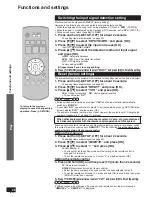
Setting distances
You can make this setting when using the surround speakers.
This setting is not displayed under different conditions.
By setting the distance from front/surround speakers to the listening-viewing position, the
sound delay time is automatically calculated and adjusted so that sound reaches the listener
at the same time.
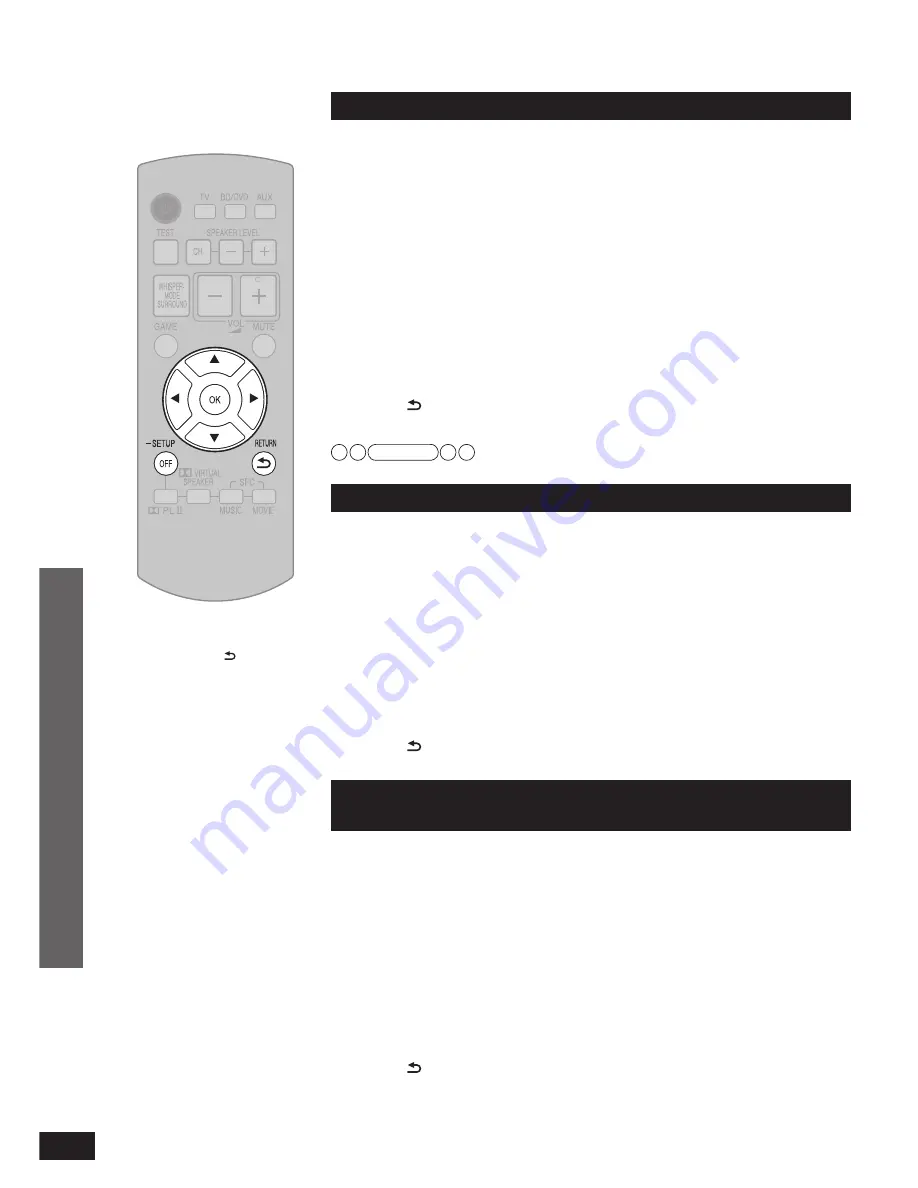
1. Press and hold [–SETUP, OFF] for about 2 seconds.
The setting items are displayed. (
➜
page 23)
2. Press [
w
][
q
] to select “
DISTANCE
” and press [OK].
3. Press [
w
][
q
] to select a speaker to set and press [OK].
FRONT
: Front speakers
SURR
: Surround speakers
4. Press [
e
][
r
] to select the distance and press [OK].
Adjustment range:
1.0
to
10.0
m
Factory setting : Front
3.0
m
Surround
1.5
m
5. Press [ RETURN] several times to select “
EXIT
” and press
[OK] to
fi
nish the setting.
Radio waves from this system reach maximum range of 15 m within the same room.
Setting 7.1-channel virtual surround
When playing back 7.1-channel LPCM signals, you can enjoy wider sound
fi
eld effects as if
another speaker is added. Factory setting is “
AUTO
”.
When you do not want to use 7.1-channel virtual surround effect, select “
OFF
” in this setting.
1. Press and hold [–SETUP, OFF] for about 2 seconds.
The setting items are displayed. (
➜
page 23)
2. Press [
w
][
q
] to select “
7.1CH VS
” and press [OK].
3. Press [
e
][
r
] to select “
OFF
” and press [OK].
AUTO
: The setting is switched between ON and OFF depending on the input
signals.
Only when 7.1-channel LPCM signals are input, 7.1-channel virtual surround
is ON (When other signals are input, this setting is OFF.).
OFF
: 7.1-channel virtual surround is always OFF.
Factory setting :
AUTO
4. Press [ RETURN] several times to select “
EXIT
” and press
[OK] to
fi
nish the setting.
Reducing standby power consumption
(In standby condition (HDMI off mode))
Standby through function (
➜
pages 10 and 30) does not work in this mode if you have
connected through the HDMI terminal.
VIERA Link “HDAVI Control” (
➜
page 20) will not function when this system is off.
1. Press and hold [–SETUP, OFF] for about 2 seconds.
The setting items are displayed. (
➜
page 23)
2. Press [
w
][
q
] to select “
HDMI
” and press [OK].
3. Press [
w
][
q
] to select “
STNBY
” and press [OK].
4. Press [
e
][
r
] to select “
OFF
” and press [OK].
OFF
: Standby power consumption reduced
(approx. 0.2 W)
ON
: “Standby through” is activated when this system is turned off. (Normal power
consumption)
Factory setting:
ON
5. Press [ RETURN] several times to select “
EXIT
” and press
[OK] to
fi
nish the setting.
Note

