6.3. Clearing the self-diagnostic function
The contents of abnormality display are stored in memory. In order to clear the memory, continue to press the
STOP button (
) for at least 5 seconds while in the self-diagnostic function. The memory will clear.
Always be sure to clear this memory after completing repair.
7. Self Check Function
This unit is equipped with a self check function which can detect a part of malfunction. Use this self check
function before servicing the unit and check the item as shown below.
7.1. Setting to the self check function
1. Turn the power ON.
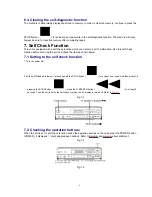
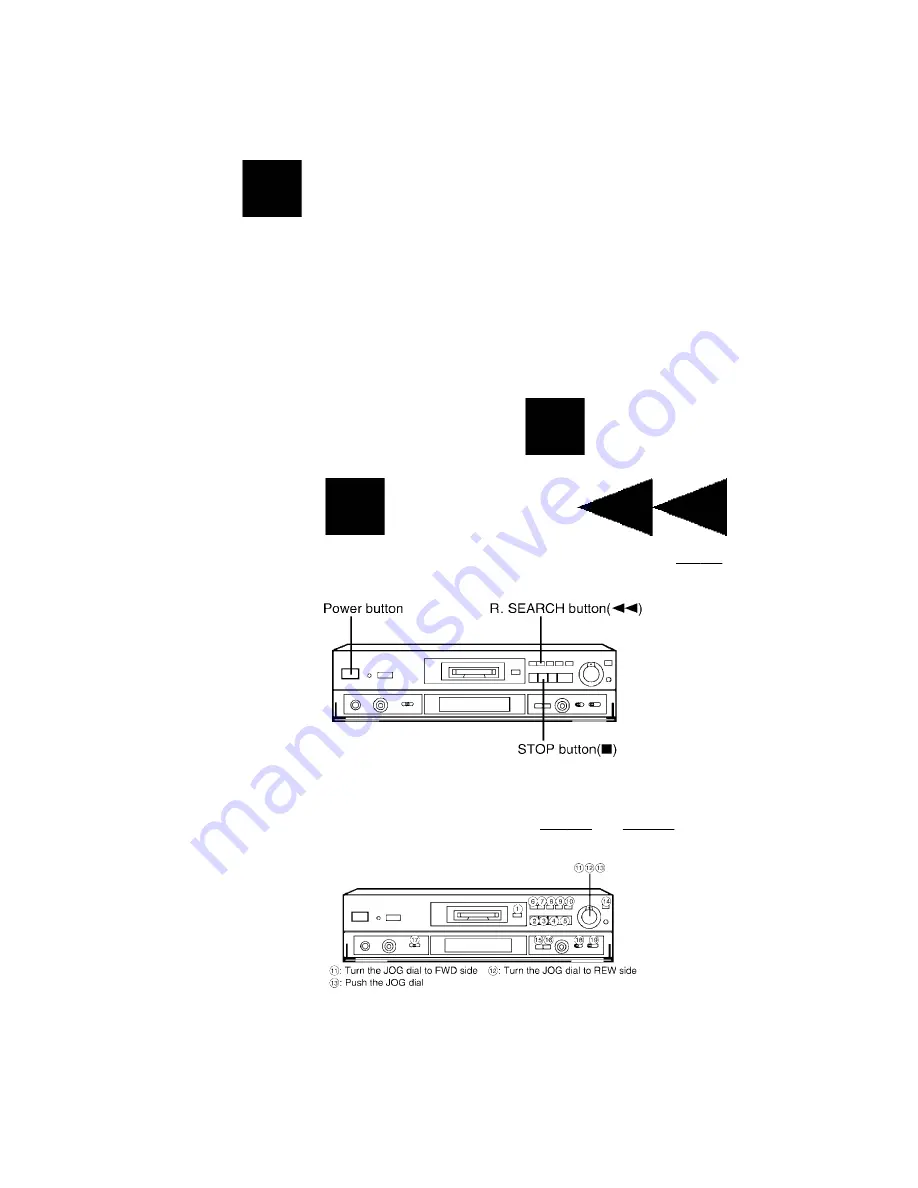
2. With no MD loaded in the unit, press and hold the STOP button (
) for at least 2 seconds. And then while still
pressing the STOP button (
), press the R. SEARCH button (
) for at least 2
seconds. Then the unit is set to the self check function, the FL display is turned off. Refer to
Fig. 7-1.
Fig. 7-1.
7.2. Checking the operation buttons
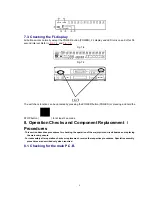
When the unit is set to self check function, press the operation buttons on the unit except the POWER button
(POWER). It displayed “-” mark adapted each buttons. Refer to
Fig. 7-2.
and
Fig. 7-3.
about allotment.
Fig. 7-2.
Fig. 7-3.
8
Summary of Contents for SJ-MD150
Page 5: ...4 Caution for AC Mains Lead 5 ...
Page 10: ...10 ...
Page 15: ...15 ...
Page 16: ...16 ...
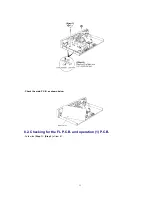
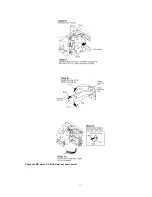
Page 17: ... Check the MD servo P C B B side as shown below 17 ...
Page 19: ...19 ...
Page 20: ...20 ...
Page 21: ...21 ...
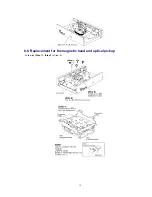
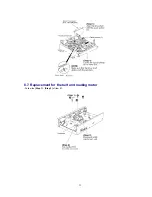
Page 22: ...8 7 Replacement for the belt and loading motor Follow the Step 1 Step 3 of item 8 1 22 ...
Page 23: ...23 ...
Page 25: ...25 ...
Page 36: ...30 TEST02 Test terminal Not used open 36 ...
Page 48: ...48 ...
Page 57: ...20 MD Mechanism Unit Parts Location 57 ...
Page 58: ...21 Packaging 58 ...
Page 59: ...F000300000YM KH 59 ...


