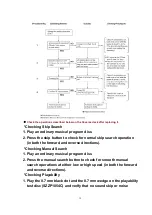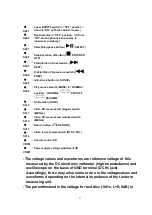
occurs.
2. Play the middle tracks of the uneven test disc (SZZP1056C) and
verify that no sound skip or noise occurs.
8. Automatic Adjustment Results Display Function
(Self-check Function)
On this unit (SL-VP33/VP43/VP48), each automatic adjustment results are displayed on the LCD.
This function is convenient to check or identify which automatic adjustment circuit is incorrect.
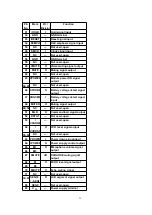
The followings are the contentsof the automatic adjustment result displays (self-check function).
8.1. How to display automatic adjustment results
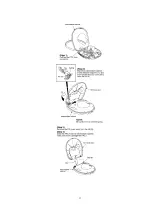
1. Relaese the bottom cabinet. (As for the method of disassembly,
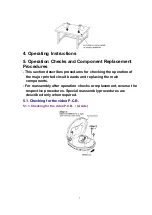
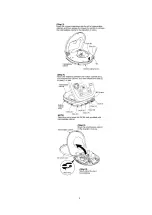
refer to “5.1.1 Chacking for the video P.C.B.”.)
2. Load the test disc (SZZP1054C).
3. Place it, keeping the disc cover side down, on the base.
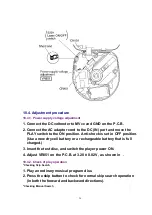
4. Make a short-circuit between IC301 pin No.1 and GND. (as shown
in
Fig. 5
)
5. Insert the AC adaptor plug into the DC IN jack, and then apply the
power.
6. Press the
(SELECT) key.
7. After reading TOC, break the short-circuit.
8. Press the
(STOP/OPR OFF) key.
9. An automatic adjustment result is displayed on the LCD.
Note:
Remove the solders from the leads after adjustment.
Fig. 5
20
Summary of Contents for SL-VP48
Page 8: ...8 ...
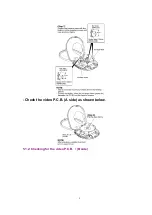
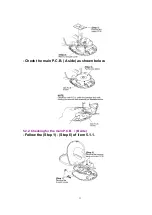
Page 9: ... Check the video P C B A side as shown below 5 1 2 Checking for the video P C B B side 9 ...
Page 13: ...13 ...
Page 14: ...14 ...
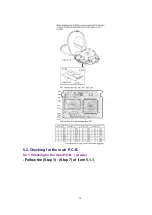
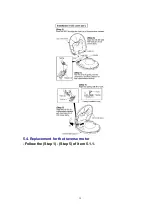
Page 15: ...5 4 Replacement for the traverse motor Follow the Step 1 Step 5 of item 5 1 1 15 ...
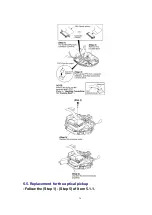
Page 16: ...5 5 Replacement for the optical pickup Follow the Step 1 Step 5 of item 5 1 1 16 ...
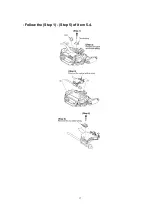
Page 17: ... Follow the Step 1 Step 5 of item 5 4 17 ...
Page 28: ...28 ...
Page 29: ...29 ...
Page 52: ...19 Packaging 52 ...


