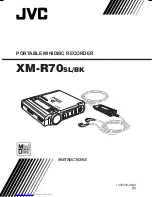
Illustrations showing SL-VP48 are used in these in-
structions
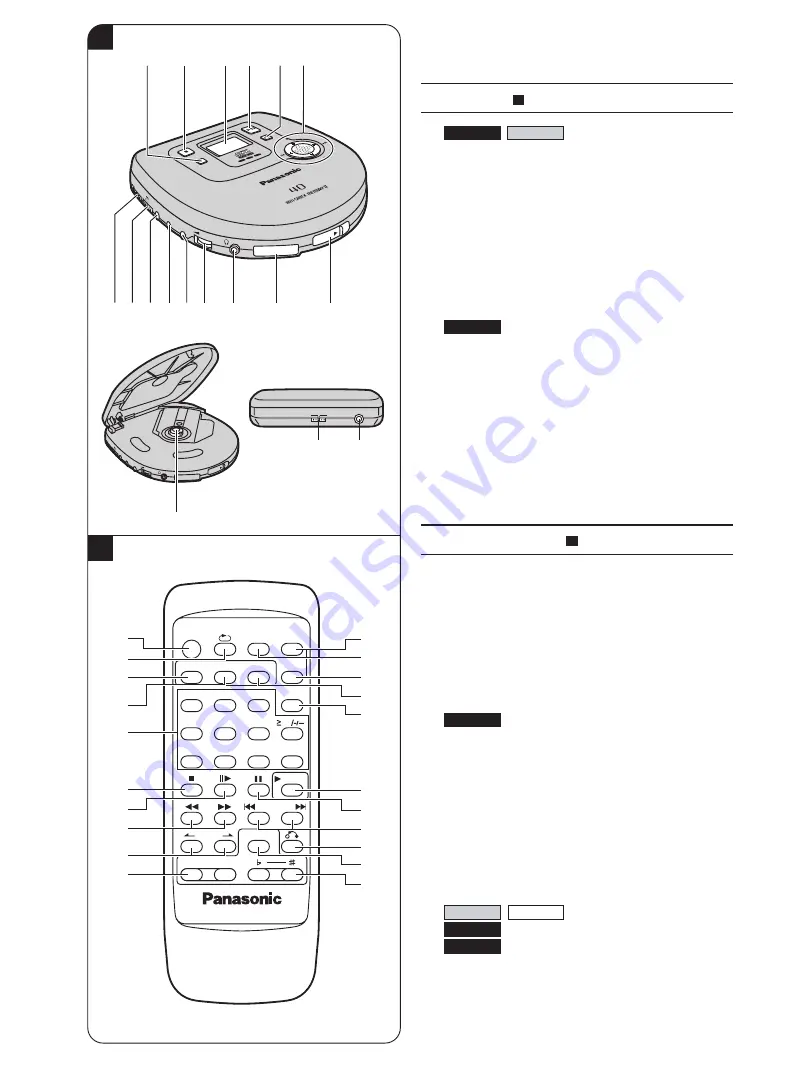
Main unit
1
Anti-shock button
(A.SHOCK)
2
Stop/operation off button (
∫
, STOP/OPR OFF)
3
Display
4
Select/play/pause button (
1;
, SELECT)
5
Return button (
@
, RETURN)
6
Cursor jockey
(MENU
r
, MENU
s
, PREV
:
, NEXT
9
)
7
Hold switch (HOLD)
8
Play mode selector (NOR, PBC OFF, RESUME)
9
Video output terminal (VIDEO OUT)
:
Audio output terminal (AUDIO OUT)
;
Microphone jack (MIC)
<
Headphone volume control (VOLUME)
=
Headphone jack (
Ë
)
>
Remote control signal sensor (SENSOR)
?
Open switch (OPEN
1
)
@
CD release button (PUSH)
A
Video format selector (NTSC, PAL)
B
DC IN jack (DC IN 4.5 V
K
)
Remote control
C
On screen display button (OSD)
D
Repeat button (
`
)
E
Multi screen button (MULTI SCREEN)
F
Scene button (SCENE)
G
Numeric buttons
H
Stop button (
∫
)
I
Frame skip button (
H
)
J
Search buttons (
22
,
11
)
K
VCD index button (V-INDEX,
-
,
.
)
L
Microphone volume control button
(MIC)/Echo button (ECHO)
M
Program button (PROGRAM)
N
A–B repeat button (A–B)
O
Recall button (RECALL)
P
Time access button (TIME ACCESS)
Q
Clear button (CLEAR)
R
Select button (
1
SELECT)
S
Pause button (
;
)
T
Previous, next buttons (
:
PREV, NEXT
9
)
U
Return button (
@
)
V
Voice mode button
(MONO L/R)
(KARAOKE/DUAL)
W
Key control buttons (
›
,
fl
)
SL-VP48
SL-VP48
SL-VP48
SL-VP48
SL-VP43
SL-VP48
A
B
PB
C O
FF
HO
LD
NO
R
AUDI
O OU
T
VIDE
O O
UT
MIC
VOLUM
E
SENSOR
OP
EN
RE
SU
ME
PB
C
O
FF
H
O
LD
N
O
R
AUD
IO O
UT
VID
EO O
UT
MIC
VOLUME
SENSOR
OPEN
RE
SU
ME
STO
P/O
PR
OF
F
PL
AY
BA
CK
CO
NT
PR
OL
A.S
HO
CK
SEL
ECT
RE
TUR
N
ME
NU
ME
NU
PR
EV
NE
XT
K A
R A
O K
E
SE
CO
ND
S
PO
RT
AB
LE
C
D
PL
AY
ER
SL
-V
P4
8
789
;
:
< =
>
1
5
2
3 4
?
6
@
DC IN4.5V
K
NTSC
PAL
B
A
MULTI SCREEN
OSD
SCENE TIME ACCESS RECALL
A-B
PROGRAM
RAK-SL974WK
VIDEO CD PLAYER
1
2
3
CLEAR
4
5
6
7
8
9
0
10
SELECT
KARAOKE/DUAL
MIC
ECHO
V-INDEX
NEXT
PREV
C
M
N
O
P
Q
R
S
T
U
V
W
D
E
F
G
H
I
J
K
L
SL-VP33
SL-VP43
Back panel of the unit
B
A
Summary of Contents for SL-VP48
Page 8: ...8 ...
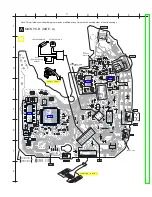
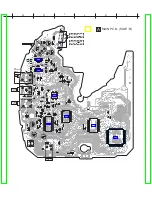
Page 9: ... Check the video P C B A side as shown below 5 1 2 Checking for the video P C B B side 9 ...
Page 13: ...13 ...
Page 14: ...14 ...
Page 15: ...5 4 Replacement for the traverse motor Follow the Step 1 Step 5 of item 5 1 1 15 ...
Page 16: ...5 5 Replacement for the optical pickup Follow the Step 1 Step 5 of item 5 1 1 16 ...
Page 17: ... Follow the Step 1 Step 5 of item 5 4 17 ...
Page 28: ...28 ...
Page 29: ...29 ...
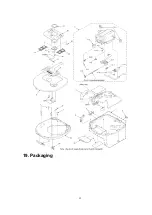
Page 52: ...19 Packaging 52 ...

