66
SETUP
Network Setup
LAN Setup
Detailed network settings for the LAN established via the LAN terminal of the Display or twisted pair cable transmitter
+
Network settings
DIGITAL LINK mode
Network control
Off
Auto
Off
Display name
LVF70-00
LAN setup
DIGITAL LINK status
Digital Interface Box
AMX D. D.
Crestron ConnectedTM
Off
Off
Extron XTP
Reset
LAN setup
Save
DHCP
On
Network control / IP address
169 254
1
1
255 255
0
0
0
0
0
10
Subnet mask
Gateway
Port
MAC address
1024
00:00:00:00:00:00
!"
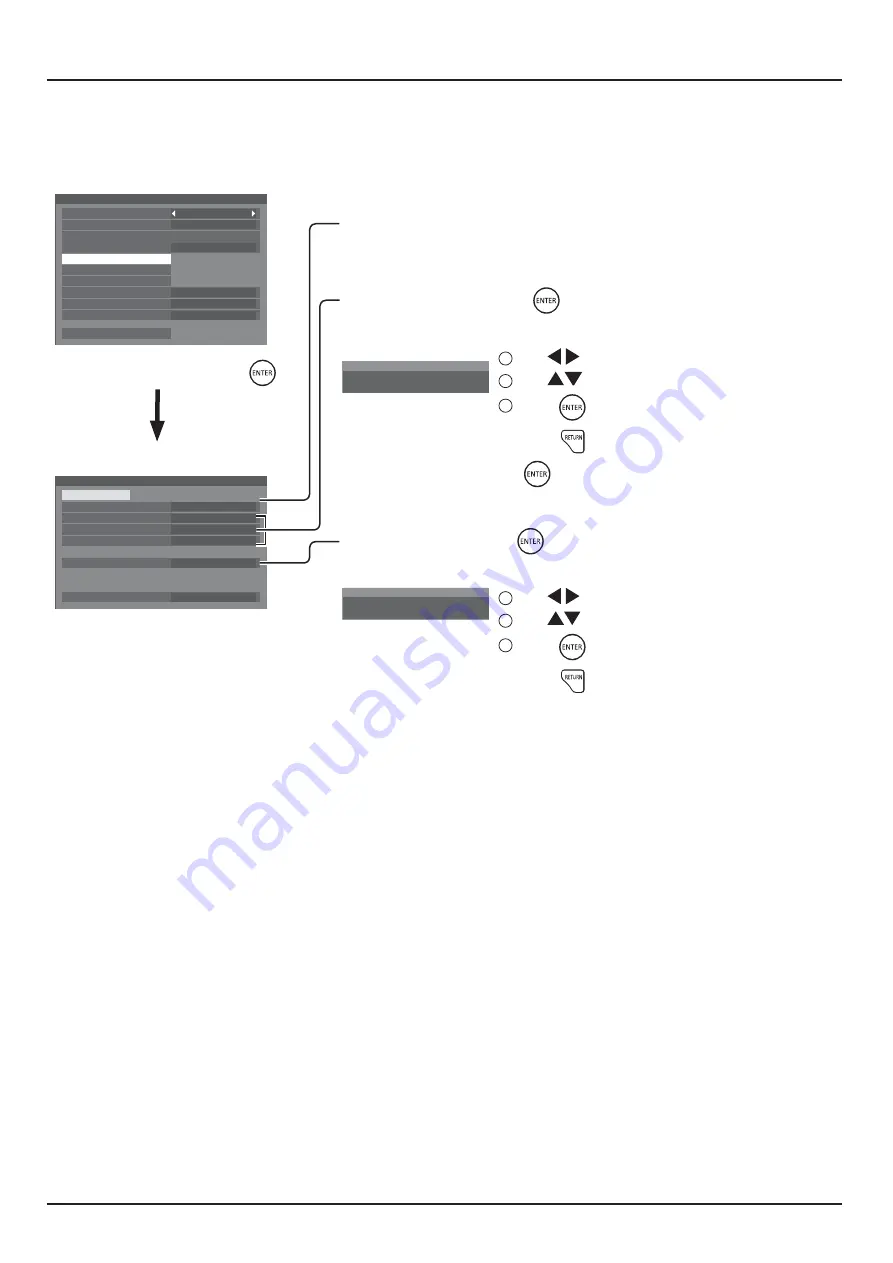
DHCP, IP address, Subnet mask, and Gateway settings
1
Set DHCP.
K'':
manually.
2
Select the item and press
.
3
Enter an address.
I
1
92.168. 0. 8
IP ADDRESS
1
Use
to select a digit.
2
Use
to change a number.
3
Press
.
Pressing
will cancel the address change.
4
G
.
PORT setting
1
.
2
Enter a port number.
I
0
1024
PORT
1
Use
to select a digit.
2
Use
to change a number.
3
Press
.
Pressing
will cancel the port number change.
Save
Save the current network Setup. Each value set for DHCP,
: &: ?J?G+'
"J:&
within the same network.
DHCP (DHCP client function)
To obtain an IP address automatically using a DHCP
G:K +'<G :
K''+
IP address (IP address display and setting)
Enter an IP address if DHCP server is not used.
Subnet mask (Subnet mask display and setting)
Enter a subnet mask if DHCP server is not used.
Gateway (Gateway address display and setting)
Enter a gateway address if DHCP server is not used.
Port
Set the port number used for command control.
The available setting range is 1024 – 65535.
When the PJLink™ protocol is used, the port setting is not
necessary.
MAC Address
Display the MAC address of this unit.
Note:
Shipping condition is below.
[DHCP]: Off
[IP address]: 192.168.0.8
[Subnet mask]: 255.255.255.0
¬?J^]+^+_+^
Notes:
$ To use a DHCP server, make sure the DHCP server is started.
$ Contact your network administrator for details on settings.


