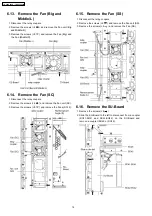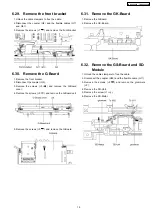
6.5. Remove the rear terminal
cover
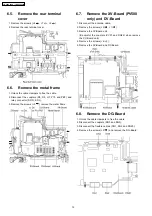
1. Remove the screws (×4
, ×7
, ×2
).
2. Remove the rear terminal cover.
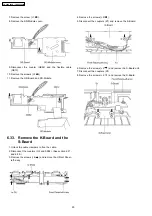
6.6. Remove the metal frame
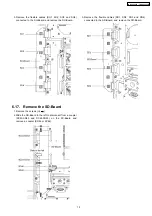
1. Unlock the cable clampers to free the cable.
2. Disconnect the couplers (D3, D5, H7, P10 and PB7) and
relay connector (SP-R, SP-L).
3. Remove the screws (×5
) remove the metal frame.
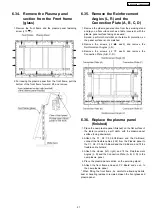
6.7. Remove the XV-Board (PV500
only) and DV-Board
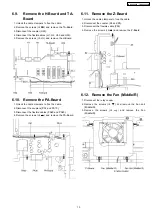
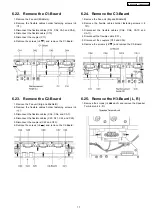
1. Disconnect the antenna cable.
2. Remove the screws (×5
, ×1
).
3. Remove the XV-Board unit.
(Be careful the couplers (XV01 and DG22) when remove
the XV-Board unit.)
4. Remove the screws (×6
).
5. Remove the XV-Board and DV-Board.
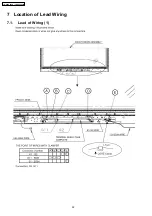
6.8. Remove the DG-Board
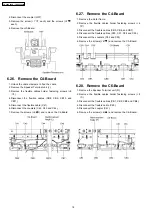
1. Unlock the cable clampers to free the cable.
2. Disconnect the couplers (DG3 and DG5).
3. Disconnect the flexible cables (DG1, DG2 and DG20).
4. Remove the screws (×2
) and remove the DG-Board.
12
TH-65PV500E / TH-65PV500B
Summary of Contents for TH-65PV500E
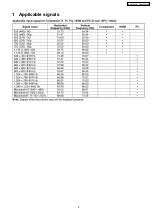
Page 5: ...1 Applicable signals 5 TH 65PV500E TH 65PV500B ...
Page 22: ...7 Location of Lead Wiring 7 1 Lead of Wiring 1 22 TH 65PV500E TH 65PV500B ...
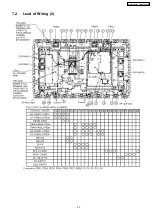
Page 23: ...7 2 Lead of Wiring 2 23 TH 65PV500E TH 65PV500B ...
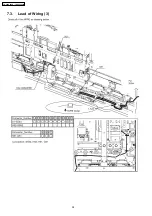
Page 24: ...7 3 Lead of Wiring 3 24 TH 65PV500E TH 65PV500B ...
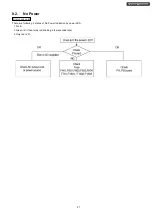
Page 28: ...8 3 No Picture 28 TH 65PV500E TH 65PV500B ...
Page 31: ...31 TH 65PV500E TH 65PV500B ...
Page 32: ...9 3 Option Description 32 TH 65PV500E TH 65PV500B ...
Page 33: ...33 TH 65PV500E TH 65PV500B ...
Page 42: ...42 TH 65PV500E TH 65PV500B ...
Page 78: ...TH 65PV500E TH 65PV500B 78 ...
Page 79: ...14 Block and Schematic Diagram 14 1 Schematic Diagram Notes TH 65PV500E TH 65PV500B 79 ...
Page 154: ...15 2 Packing Exploded Views 1 154 TH 65PV500E TH 65PV500B ...
Page 155: ...15 3 Packing Exploded Views 2 155 TH 65PV500E TH 65PV500B ...
Page 156: ...15 4 Packing Exploded Views 3 156 TH 65PV500E TH 65PV500B ...


