Using the Menu Functions
|
Link Functions (VIERA
Link)
17
■
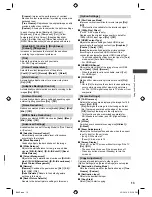
[Lock all]:
To lock all channels and inputs
■
[Unlock all]:
To unlock all channels and inputs
■
[Next input]:
To jump to the top of the next input
■
To change the PIN number
(1) Select [Change PIN]
Change PIN
Child Lock
(2) Enter a new PIN number twice
Write your PIN number here in
case you forget it.
■
To set Parental Rating
To watch the Digital TV programme that has rating
information over the selected age, enter the PIN number
(depending on the broadcaster).
Select [Parental Rating], then select the block setting
No Block
Parental Rating
Child Lock
Note
●
Setting [Shipping Condition] (p. 15) erases the PIN
number and all settings.
●
If you have forgotten your changed PIN, input “6969”
as the PIN number.
Performing [System Update]
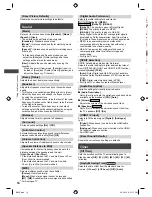
To update automatically
Select [Auto Update Search in Standby]
Auto Update Search in Standby
System Update Search Now
System Update
Off
●
Every time you set, the TV automatically performs
a search in Standby and downloads any available
update.
●
The automatic updating is performed when the TV is in
Standby (TV turned off with the remote control).
If System Update is performed, the software will be
updated (it may change TV functions).
If you do not want to do so, set [Auto Update
Search in Standby] to [Off].
To update immediately
1
Select [System Update Search Now]
Auto Update Search in Standby
System Update Search Now
System Update
Off
2
Searches for an update (several minutes) and
displays a corresponding message, if any
3
Download
Note
●
Download may take more than 60 minutes.
●
During software download and update, DO NOT switch
off the TV.
●
The notification message might be a reminder. In this
case, the schedule information (the date that the new
version can be used) will appear. You can set the
reservation for update. The update will not start when
the TV is off.
Link Functions
(VIERA Link)
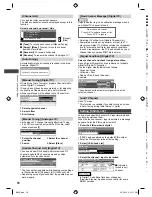
VIERA Link (HDAVI Control™) connects the TV and the
equipment with VIERA Link function, and enables easy
control, playback, energy saving, creating home theatre,
etc., without complicated setting.
●
This TV supports “HDAVI Control 5” function. But
available features are depending on the connected
equipment’s version of HDAVI Control. Please read the
manual of the equipment to confirm the version.
●
VIERA Link features may be available even with other
manufacturers’ equipment supporting HDMI CEC.
VIERA Link “
”
Enjoy additional HDMI Inter-Operability with Panasonic
products which have “HDAVI Control” function.
These features are limited to models incorporating
“HDAVI Control” and “VIERA Link”.
●
Some functions are not available depending on the
equipment’s version of HDAVI Control.
●
VIERA Link “HDAVI Control”, based on the control
functions provided by HDMI which is an industry
standard known as HDMI CEC (Consumer Electronics
Control), is a unique function that we have developed
and added. As such, its operation with other
manufacturers’ equipment that supports HDMI CEC
cannot be guaranteed.
●
Please refer to individual manuals for other
manufacturers’ equipment supporting VIERA Link
function.
●
About applicable Panasonic equipment, consult your
local Panasonic dealer.
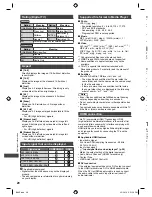
Preparations
●
Connect the equipment supporting VIERA Link to the
TV’s HDMI 1 or HDMI 2 terminal.
–
Use fully wired HDMI compliant cable. Non-HDMI-
compliant cables cannot be utilised.
–
Use an optical digital audio cable or RCA cable for
audio output from the TV.
●
Set up the connected equipment. Read the manual of
the equipment.
●
Set [VIERA Link] to [On] in the Setup Menu.
[VIERA
Link] (p. 15)
●
Set up the TV.
After connection, turn the equipment on and then
switch the TV on.
Select the input mode from HDMI1 or HDMI2, and
make sure that an image is displayed correctly.
This setup should be done each time when the
following conditions occur:
–
for the first time
–
when adding or reconnecting equipment
–
when changing setup
B6AZ.indd 17
B6AZ.indd 17
2/1/2013 3:51:12 PM
2/1/2013 3:51:12 PM

