34
T
roubleshooting
11
Remove the recovery CD and press any key to shut
down the computer, then remove the DVD-ROM & CD-R/
RW drive.
12
Turn on the computer, and press
F2
while [Pana-
sonic] boot screen is displayed.
The Setup Utility will start up.
If the password has been set, enter the Supervisor Pass-
word.
13
Press
F9
.
At the confirmation message, select [Yes] and press
Enter
. (The Setup Utility settings will return to their
default values. Even the security settings with the excep-
tion of the password(s) will return to their default values.)
14
Press
F10
.
At the confirmation message, select [Yes] and press
Enter
.
15
Perform the setup procedure for Windows by following the
instructions on the screen (
page 13).
16
Run the Setup Utility and change the settings where neces-
sary.
17
If you can connect to Internet, perform Windows Update.
Do not interrupt the reinstallation procedure before
completion, for example by turning off the computer
or pressing
Ctrl
+
Alt
+
Del
, as this may
prevent Windows from starting up, or may cause data
to be lost so that the reinstallation procedure cannot
be executed.
When a message appears instructing you to insert
the next CD, insert the recovery CD showing the
next number in the sequence, and then select [OK].
If the message [The media does not contain the cor-
rect file] appears, select [OK]. A message will ap-
pear instructing you to insert the next CD.
Confirm that the proper recovery CD has been in-
serted by opening the cover of the DVD-ROM &
CD-R/RW drive and then close the cover, then se-
lect [OK].
CAUTION
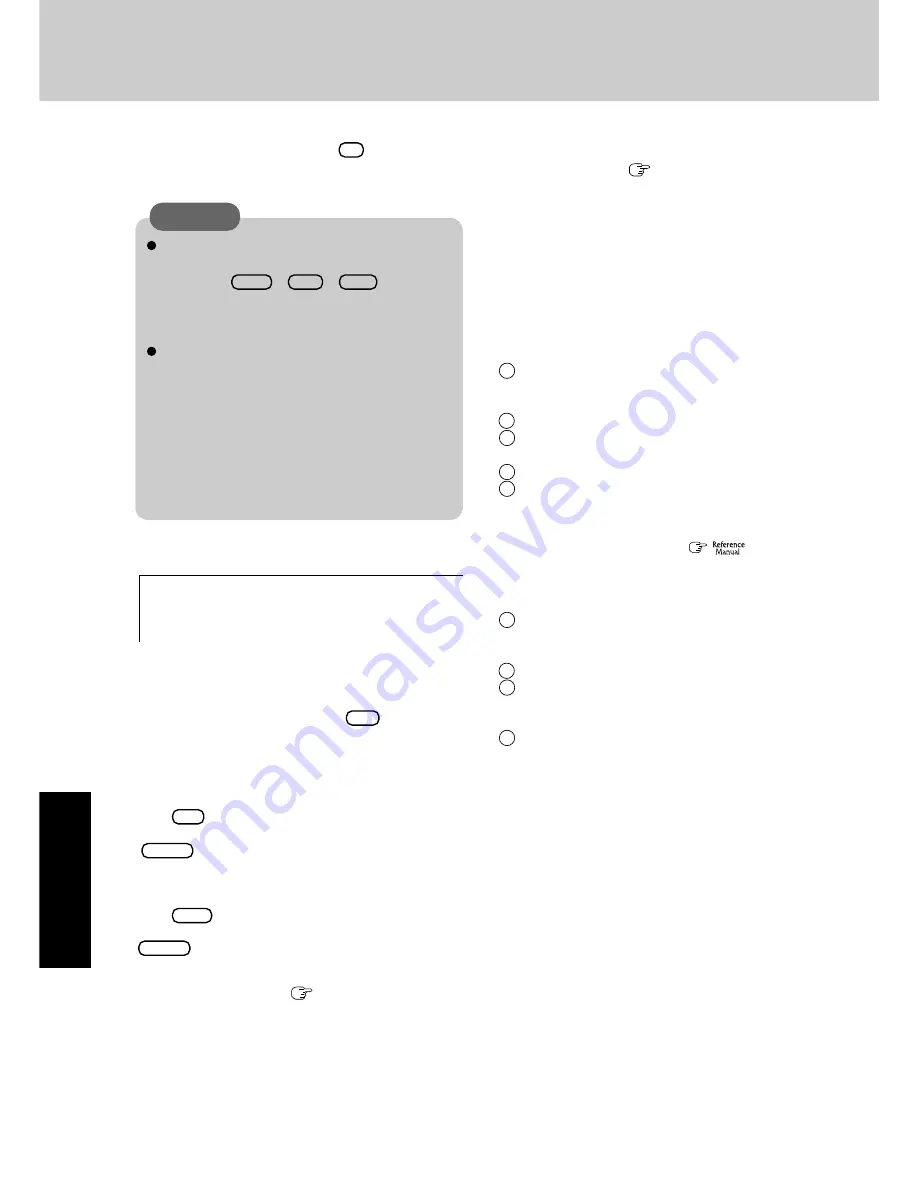
After the reinstallation procedure completes, this screen
should appear.
10
At the confirmation message, press
Y
.
The operation of reinstallation for the hard disk starts auto-
matically. (The operations take about an hour.)
<When the hard disk backup function has been enabled>
If you select [3] in step
9
(
page 33) and execute reinstalla-
tion, the drive name for the second partition (data partition)
may be switched with that of the SD Memory Card. You can
still use the drives after the names have been switched, but you
can also return the drive names to their original state using the
following procedures.
(The following procedure assumes that before reinstallation,
the second partition (data partition) was Drive D:, and the SD
Memory Card was Drive E:)
1
Disable the drive name for the second partition (data parti-
tion).
1
In the menu below, select [Computer Management].
Select [start] - [Control Panel] - [Performance and Main-
tenance] - [Administrative Tools].
2
Select [Disk Management].
3
Right click on the partition for which [E:] is displayed
and select [Change Drive Letter and Paths...].
4
Select [Remove].
5
At the confirmation message, select [Yes].
2
Change the SD memory card drive name to [E:].
Use the SD drive name change tool to change the SD
Memory Card to the E: drive. (
"SD Memory
Card/ MultiMedia Card").
3
Set the drive name for the second partition (data partition)
as [D:].
1
In the menu below, select [Computer Management].
Select [start] - [Control Panel] - [Performance and Main-
tenance] - [Administrative Tools].
2
Select [Disk Management].
3
Right click on the partition for which the drive name is
not displayed, and select [Change Drive Letter and
Paths...].
4
Select [Add...], assign [D:] as the drive letter, and select
[OK].
Reinstalling Software
-----------------------------------------------------------------------
[Recovery] is complete.
Windows(R) XP Professional install wizard will start after reboot.
Please remove the Product Recovery CD-ROM.
After turning off the power, disconnect the CD/DVD-ROM drive, and turn the
power on again.
-----------------------------------------------------------------------
Summary of Contents for Toughbook CF-T2DWATZKM
Page 46: ...46 Memo ...
Page 47: ...47 ...


