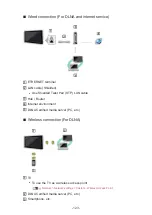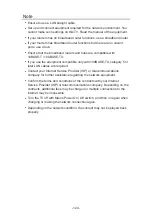
Custom - Wireless
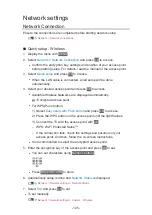
Ensure the connections are completed before starting network setup.
1. Display the menu with
MENU
.
2. Select
Network
>
Network Connection
>
Custom
>
Wireless
and press
OK
to access.
●
Confirm the encryption key, settings and position of your access point
before starting setup. For details, read the manual of the access point.
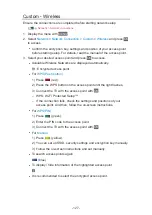
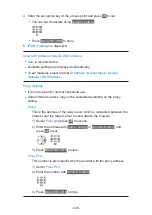
3. Select your desired access point and press
OK
to access.
●
Available Wireless Networks are displayed automatically.
: Encrypted access point
●
For
WPS(Push button)
1) Press
(red).
2) Press the WPS button on the access point until the light flashes.
3) Connect the TV with the access point with
OK
.
– WPS: Wi-Fi Protected Setup™
– If the connection fails, check the settings and positions of your
access point. And then, follow the on-screen instructions.
●
For
WPS(PIN)
1) Press
(green).
2) Enter the PIN code to the access point.
3) Connect the TV with the access point with
OK
.
●
For
Manual
1) Press
(yellow).
2) You can set up SSID, security settings and encryption key manually.
3) Follow the on-screen instructions and set manually.
●
To search access points again
(blue)
●
To display / hide information of the highlighted access point
●
It is recommended to select the encrypted access point.
- 127 -
Summary of Contents for TX-24DS500B
Page 1: ...eHELP English TX 24DS500B TX 32DS500B TX 40DS500B TX 49DS500B TX 55DS500B TX 40DS400B ...
Page 55: ... Reset to Defaults Reset to Defaults Resets Advanced Settings to the default settings 55 ...
Page 199: ...Reset to Defaults Resets the current Picture Viewing Mode to the default settings 199 ...
Page 206: ...Reset to Defaults Resets the current Sound Mode to the default settings 206 ...
Page 210: ...VIERA Name Sets your favourite name for this TV Network Network settings VIERA Name 210 ...
Page 217: ...Time Zone Adjusts the time data Watching Basic Adjusting time Ireland only 217 ...
Page 222: ...USB Device Setup Safely removes USB device Media Player Using Media Player Information 222 ...
Page 247: ...v 3 100 2 ...

